
My husband and I left ourselves just five weeks to plan our beautiful San Juan Island family-only wedding this summer! Five weeks! It came together so perfectly though, that I now truly believe wedding planning takes as long as you have to plan the wedding, be it five weeks or five months.
The one thing I was really worried about was my wedding dress. Having recently done some support shopping with a friend who’s getting married at the end of this month, I knew that most stores need at least 3 or 4 months to order a dress as well as time for alterations. That left just off-the-rack options. Unfortunately, the vast majority of stores carry size 6-10 for their samples with very little selection in the plus sizes, so I didn’t even try wedding boutique sample sales. Instead, I opted for what seemed like the only option: online ready-to-wear.
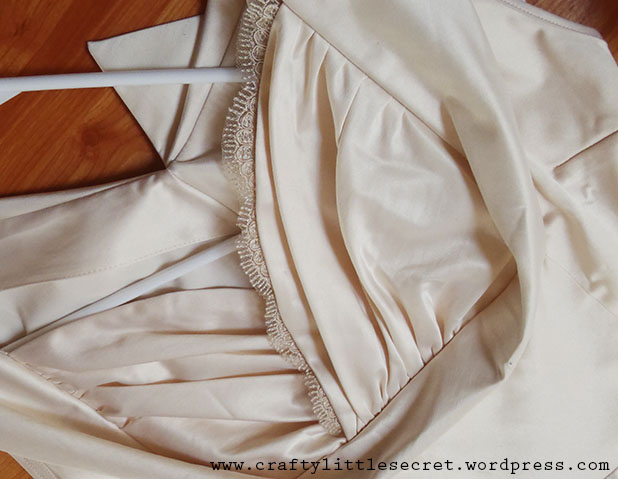
I found a beautiful wedding dress that perfectly fit what I had imagined (for under $200!!) from the unfortunately named Trashy Diva (also occasionally available from ModCloth). The Honey Dress was the right length for me, a gorgeous peach-hued ivory color and was retro inspired without leaving me feeling like I was in a costume. There were just a couple details I wasn’t happy with. Fortunately, as you’ll see, it’s easy to add very small and easy DIY touches to really add some custom features and unique details to your ready-to-wear wedding dress!
 The first issue was that this dress showed just a teensy bit more cleavage than I wanted to show on my wedding day! The second issue was that I thought this dress was just begging for some sort of belt to visually separate the bodice from the skirt. The cleavage issue was solved with a quick hand-sewing project and the belt issue had an easy no-sew solution!
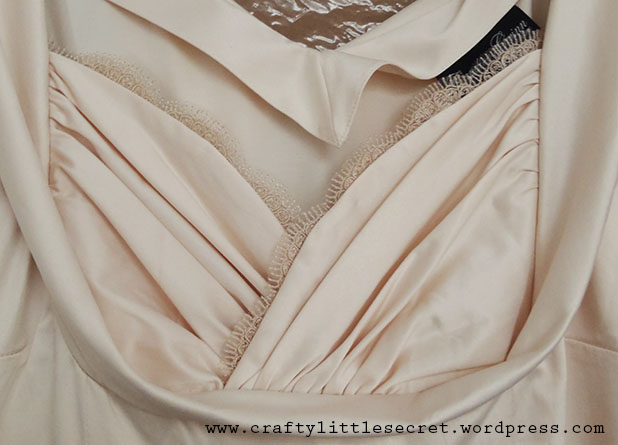
To reduce the amount of cleavage I was showing but leave the open, sexy and classic feel of the neckline, I decided to edge the neckline with some beautiful lace that I found at Britex Fabrics in San Francisco. I made sure to bring the dress with me so I could perfectly match the lace to the dress in both color and style.
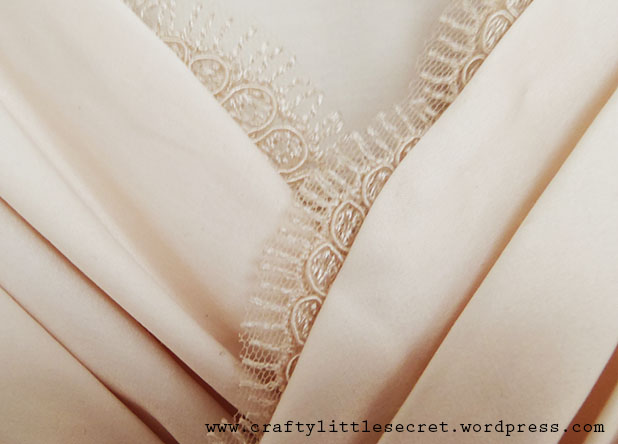
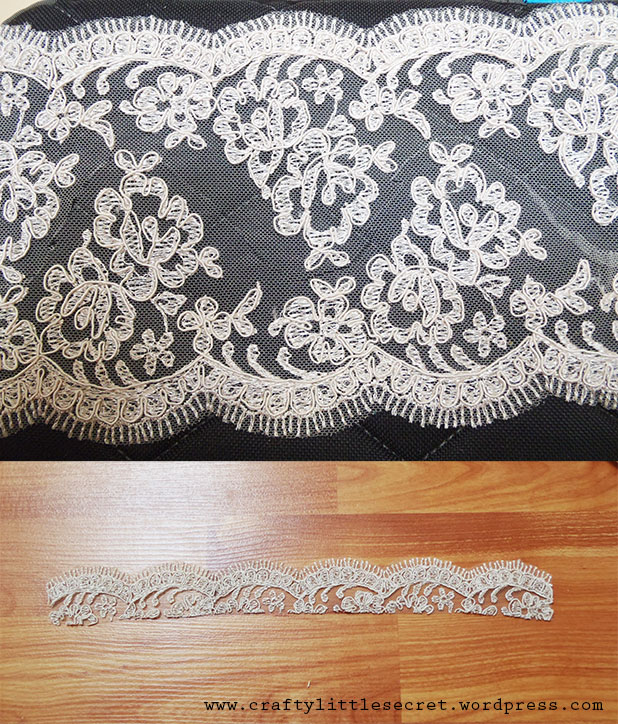 These beautiful laces can cost a pretty penny so the smart woman who helped me at Britex pointed out that since the lace I chose was double sided, I only needed to buy half the required length! I cut the lace in half to have enough to cover both sides of the bust.
I hand stitched the lace to the inside lining of my dress using whip stitch and being very careful to not put my stitches through the front side of my dress.
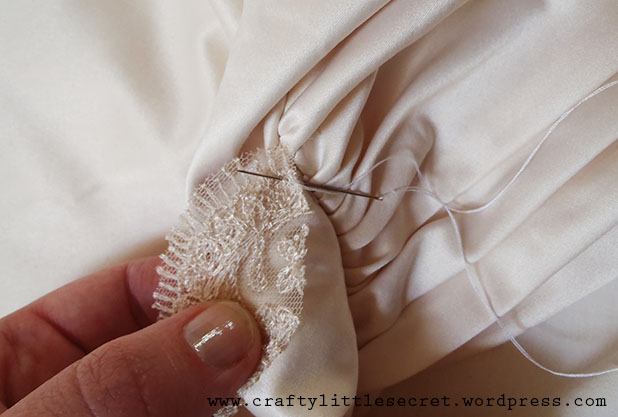
 I slowly worked my way along the lace making sure that I took a step back here and there to check that the lace was perfectly lined up (I didn’t pin it because I didn’t want to have any visible pinholes).
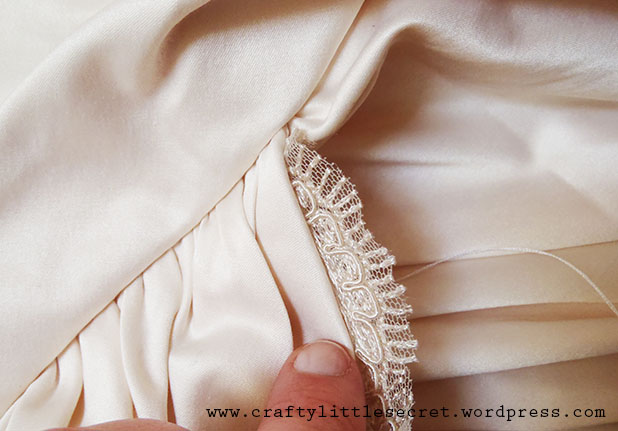
 To be honest, I was a little nervous about sewing the lace to the dress. I just never pictured myself as a “lace” girl, and was afraid I’d wind up just wrecking the dress. But once I finished one side of the neckline and could see the side-by-side comparison, I loved the alteration!
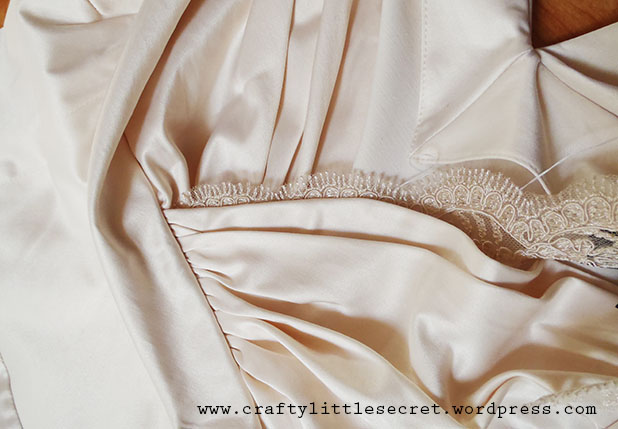
 I was really happy with the finished product with just a hint of the lace peaking over the edge of the dress. It didn’t add much fabric but that half inch or so of lace went a long way in covering up my cleavage and making me feel more comfortable and classy in my dress. It also gave my dress a custom detail and made me feel that much more special on my wedding day!
 To solve the second problem of a belt for the dress, I once again turned to the Britex notions section. I purchased a nice long length of a ribbon that matched the ivory of my dress but was just a few shades darker. I had originally wanted a thinner ribbon, but I’m so glad I listened to the Britex sales clerk. She was pretty adamant that I need a ribbon that was closer to 3″ wide and in the end I really think that she was right!
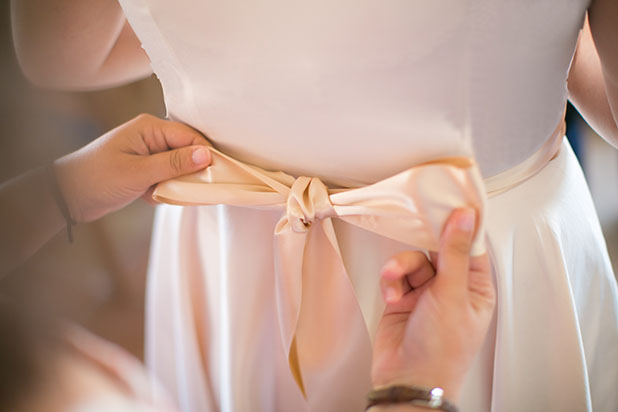
Photo adapted from one taken by our fanastic photographer, Matt Land – matthewland.com
On my wedding day I had my maid-of-honor tie a nice big bow in the back of my dress and we snipped the ends of the ribbon with an angled cut for a nice finished look.
All in all, I really think these two little DIY touches added so much to the look of my wedding dress! Not only did they make me feel special and unique, most importantly they helped solve some simple fixes to make me feel comfortable on my wedding day!

Photo taken by our amazing Seattle area photographer Matt Land – matthewland.com

