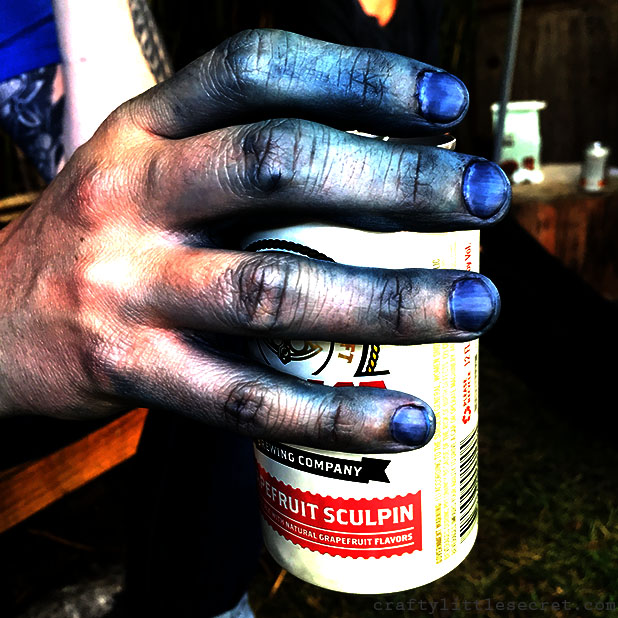
A friend of mine attended a shibori dying workshop a couple months ago and has been addicted to shibori ever since. I’d been toying with the idea of working on a shibori quilt or other project, but just never really got my rear in gear. So when he offered to spend a Sunday teaching me about shibori dying and generously sharing his tools, I jumped at the chance!
Ryen already had the indigo all set up and ready to go when we got there, and I didn’t really take enough pictures/notes to make a tutorial, but I thought it’d still be fun to share some of our experiments.

I hunted around online a bit for inspiration before I started and found this pillow from Urban Outfitters. I loved that the fabric was left with a large amount of white space and very little had actually been dyed.
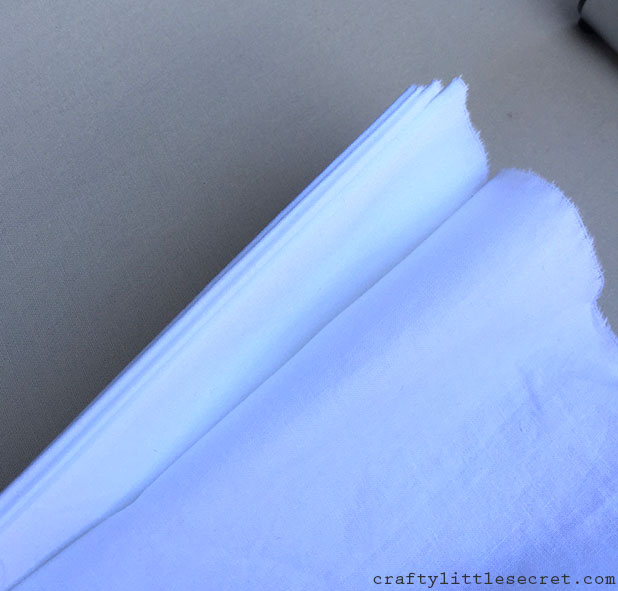 This isn’t really the best photo, but to get the look I was after I started by ironing the fabric into a long accordion. So much ironing.
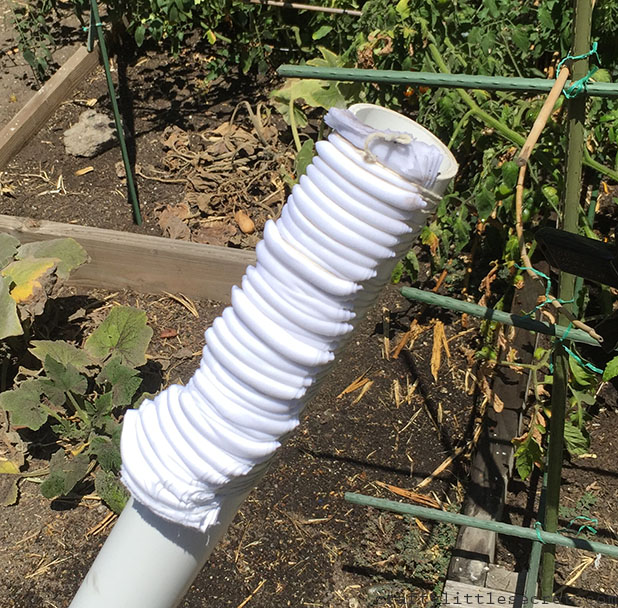 Next I laid the accordion-folded fabric against a PVC pipe and wrapped it with twine. Once it was all bundled, I smooshed the fabric until it looked as it does in the photo above. With shibori, any of the fabric that is against the pipe or the string will not take the indigo and will stay white. Any fabric that’s smooshed up away from the pipe will take on the indigo dye and end up colored blue.
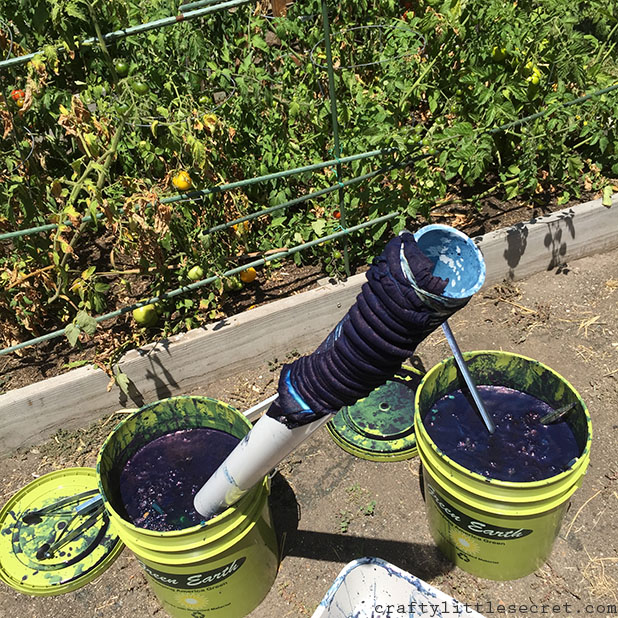 Who knew that indigo dying could be so time-intensive? Turns out that to get that nice deep dark indigo color, you need to dip the fabric multiple times. The exact number of dips depends on the type of fabric, and natural fibers are required. I was using some nice white Robert Kaufman Kona cotton. You start off by soaking the fabric in water for 20 min; this prevents the dye from bleeding through the bound areas of your fabric. You then cycle your fabric, 20 min in the dye, 20 min drying on the line. Repeat until desired color is achieved. I had two pieces of fabric, one tied to either end of the pipe, so I was just flipping the pipe every 20 min.
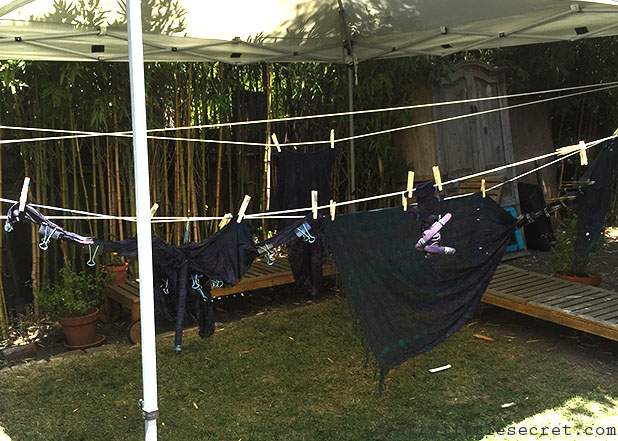
I didn’t catch any pictures of it, but when the fabric comes out of the dye bath it’s actually a lime green color. The deep indigo color develops through an oxidation reaction that occurs once the dye is exposed to the air.
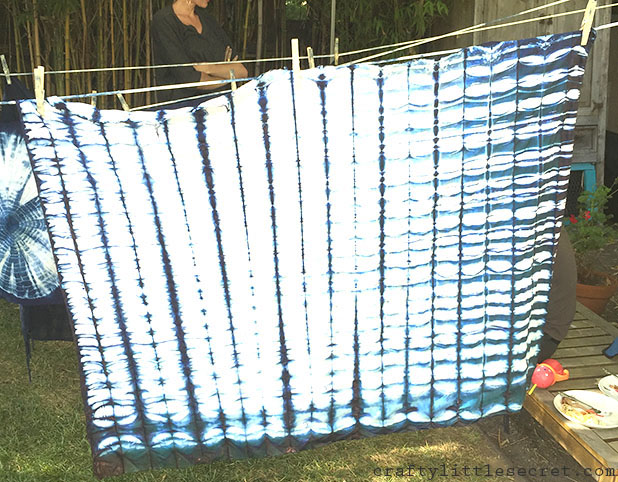 This is how my first piece of fabric turned out! Stay tuned to find out what it gets sewn into….
I also brought a long scrap of cotton knit fabric and decided to play with some different techniques and made a sampler scarf.
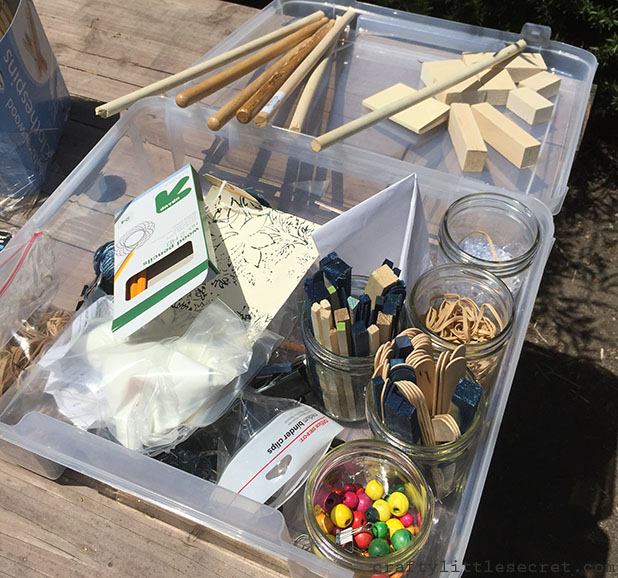 Ryen had a ton of tools that he’d laid out for us to play with, and I was drawn to the little wooden beads.
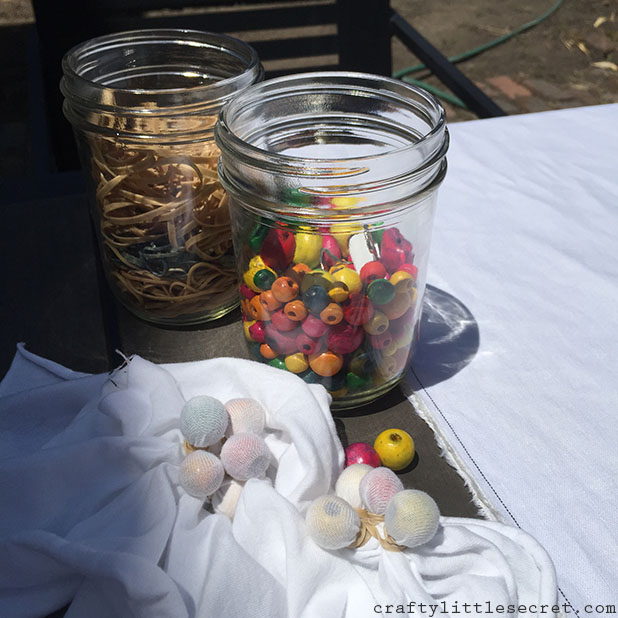 I wrapped the fabric around individual beads in clusters of 4-6, and wrapped each cluster with an elastic.
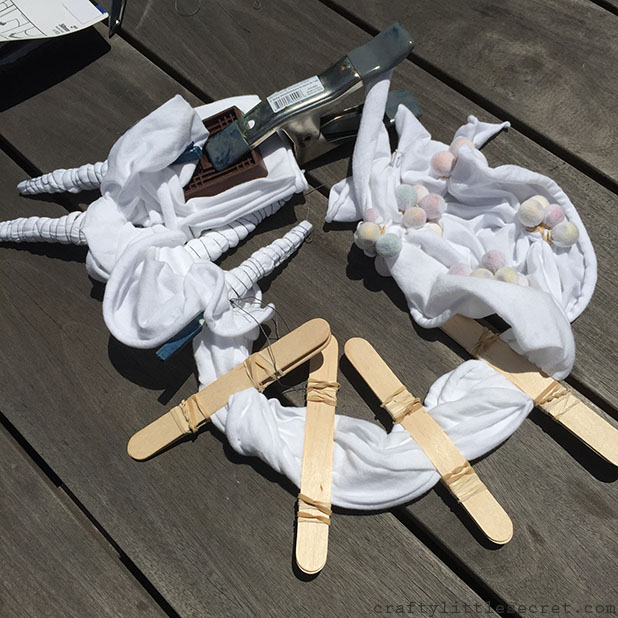 I also tried some popsicle sticks, which I hoped would make stripes, and some plastic furniture coasters held in place with clamps. The tied up cones are a technique known as “kumo” in which the fabric is wrapped around a dowel (or chopstick, in this case) and tied in place using thread or string. Here’s a great example of kumo, that Ryen made:
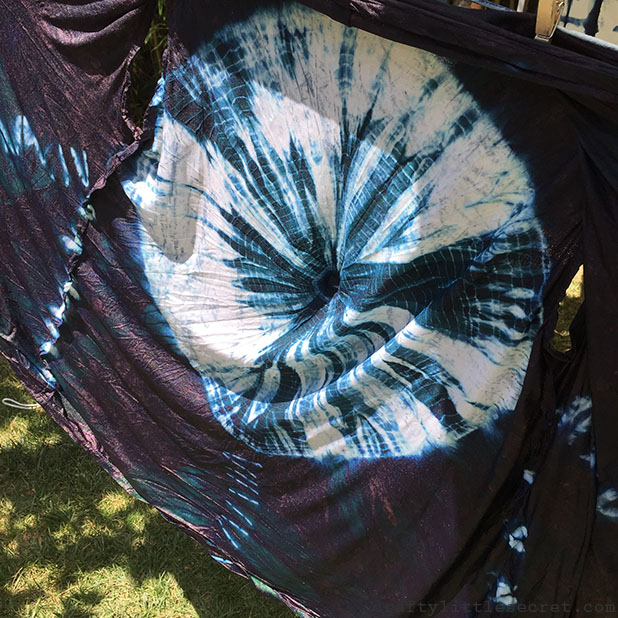 And here’s how my sampler scarf turned out:
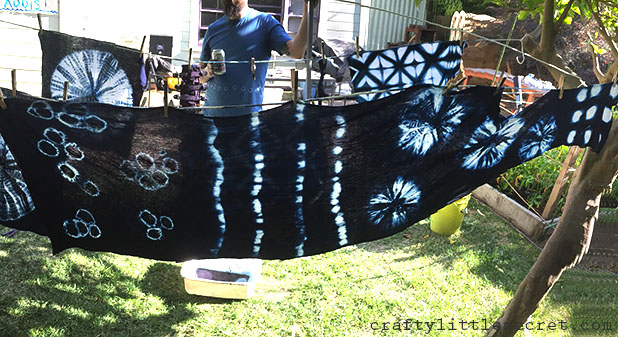
On the left is the pattern that was created by the little wooden bead and elastic clusters. I love it! Very microbial, no? Next to that are the strips created by the popsicle sticks, the kumo twists, and the polk-a-dot pattern on the right was created using the plastic coasters. Since this scarf was made out of a scrap of fabric I had in my stash, there’s a chunk cut out of it on the right. But fear not, I’ve got a plan. So stay tuned for that too!
Anyhoo, that’s all that I dyed, but check out some of the awesome things my friends made!
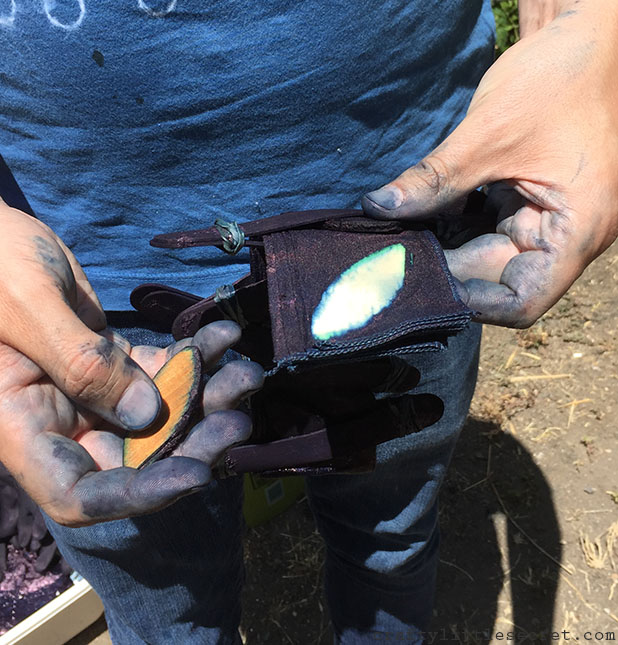
Ryen used these little wooden leaf cut-outs that he found at the hardware store to make the butterfly effect shown below. I really wish I had taken a picture of Kristy’s finished product using the same technique to show how differently different fabrics take the dye.
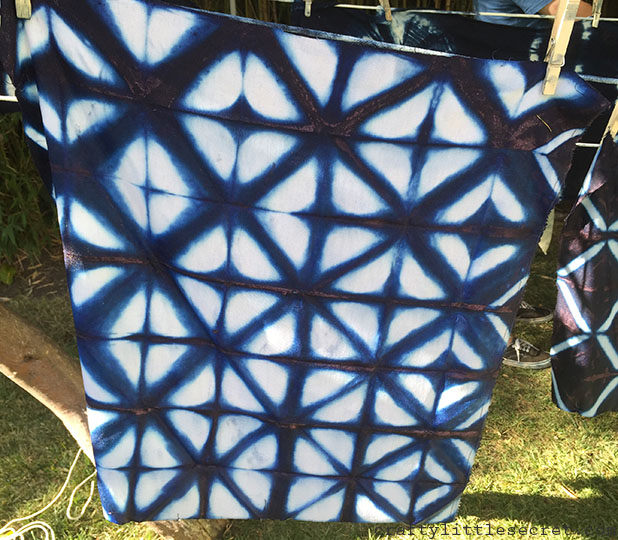
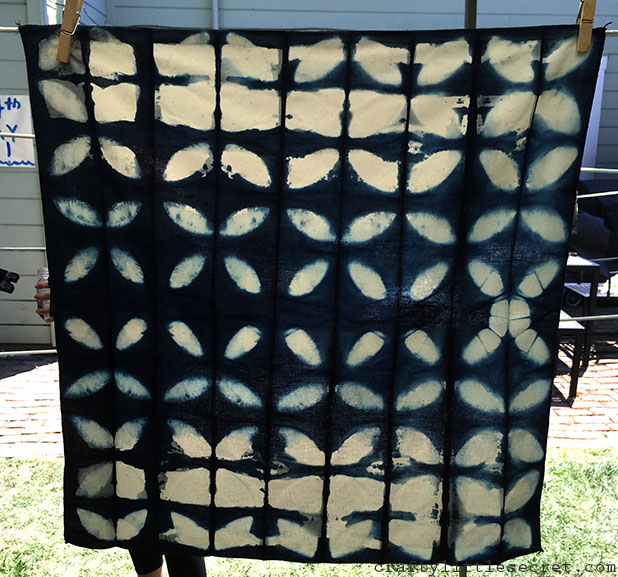 Kristy brought some linen that she cut into 20″x20″ squares to make napkins. You can see in the photos below that the dye penetrated the fabric really, really well making clean sharp lines and consistent dye patterns.
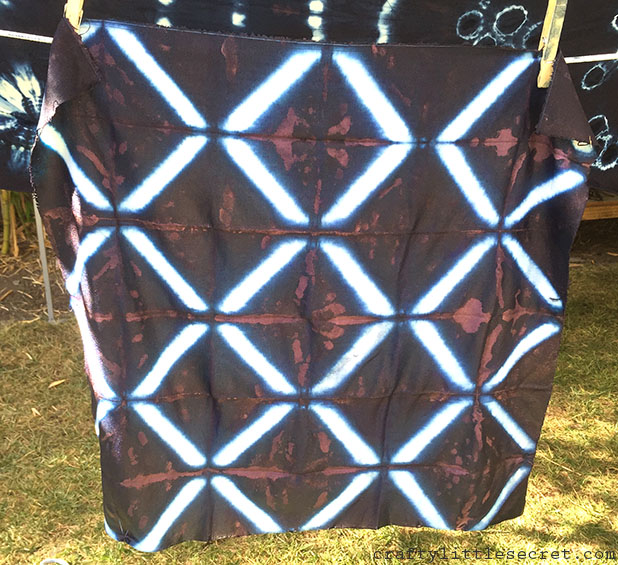
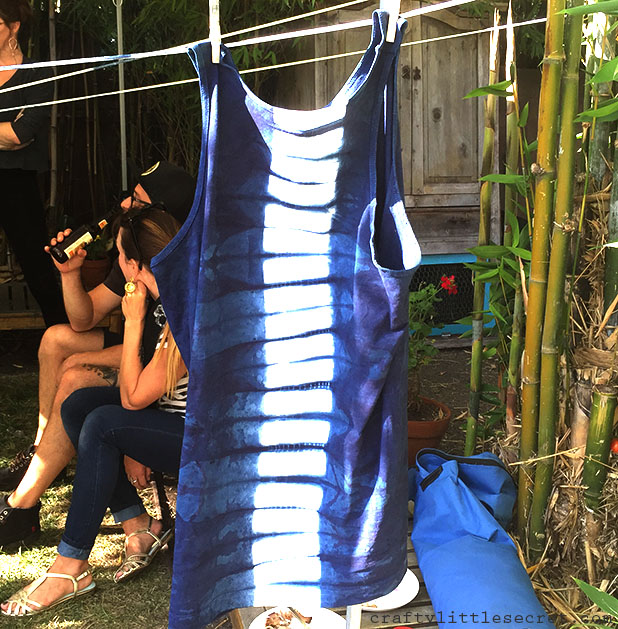
 Ryen also played with placement of simple patterns and made the tank top below. The stripe is on the back of the tank top so it makes a really cool spinal effect.
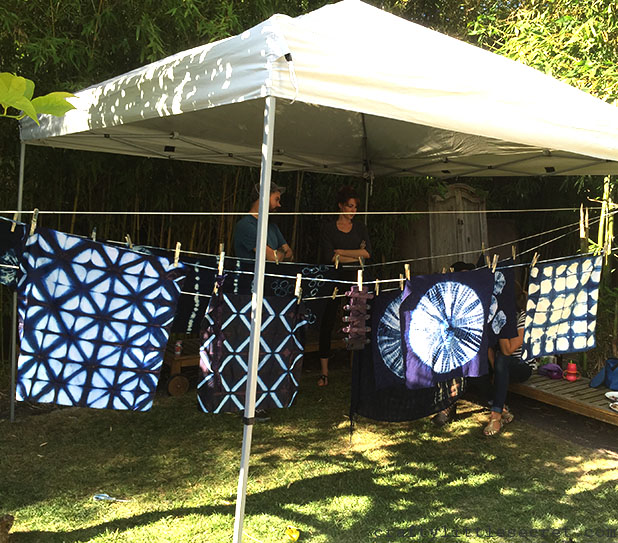
And here it is, all our beautiful work hanging on the line! What a way to spend a lazy Sunday…
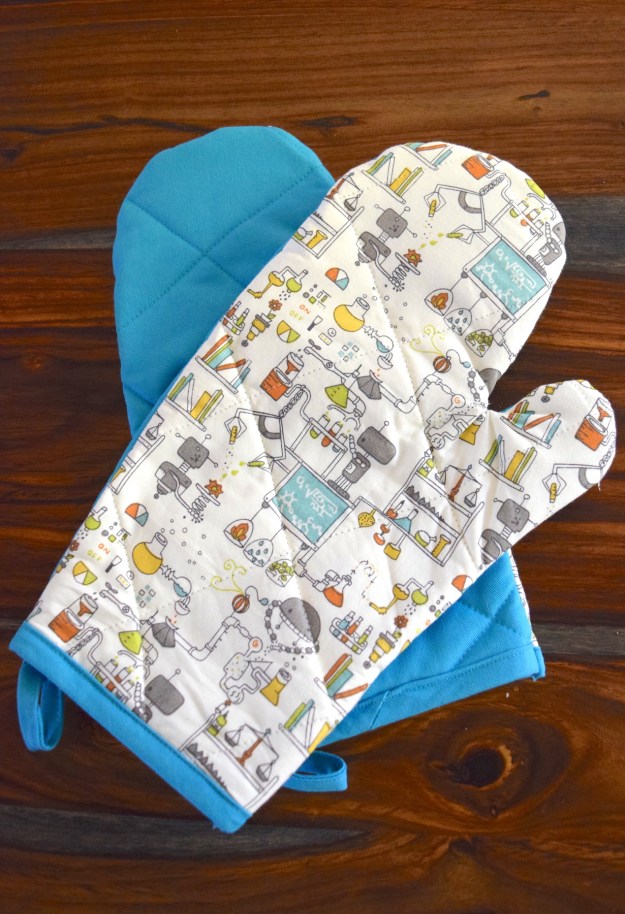


 Oooooooooh! Aaaaaaaaah! Have you ever seen such straight and even top-stitching? Such perfectly spaced buttons? Such just-the-right-size button holes?


 .
.