
I’m addicted to horizontal stripes, especially in black and white. For a while I restricted myself from buying anything too stripy, but one of my favorite black/white striped sweaters is starting to look a little worse for wear so I’m allowing myself another new shirt or two.
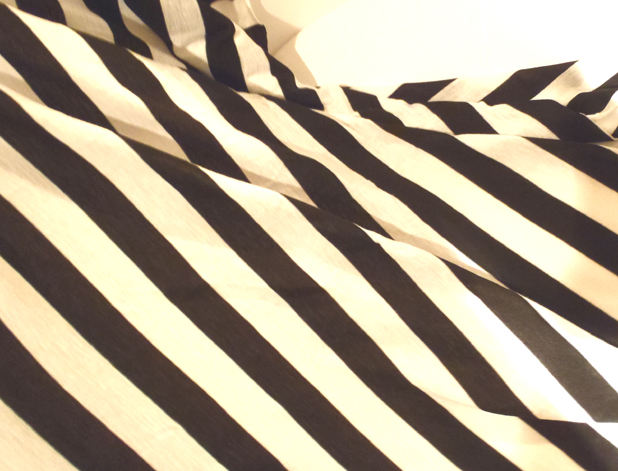
Whenever I go to the fabric store I always check out the odds and ends bin, you can find some great deals in there. For instance, I found about 2 yards of this black/white striped jersey knit for $3!! It had a couple holes and blemishes that needed to be worked around but for that price, I figured I couldn’t go wrong!
 I thought about it for a while and ultimately decided to make a tanktop with the fabric. I’m a self-taught sewer, so I’m not sure if these techniques are proper but they’re what work (sort of) for me! Though, you’ll see at the end that this project had a few issues I’m still trying to sort out.
I have a sheer tanktop from Nordstrom that I really like the fit of and decided to use that as a rough template, leaving about an inch around all edges for seam allowance and some room to mess up.
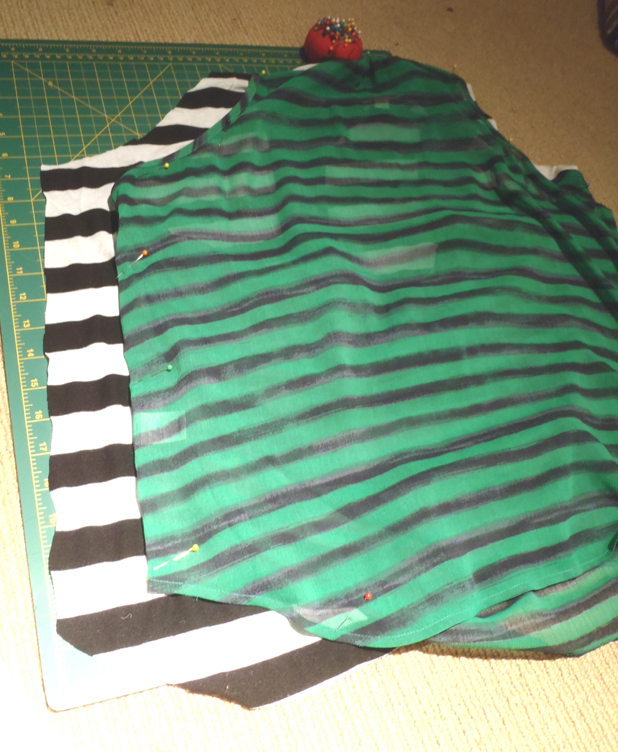
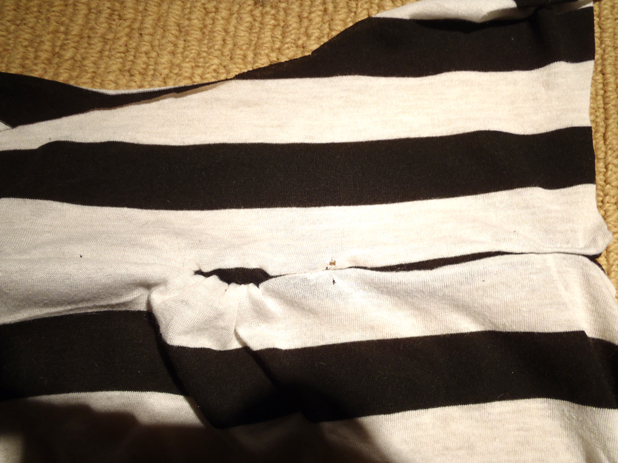
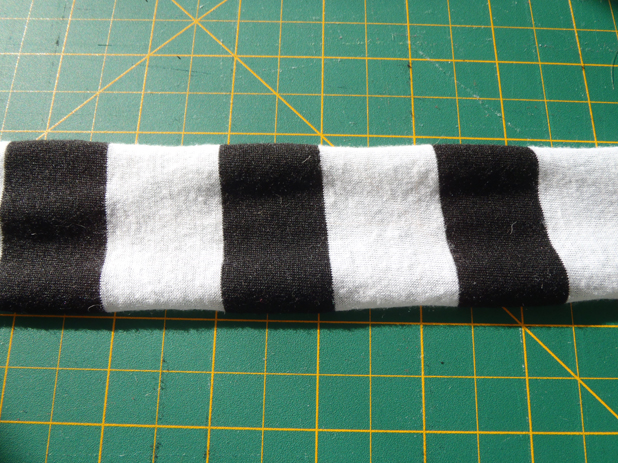
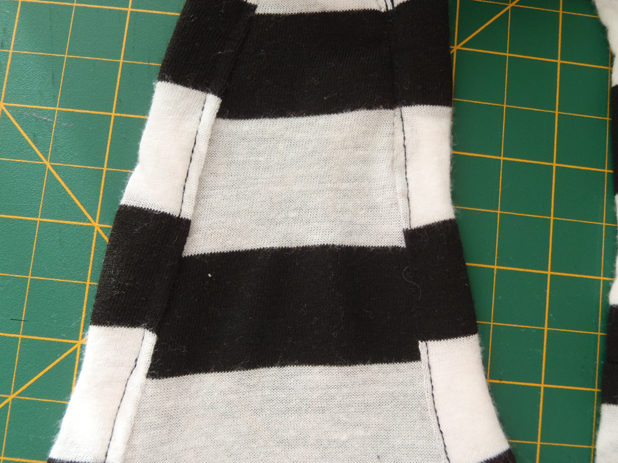
 It’s hard to tell in the top picture, but this tanktop is actually made of 3 pieces total. The front is a single panel, then the back has a seem across the shoulders with a bit of gathering to allow it to sit flat across the shoulders then flow out from the body.
I started by preparing the front and back panels for sewing together. I didn’t take a picture of it, but the front of the tanktop has a bit of gathering in the center of the neck opening. When I cut the fabric, I allowed a couple inches extra for this and gathered the fabric before sewing the two pieces together. There’s a really simple way to do this.
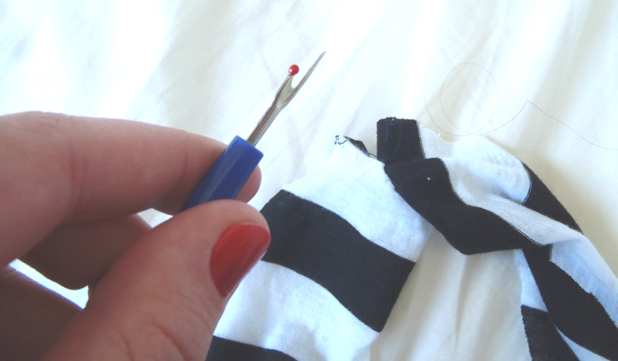
First, sew a straight line on the portion of the fabric that you are going to gather (don’t use your stretch stitch settings yet!). Be careful to do this close to the edge of your fabric (less than 5/8″) so that it will be sewn into the seam and not visible in the finished garment. Next, you want to grab the thread from the top side of the start of the stitching and the bottom side of the end of the stitching (I’ve drawn arrows to show which threads, the one on the right is coming from underneath the fabric).
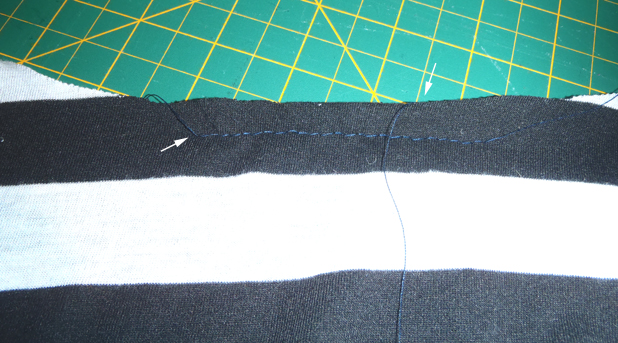 Gently pull on the threads and the fabric will gather. When it has the look you like, run it through your machine again and baste it down with a quick top sew.
 I did the same thing at the back of the shirt, then sewed it to the upper back panel. When I did this, I forgot to change the tension on my machine first and ended up getting a snag and putting a hole in the fabric. Whoops!
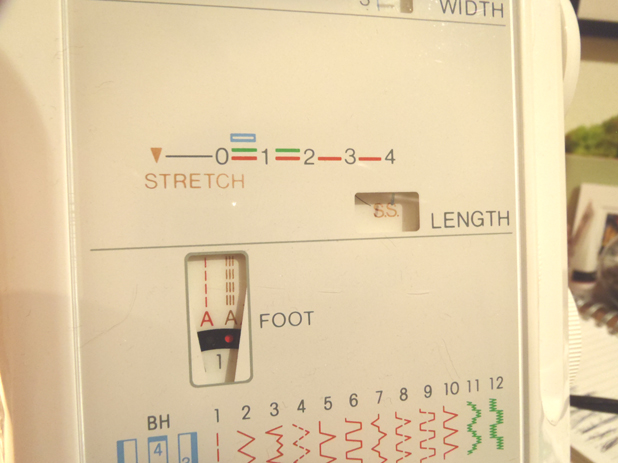
Every sewing machine is different, but it’s important to sew stretchy fabrics with the proper tension settings to allow your seams to stretch with your shirt and avoiding thread breakage. My machine has a stretch stitch setting that I used for sewing all the seams (once I remembered to do so, that is!).
 Now I was ready to stitch the front to the back. Unfortunately, at least once in every sewing project I will sew the right side to the wrong side. I guess that’s why stitch rippers were invented!
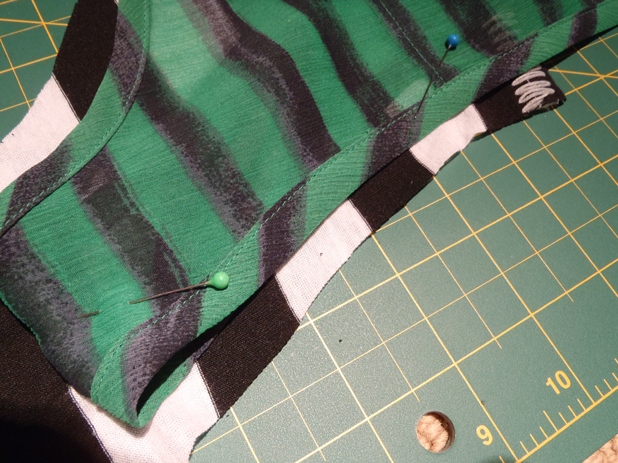
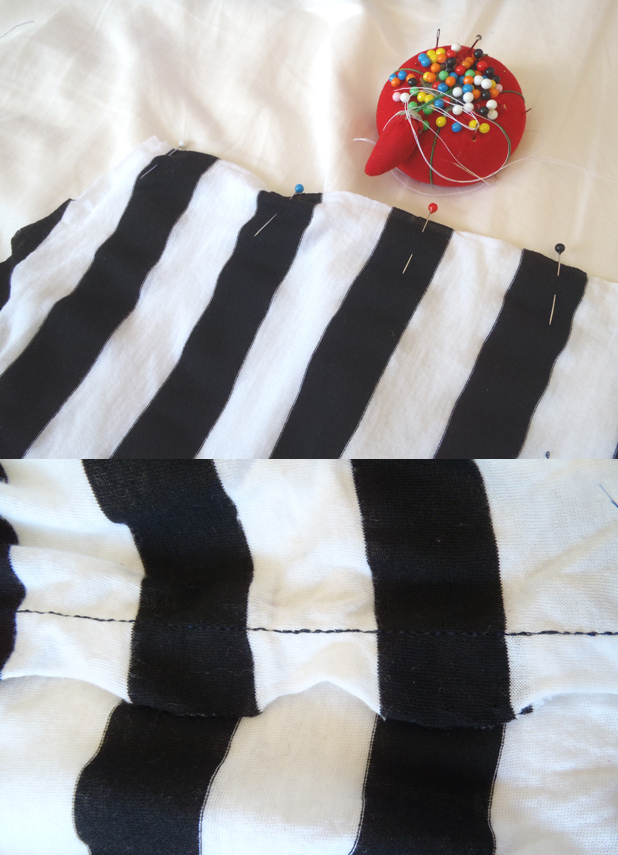
 Ok, with that out of the way I was free to pin and sew right sides of fabric together, sewing the side seams up the torso of the shirt and the shoulders. I always use a seam allowance of 5/8″, since I was taught this is what most sewing patterns allow for. I also took care to make sure I matched stripes. It’s a simple way to make your projects look a little more tailored.
 Next, I wanted to add binding to the neck and armholes. Full disclosure here, folks: I’ve never done binding before and I totally made it up, so I may not have done it properly.
First, I cut long strips of fabric, 2″ wide, that I would use as the binding. At this point, other craft blogs would tell you to do something crazy like iron it. If you like doing things properly, go ahead! Iron away! If you’d rather get it done quickly and sloppily, my way is the way!
 Next, I sewed one long edge of the binding to the armholes and neckline, right sides together.
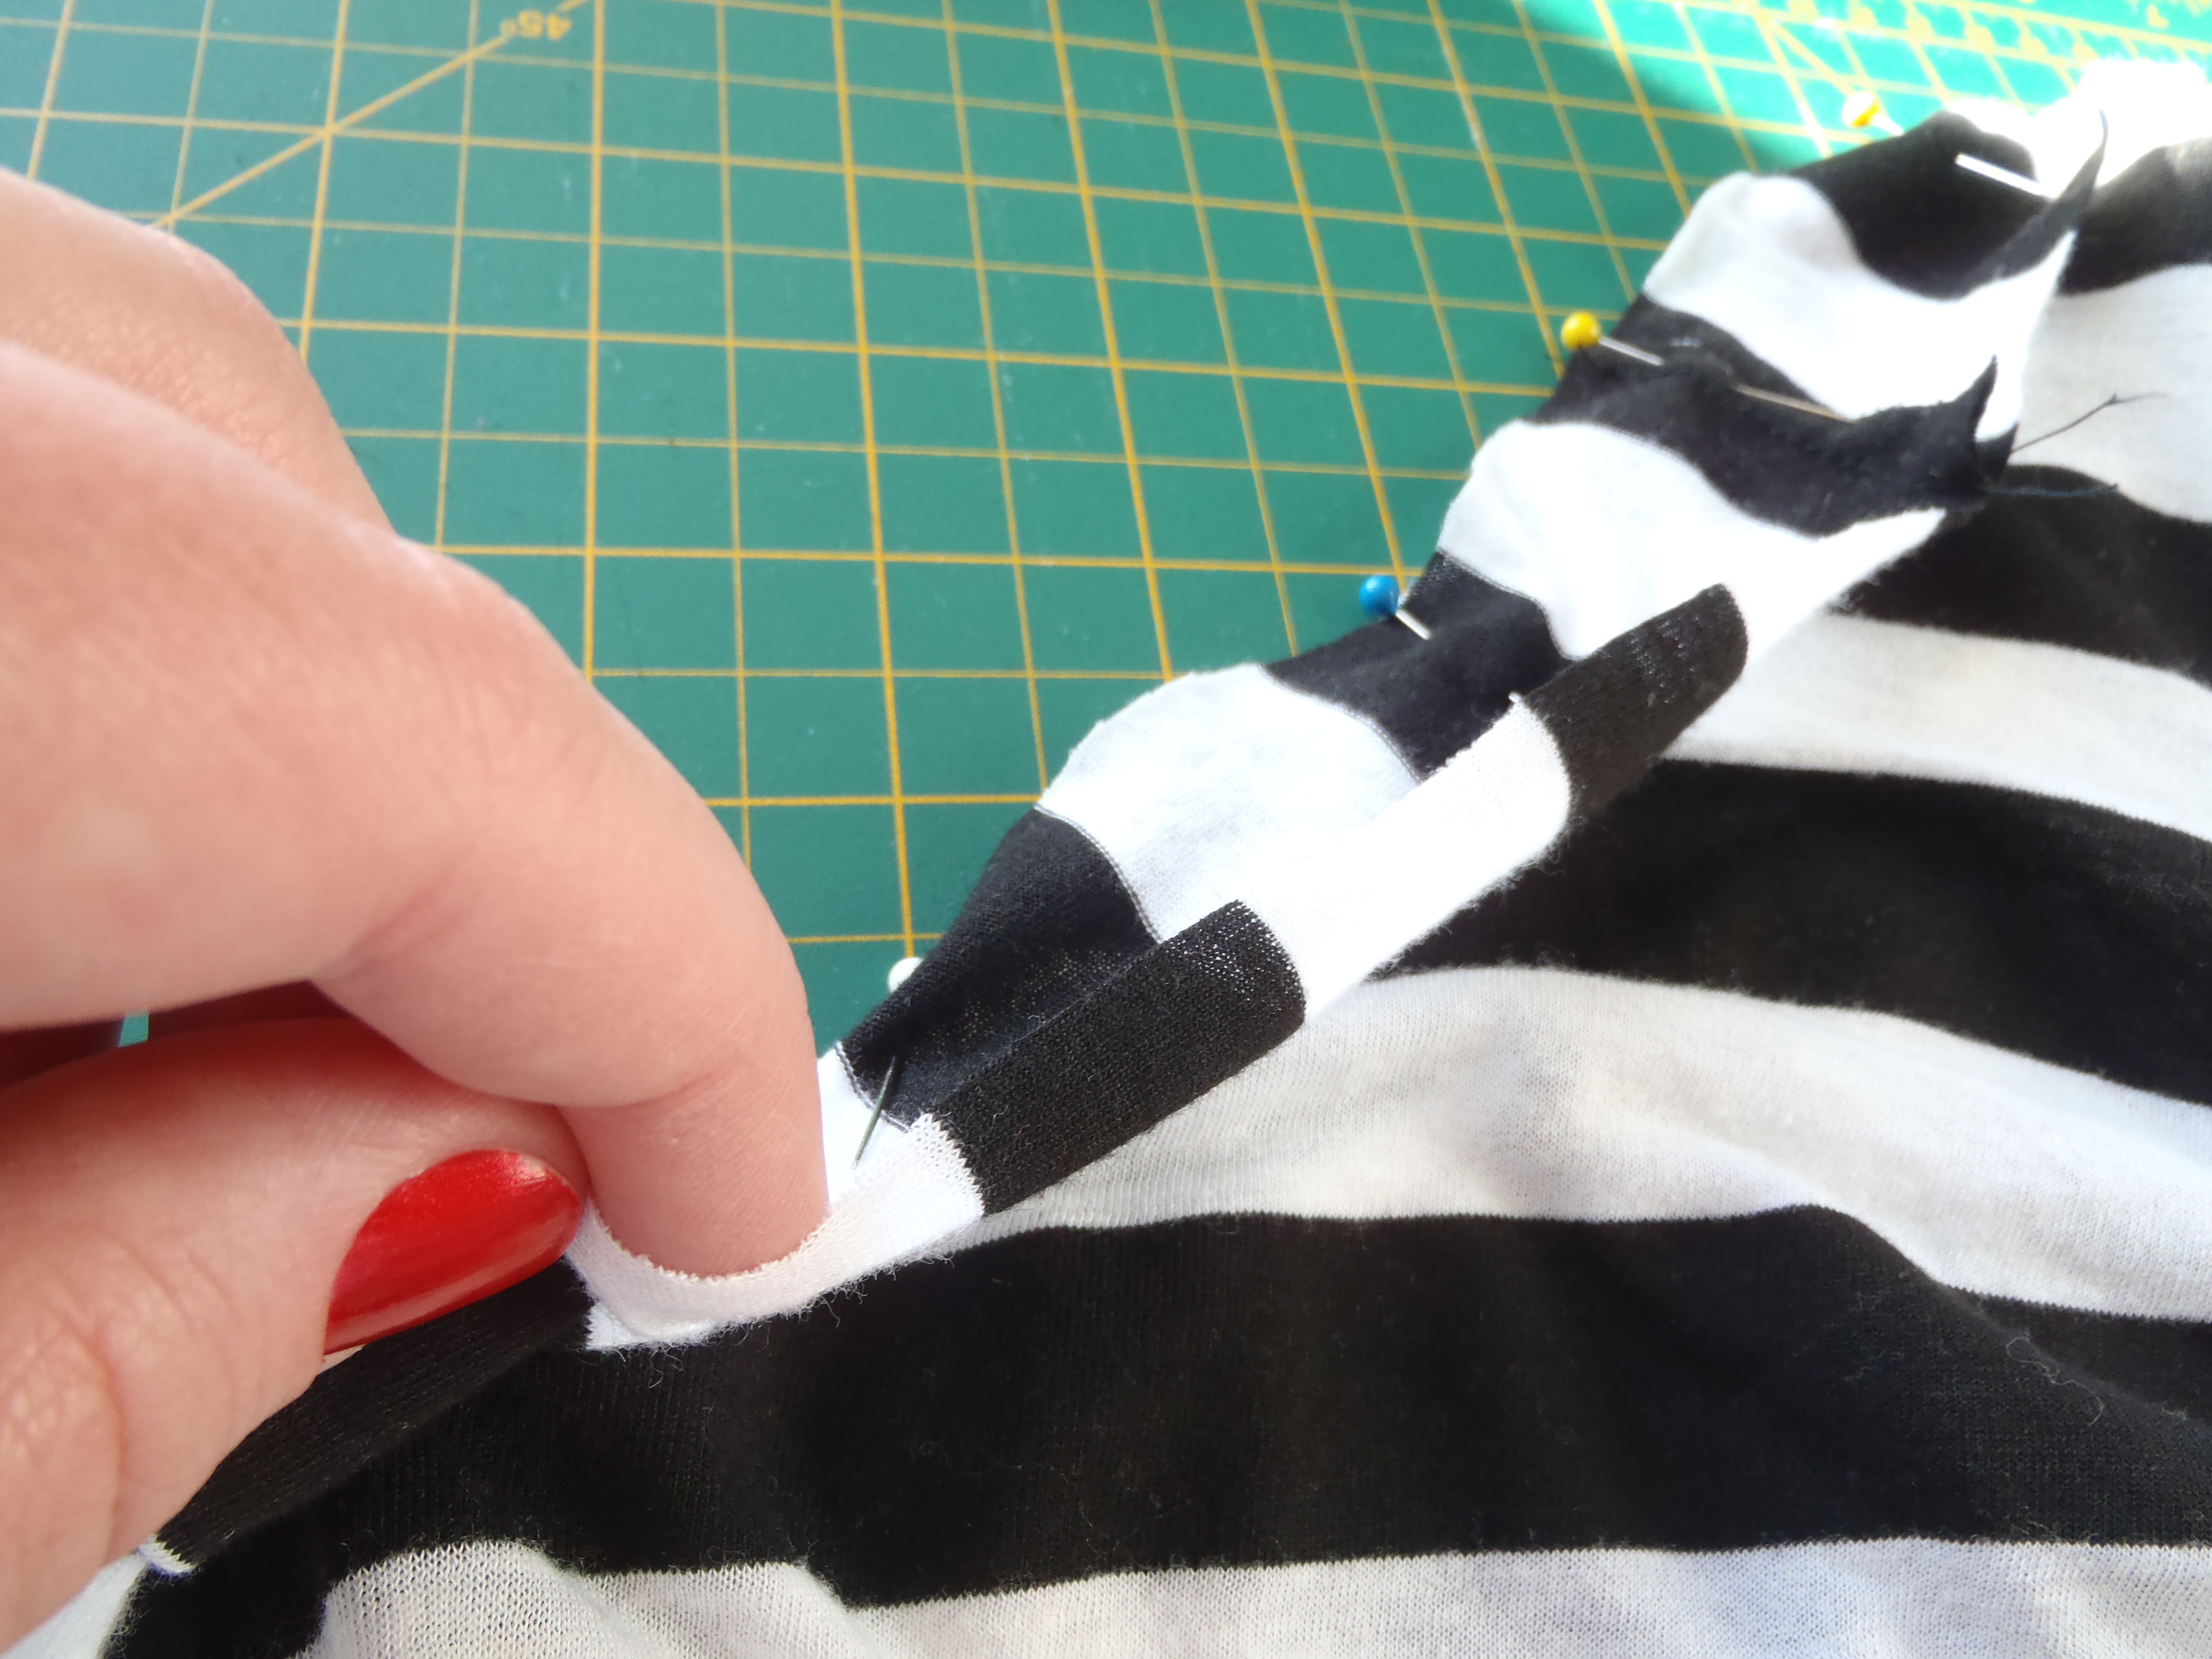 This next part might be a little difficult to see with my fingers in the way, but what you want to do is this:
1. Fold the binding, wrong sides together so that the edge meets the edge of your seam (along the dotted red line I’ve drawn).
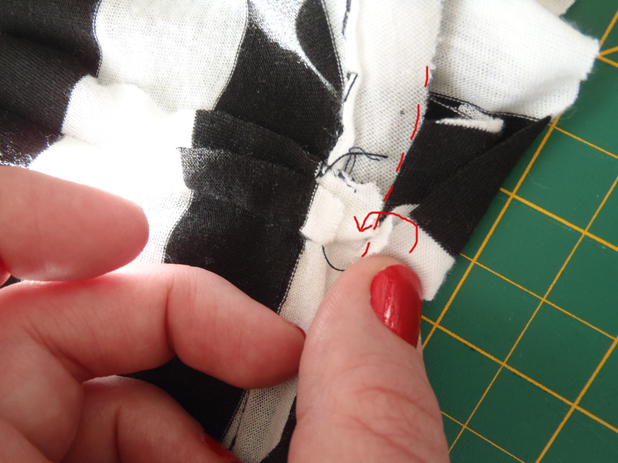
2. Fold again, so that now your binding is folded over itself and covering the raw seam edges and pin.
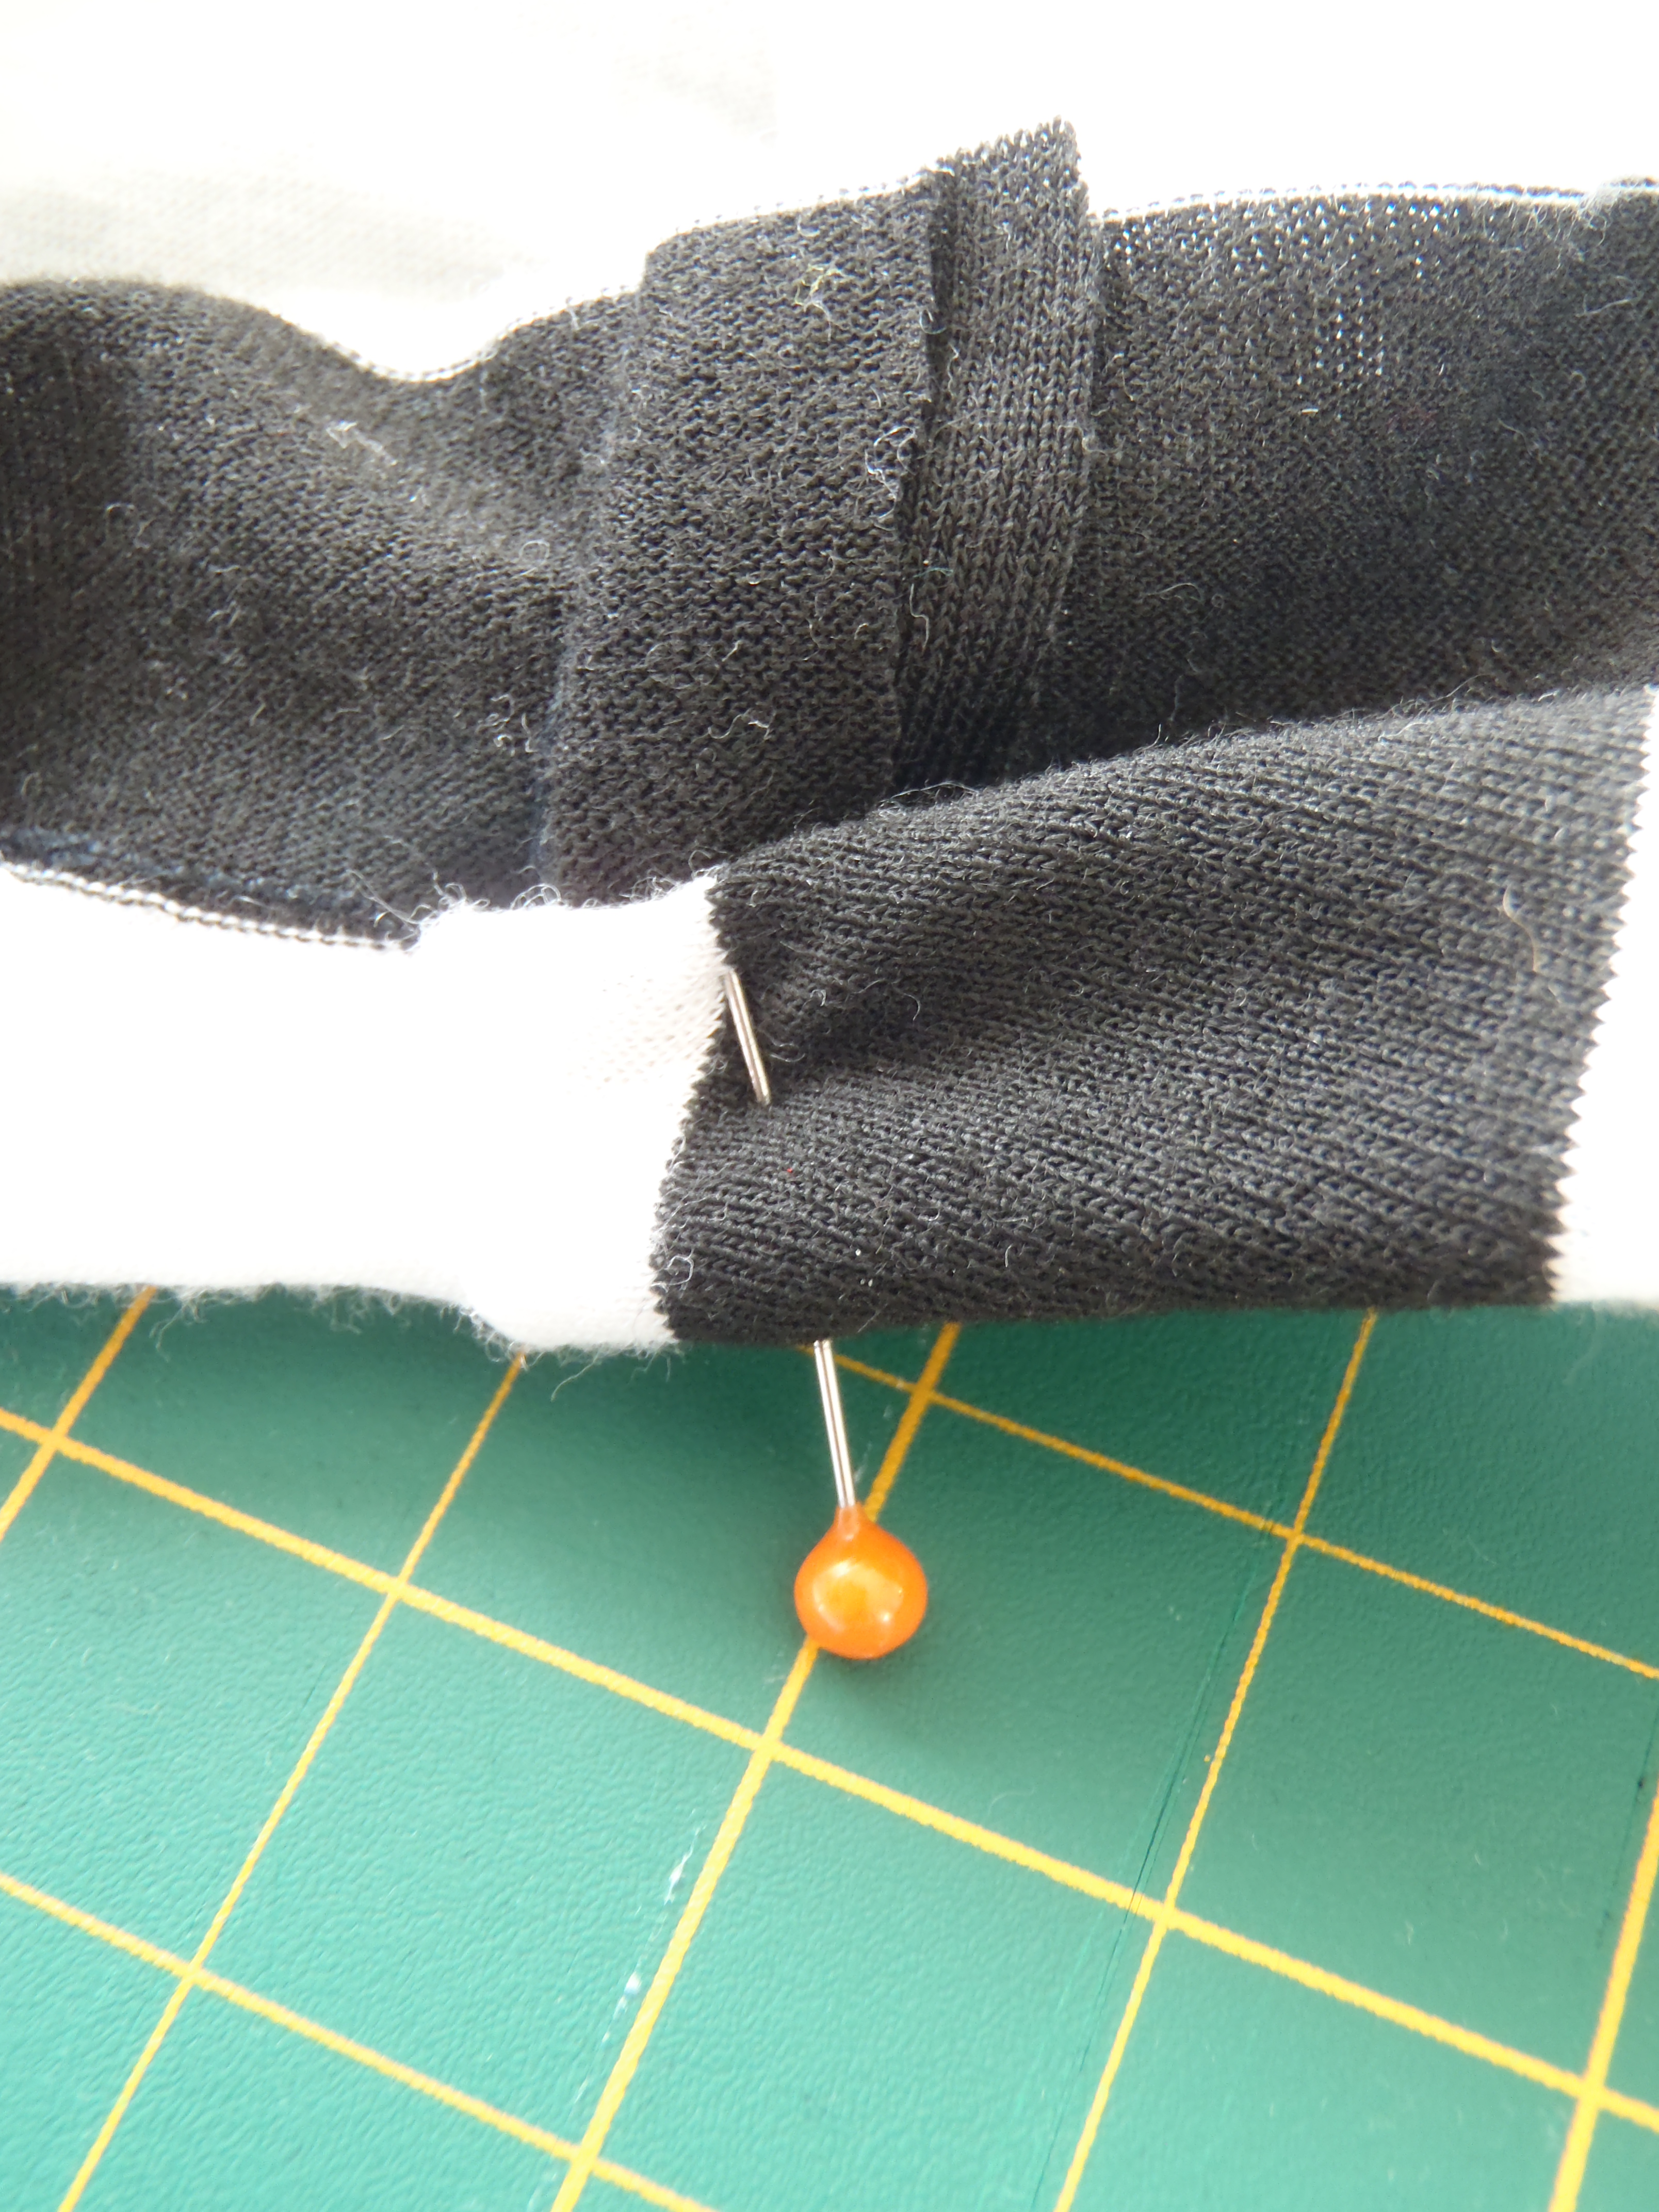 Stitch as close as you can to the inner folded edge of the binding all the way around, until it looks something like this…
 This technique worked great along the neckline and I’m quite pleased with how it turned out. The armholes??? That’s another story….

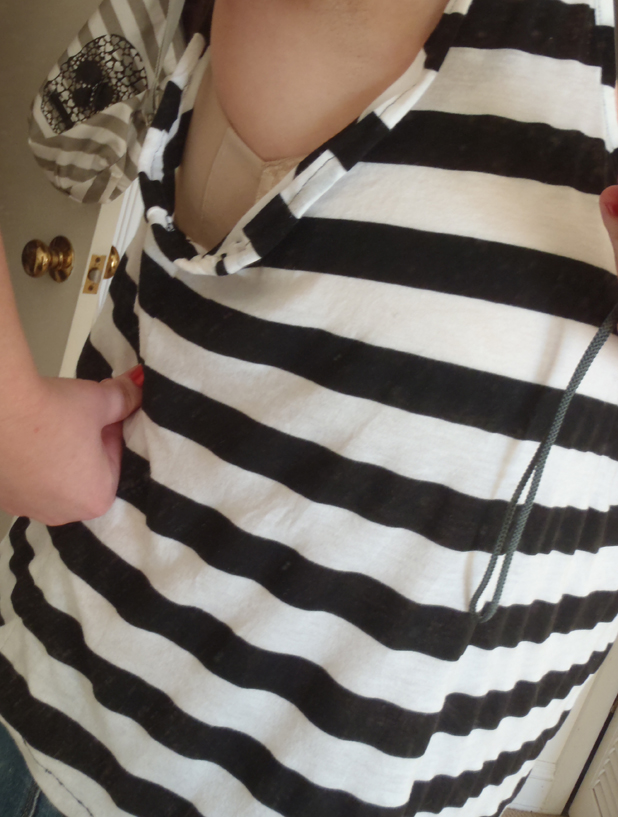 So. Here’s where we end for now folks. I’m debating a couple possibilities to fix this issue.
1. Remove the binding, put in a dart and try again.
2. Be really lazy and try to add a dart without re-doing the binding. This seems unlikely to work.
3. See if I can just sew up that side seam and take in the extra fabric on the armhole.
I’ll post again once I decide what to do. In the meantime, any experienced sewers out there with a suggestion on how to fix this mistake?


Pingback: DIY Fix: Striped Tanktop | Crafty Little Secret...