
My in-laws’ beautiful sailboat was very involved in our wedding, so when it came to making some ‘Thank You’ cards I wanted to keep with the nautical theme. I decided to try my hand at rubber stamping and wound up with some pretty cute note cards, if I do say so myself!
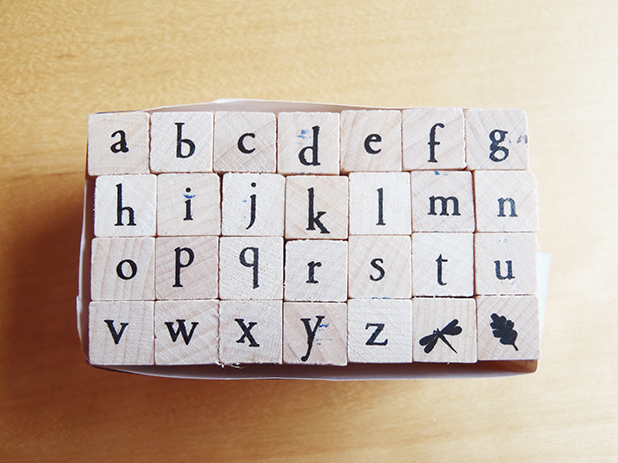
 After poking around the stationary section at my local art store for a while, I decided to buy individual alphabet stamps rather than stamps with phrases already on them. While individually stamping each letter is definitely more tedious, have the whole alphabet gives me much more flexibility and lets me use the stamps for different projects (like my new blog header! You like??). I liked the Times New Roman typewriter-looking fonts and figured these would be more forgiving if I didn’t stamp in a perfectly straight line.
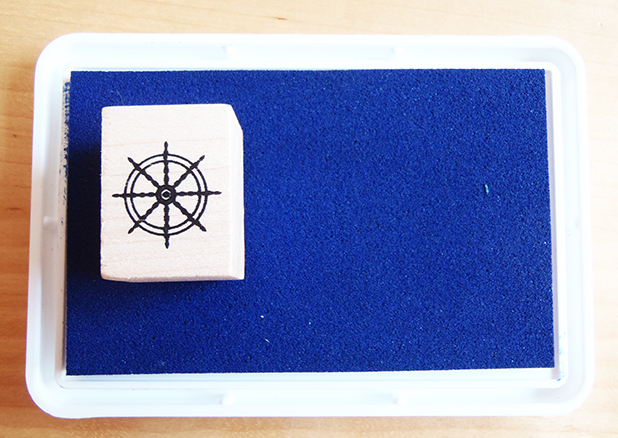
 I also went with a set of cute nautical-themed stamps. I picked a set that had a least 4 or 5 stamps that I thought I could use for the cards and envelopes but also some stamps that might be cute for future projects (like the skull and bones!!!)
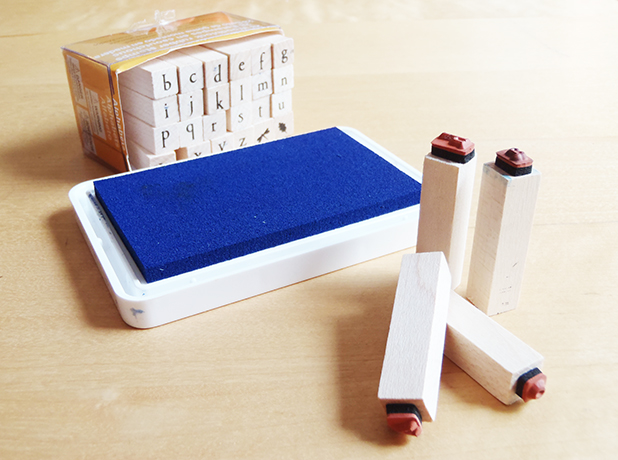
 To be honest, I didn’t really put much careful thought into my choice of ink and just knew that I wanted a nice seaworthy shade of blue. Once I got home and actually read the package, I found that I had apparently bought a water-based ink that could also be heat-set and used to stamp fabrics!!!! Look out adorable textiles, here I come!!! The ink was supposed to be quick-drying, and for the most part it was. I found though, that even about 10 minutes after stamping (onto cards that were specifically made for stamps) I could still smudge the images with my thumb using a bit of pressure. After leaving everything out overnight it dried completely and there were no more smudging issues.
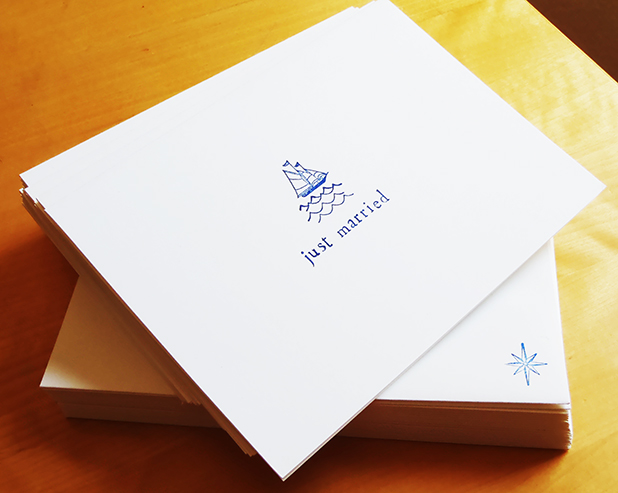
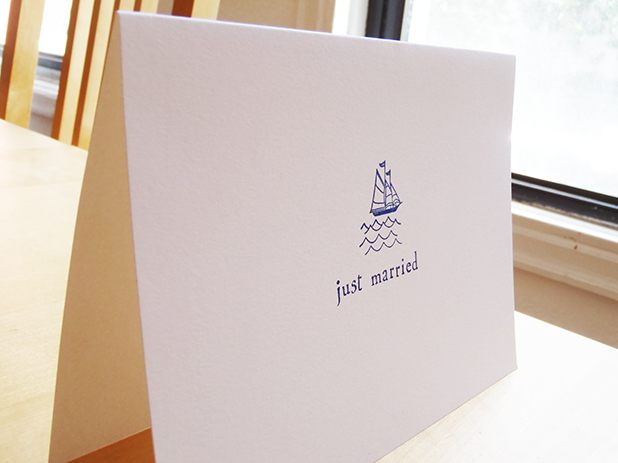
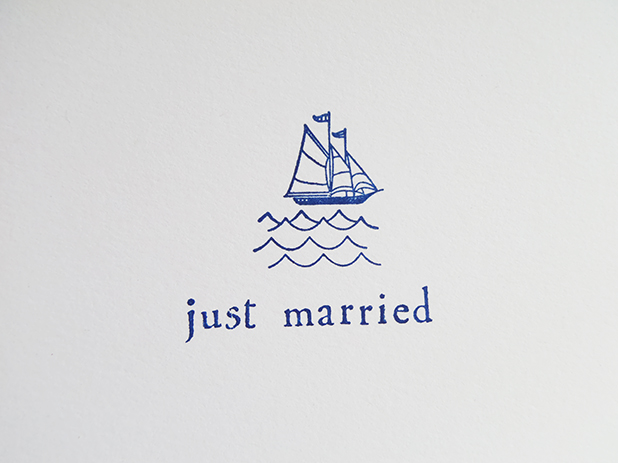
 My inspiration for the front of the cards was a cute stamp I saw online that had a view of the back of a car with a “Just Married” sign and tin cans trailing behind. I thought it would be super cute if I could do the same with a boat! I tried drawing some tin cans behind the boat stamp and that just looked….well….stupid. So I left it alone. I like the way it turned out, like we’re sailing into the sunset for an explorer’s honeymoon…
 I played around a bit with the positioning of the ‘Thank You’ on the inside of the card and decided that I liked it best centered at the bottom of the card. It still felt prominent but left room to write personal notes to everyone who helped make our day incredible!
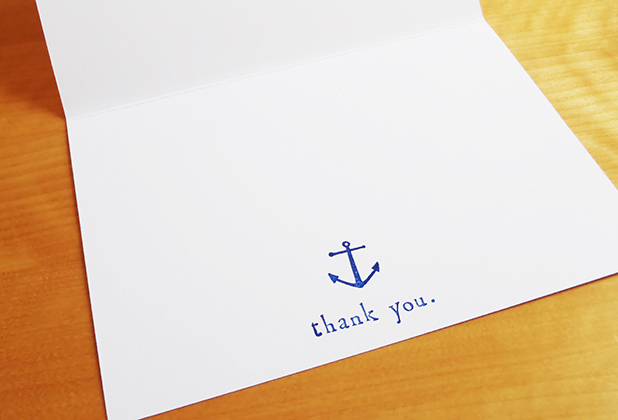

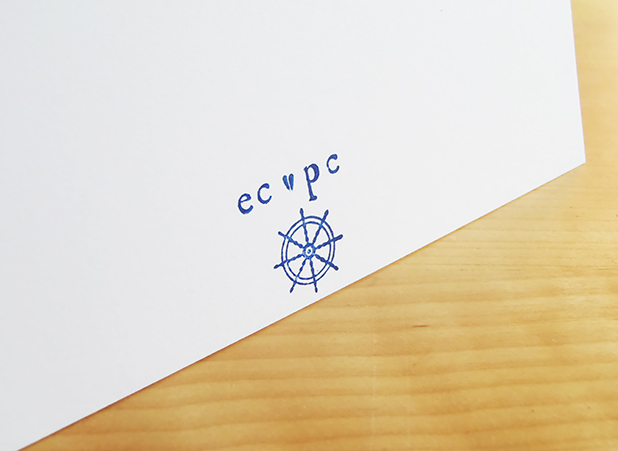
 As a final touch for the cards I also put a little stamp on the back with “ec ❤ pc”. Which brings me to another point. Think creatively about the stamps you have. My kit didn’t come with any punctuation or a heart stamp. For the period in “thank you.” I simply used just the dot from the letter “j” and for the heart on the back I used just the wing of a firefly stamp that mysteriously came with the alphabet stamp.
 I really enjoyed playing with stamps and can’t wait to try stamping fabric. I’ll tell ya though, not sure if I would have enjoyed the process as much if I had more than about 25 cards to make!!

