
 I don’t know about you, but for the longest time my thread and bobbins have been stashed wherever they fit. In boxes, laying around on my sewing table, in my sewing kit. I was always have to search three or four places to see if I had a certain color of thread.
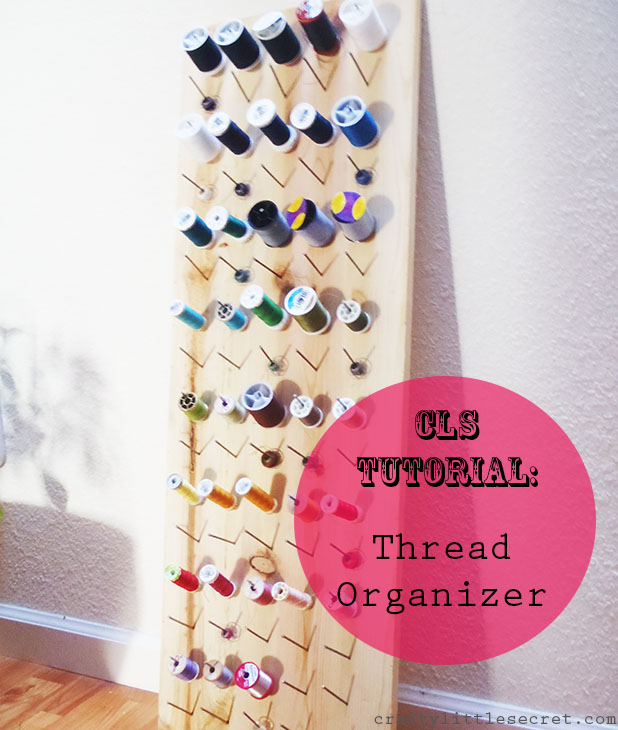
Now that I have a dedicated sewing space, I decided to build myself a wall hanging (or leaning) thread organizer! It’s not the prettiest thing I’ve ever made but it could be easily prettied up with a coat or two of paint and it sure does the trick!
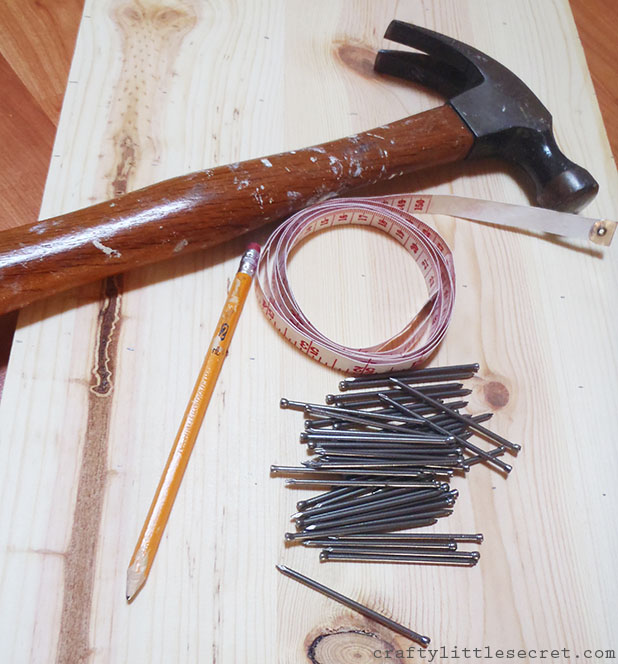
Materials:
– Hammer
– 2/12″ nails
– 12″ x 36″ board
– measuring tape
– pencil
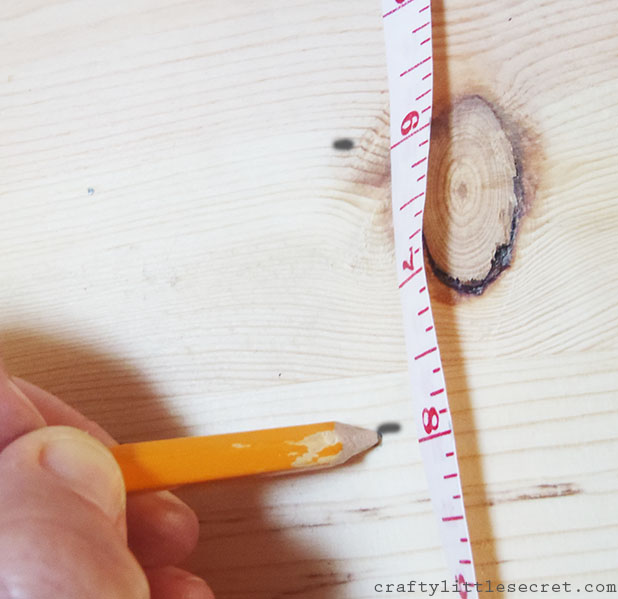
First thing’s first. I ran into a little trouble hammering nails into knots and wood grains in my board, so try to get as un-knotty a board as possible.
For average thread spools, you’ll want to put nails every 2 inches (more if you’re doing large spools like for sergers). Using your measuring tape and pencil, put a tick mark every 2 inches down both long edges of your board.
 Next, match up the tick marks across from each other with your measuring tape and make tick marks going across the board every 2 inches. You should end up with a grid of tick marks, like this;
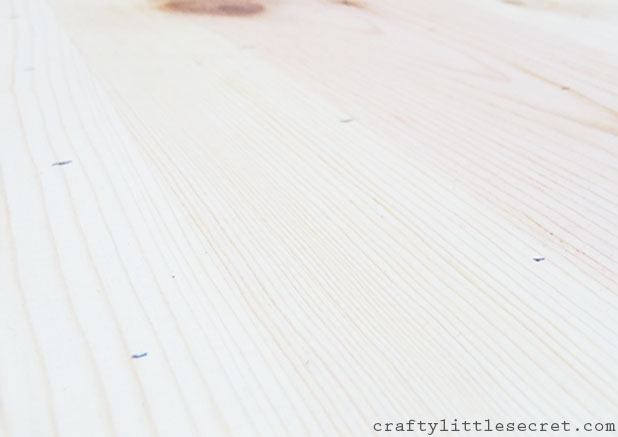
Can you see my little tick marks?
Next, hammer a nail in at every tick mark, with an upwards slant to the nail. I found it easiest to start at the bottom and work my way up the board.
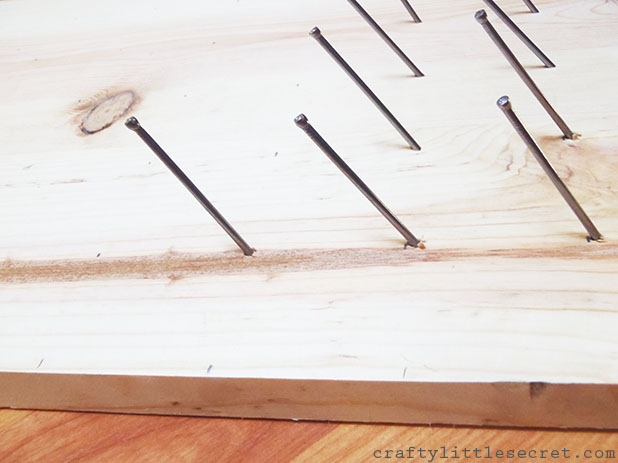 You’ll end up with what my husband was referring to as my ‘bed of nails’….
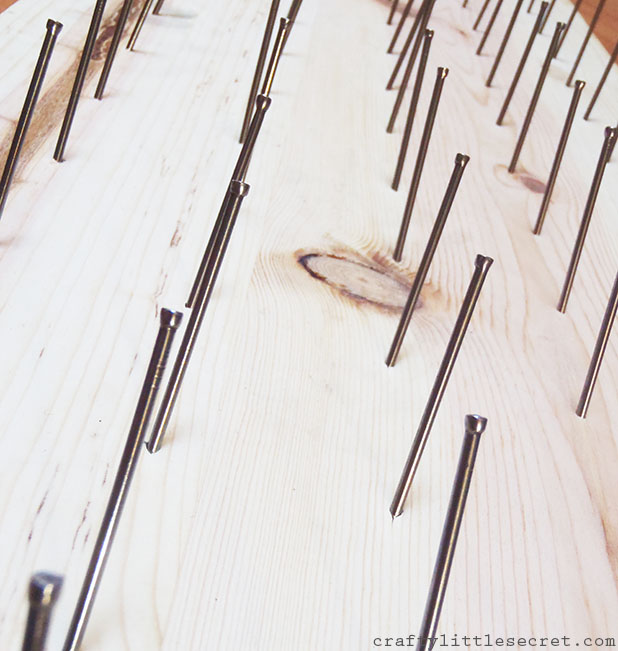 And that’s it! In about 30 minutes from start-to-finish, you’re done!!!
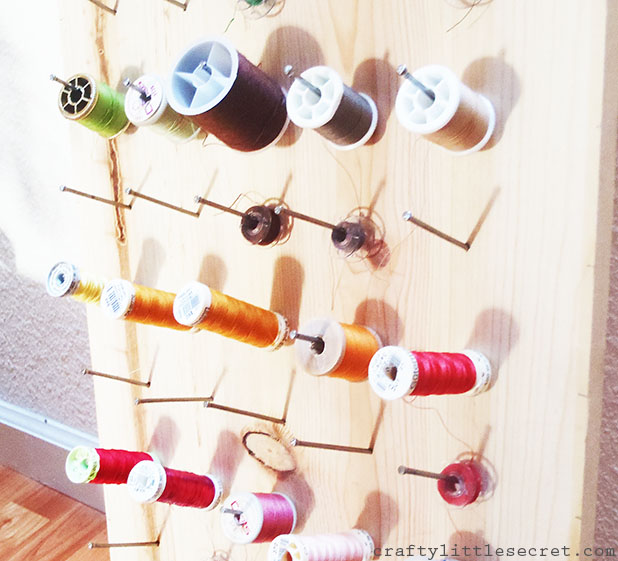 I set mine up so that spools of thread hung on every other row. Then, the matching bobbin can hang under each spool making it super easy to see what I’ve got.
 The only word of caution I would extend is that if you’re going to hang this on a wall, bear in mind that it is very heavy. I wouldn’t recommend hanging if there are no studs available. I haven’t tried hanging mine yet. Finding studs in my….er……”economically” built apartment can be….sporadic. At best. But even leaning against the wall, this sure beats the pants off what I had going on before!!!


Very cool! I have a store-bought one that uses dowels, and I always figured that was probably okay since getting all those dowels into a block of wood seemed a little too tedious for me. But, I can’t believe I hadn’t thought to simply hammer nails into a board. Genius! I tend to tuck my bobbins under the matching spool of thread. Though it makes seeing which spools already have bobbins a bit harder, I enjoy being able to fill all the dowels since it turns out I have a lot of thread! Plus, all I really care about is the thread color. Winding a bobbin if one doesn’t happen to already be there isn’t a deal breaker for me!
Thanks! This went through many more complicated iterations in my head until I finally decided to keep it simple. I’m so excited to actually have a dedicated sewing space I kinda just want to get it functional and I’ll worry about getting it pretty in time. I’m sure I’ll have to start doubling up on thread and bobbins or keep the bobbins somewhere else, my thread collection seems to increase at an alarming rate….
I thought this was a work of genius also. and so simple!
Pingback: 45 Craft Hacks for your Kids Craft supplies - Kiddy Crafty
Pingback: ORGANIZACIÓN DE HERRAMIENTAS Y MATERIALES PARA NUESTROS PROYECTOS DE COSTURA. |
Try using a corkboard instead of a wooden board! It’s more lightweight and allows for greater customization if you use heavy straight pins instead of nails 🙂
Just Amazing thank you for sharring