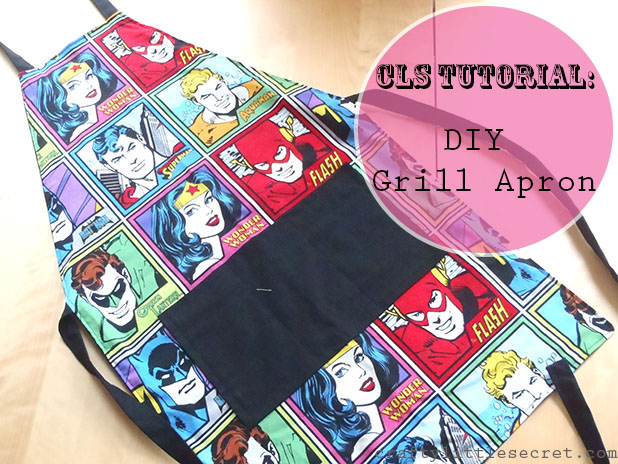
 Wow. Kudos to all you out there who post detailed tutorials regularly. I always forget how long I take to edit all the photos and get the posts up! This one has been in the making for a month….which I guess isn’t so bad.
What you’ll need for this project…..
– 1 yard of fun fabric (quilting cotton)***
– 1 yard of backing fabric (like a duck or light denim weight)
– 16/100 denim needle
– matching thread
– chalk
– ruler/measuring tape
– scissors
**** You could actually get away with less depending on which way the pattern runs, but for most patterned quilting cottons, you’ll need the full yard.
 Cut the following pattern pieces:
A (Apron) – 20″x36″
– Cut one of fashion fabric, cut one of backing fabric
P (Pocket) – 14″ x 9″
– Cut one of fashion fabric, cut one of backing fabric (or two backing fabrics if you want a solid pocket)
W (Waist Tie) – 36″ x 3.5″
– Cut two of backing OR fashion fabric
N (Neck Tie) – 24″ x 3.5″
– Cut one of backing OR fashionfabric
 Using chalk, make a tick mark on the apron pattern pieces 15″ down from the corner on the long side, and 6″ from the corner on the short side. Draw a line connecting the two pieces and cut the corners off.
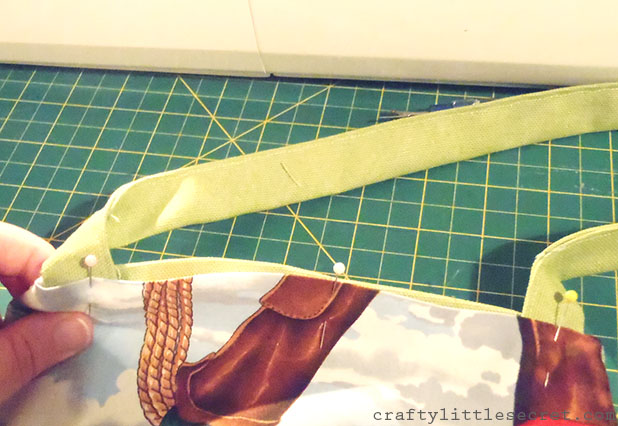
To make the waist and neck ties, fold and iron fabric as when making bias tape. Fold the tape in half lengthwise and sew it up as close as you can to the open edge (I kept my seam allowance about 1/8″).

 This is where it’s very important to have that 16/100 denim needle. Once you start sewing through multiple layers of the heavy duck (or similar weight) fabric, needle shards go flyin’ if you’re not using the right size.
 To finish the ties I just double overed the ends a couple times and sewed through the bulk of it….carefully. Watch for breaking needles and take it slow. No one likes a needle shard in their eyeball.
[ASIDE: The alternative method for making the waist ties is to fold the fabric in half lengthwise with right sides together, sew all the way up the open edge then turn the tie inside out. I find this technique annoying enough on lighter weight fabrics that I didn’t even entertain the though on these heavy ones. But if you opted for a quilting cotton for your ties, it could be an option if you don’t like the futzing with folding and ironing.]
 Attach the ties by sewing them into the side seams (I attached them at the point where the angled front of the apron meets the straight sides). Since the ties are so long I found it helpful to keep them contained by pinning them into a coil to keep myself from sewing them into the seams at wonky places.
 To attach the apron front to the apron backing, place right sides together and sew with a 5/8″ seam allowance. Sew all five bottom edges together (I went back and forth over the spot where the waist tie joined to add a little extra strength) but leave the top open. This allows you to turn the apron right-side-out again. Which you should do now. Flatten the apron and adjust the seams so that the corners are nice and neat (you can use a pencil to help turn them) then iron all the seams so they’re nice and crisp.
Sew the neck tie the same as the waist ties, but leave the ends open and unfinished. Fold the top edges of the apron pieces toward the inside about a half inch.
 Pin the neck tie in place with about an inch of each end tucked between the apron layers. Top stitch the neck closed and all the way around the apron with a 1/4-1/8″ seam allowance. The top stitch adds a little extra strength and gives a nice finished look to the apron.
You can stop here now if you want to….but we’re having so much fun! Let’s keep going and add some pockets.
 With right sides facing, sew the two pocket pieces together with a 5/8″ seam allowance and leaving a 6″ opening at the bottom.
 To help get nice crisp corners on the pockets, or any time you’re sewing right angles, it helps to trim some of the seam allowance off the corner. But be careful not to snip your stitches!
 Fold the edges of the opening that you left inward and iron in place.
 Top-stitch a decorative border along the top edge of the pocket piece. Again, this is just adding another of those little finishing touches that will help make your apron look a little more pro.
 [ASIDE: This was a great project to practice my print matching skills. When I was cutting the pattern pieces I realized I didn’t want to cover this awesome print with a big solid colored pocket and it would look odd if the pocket print didn’t line up perfectly with the apron print underneath. So I took care to cut the pocket piece so that the prints on the two pieces would align.]
Center the pocket piece in the apron about 8″ from the bottom of the apron, or at whatever height feels comfortable for you. Top stitch around the bottom and two side edges leaving the top of the pocket open.
The final step is to divide the pocket into small sub-pockets if you want. I found it easiest to draw a chalk line first as a guide to follow since my stitching has a tendency to get pretty wonky if I don’t have an edge to use as a guide.


