Almost a year ago to the day, I published an On The Go post. I’ve finished a few of the projects from the list; Pete’s hoodie, my nephew’s sweater, and a solution for the garbage area in my old apartment. I finally just got around to finishing off another of those projects – my T-shirt quilt!!!

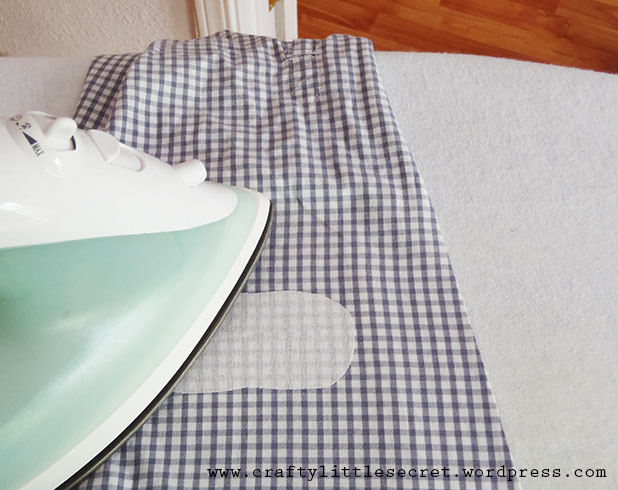
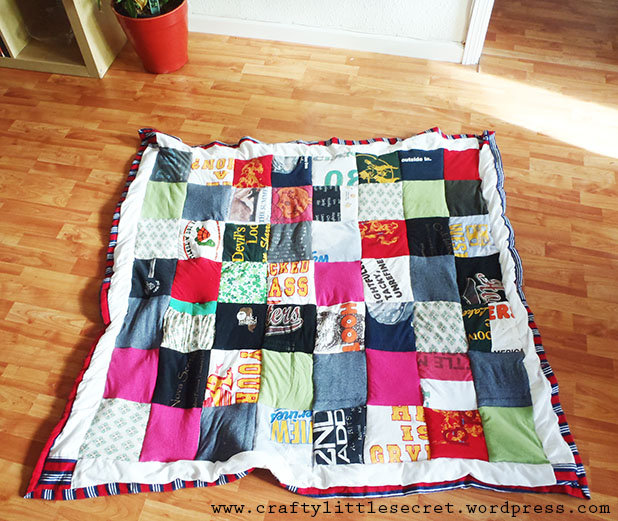
I know it doesn’t look like a T-shirt quilt in this picture, but I just loved the warm and fuzzy nautical flannel I chose for the backing!
I would love for this to be a “real” tutorial, and originally intended it to be that. But then I remembered I don’t know how to quilt. Sooooooo…… instead I’ve documented the steps that worked for me and what I would do differently next time! I’d love for people who know better to leave some comments with suggestions for my next attempt!!
I had a ton of old t-shirts that had a lot of sentimental value but were pretty grubby and were just taking up space in my closet. When it came time to move from the East Coast of Canada to San Francisco I figured it was also time to do something about my t-shirt hoarding.
I cut the fronts off all the t-shirts, paying no attention whatsoever to trying to keep them the same size, packed them away and forgot about them for another year or two. When I pulled them out and looked into making a t-shirt quilt, I realized the whole thing would go waaaaay easier if I had squares that were all the same size to work with. I was inspired by the way this one looked where less attention was paid to preserving the whole t-shirt pattern and decided to do mine that way.
I cut 7″ squares of all my t-shirts then laid them all out on the floor and moved the pieces around until I had an arrangement that I liked. The first tip I have that worked well for me is to first sew your panels together into long rows, then sew the rows together to create your quilt.


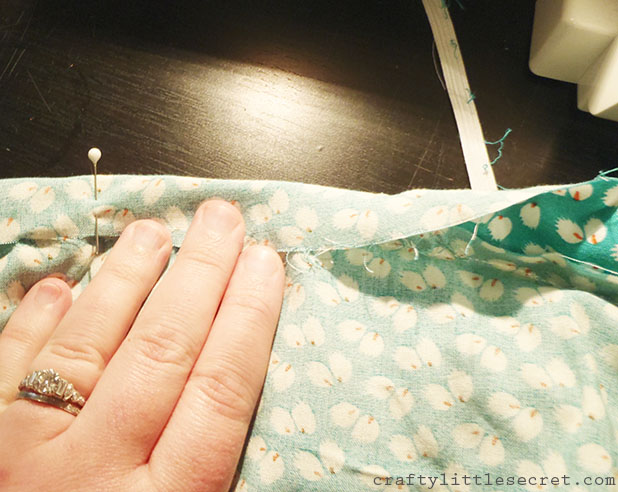
Sorry for the terrible photo, I took this over a year ago! It’s supposed to be showing that I’ve pinned the rows together to make the quilt 🙂
Aaaaannnnnnnd, this is where it sat. For a year. I found myself in need of a picnic blanket recently and, on a rare rainy afternoon, I decided to finish it off. This is where things got a little….er….less than pretty.
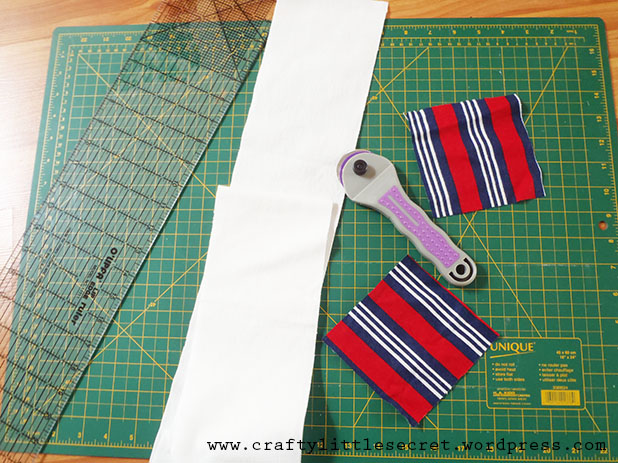
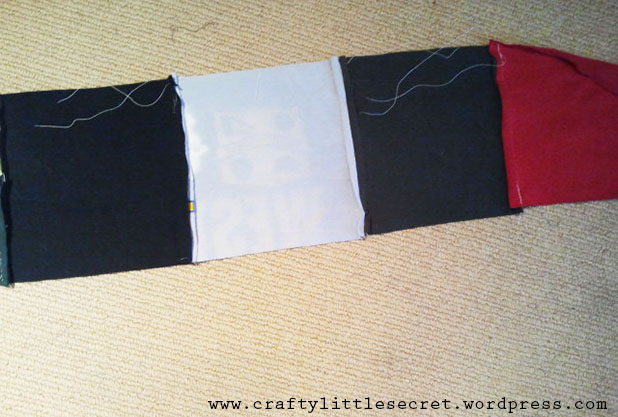
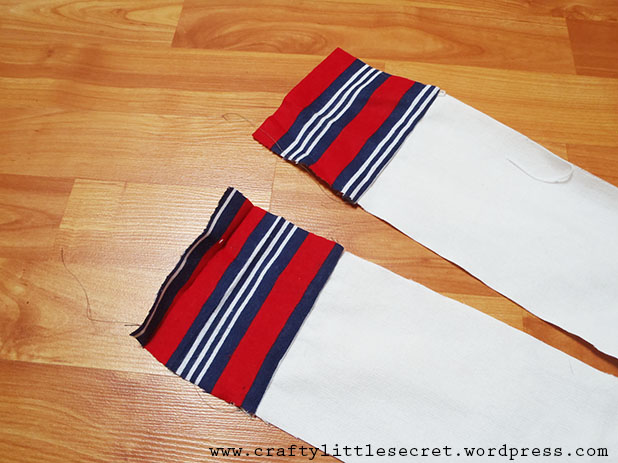
I knew my quilt was going to be a bit smaller than I’d wanted so I purchased some plain white fabric for a border to add size and some nautical striped flannel for the back. Of course, my white fabric was just to short to be able to make a border without cutting separate corner pieces. So, I cut 4 strips of white fabric (4.5″ wide) the length of the quilt, and 4 squares of the striped fabric (4.5″ x 4.5″).
 I sewed two of the white strips onto opposite sides of the blanket.
 Then I sewed the striped squares to either end of the remaining white strips (I made sure to keep the pattern in the same direction), and sewed the whole thing to the other two sides of the quilt.
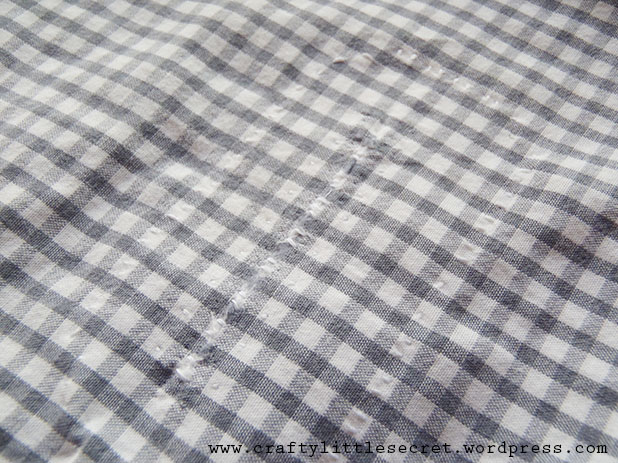
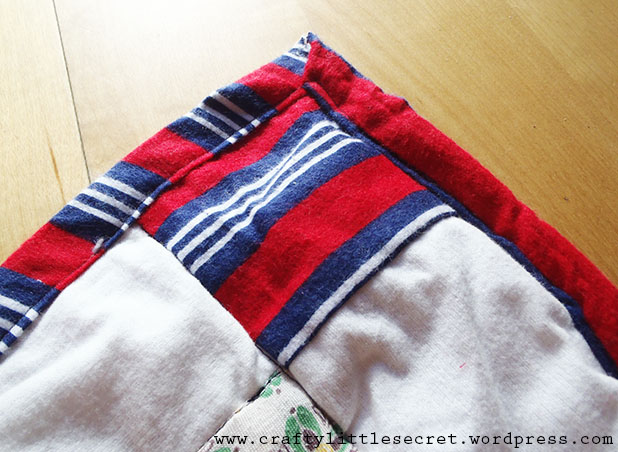
 Here’s the thing about that. I sewed non-stretchy flannel strips to really stretchy jersey fabric. Which means I ended up with a super wonky/wavy border. Maybe I should have stay-stitched the t-shirts before attaching the border??? Maybe I should used jersey for the border and the backing??? I dunno.
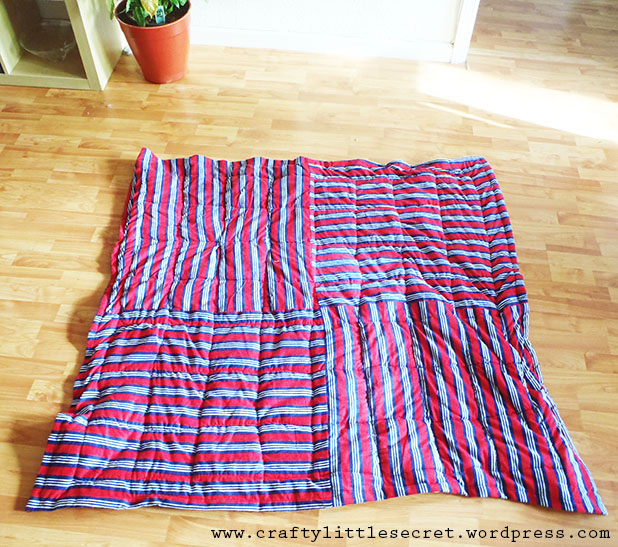
I cut 4 large squares of the backing and sewed them together with the strips going in different directions since the fabric wasn’t wide enough to cover the whole quilt in one large piece. Here’s the calculation I used to figure out how big to make each square;
 The extra 2.5″ was for a border around the front of the quilt. I decided to just fold up the backing fabric over the quilt front, then fold it under and top-stitch it for a border. I have no idea if this was “proper” quilting and I’m sure there’s a ton of tutorials out there that will teach you the right way!
I assembled my quilting sandwich by first laying the backing on the floor, wrong-side-up, then the quilt filling on top of that, and finally the quilt front on the top of the pile, right-side-up. I pinned the three layers together right in the center then worked my way out to each edge, pinning as I went, then filled in the rest. This was to try to keep everything smooth and centered.
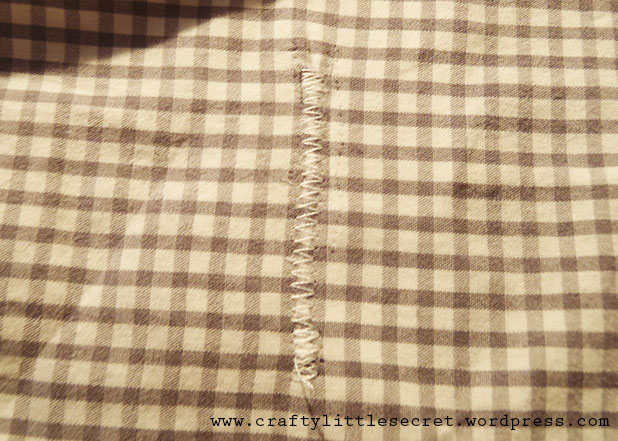
To do the actual quilting I figured the “stitch in the ditch” method would probably be best for a beginner like me on busy patterns, so I just top-stitched all the seams using navy thread to co-ordinate with the backing. I was surprised at how easy it is once you get the hang of it (and how hard it is once you get bored of it, lol!). As you can see from the picture of the back, below, though top-stitching the stretchy jersey to the non-stretch flannel backing made for some wonkiness. I think for my next quilting attempt, I’ll stick to quilting cottons to avoid this kind of issue, but I tell you what; I’m really not in any danger of becoming a regular quilter – way to much math and precision, LOL!

Anyway, it’s pretty rough but I’m proud of my little t-shirt quilt. It’s so puffy and comfy and cozy! Besides, how perfect does something that you’re going to sit on in the dirt have to be???

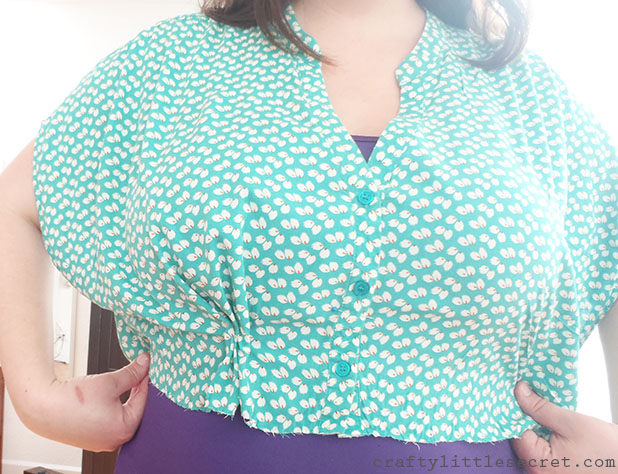
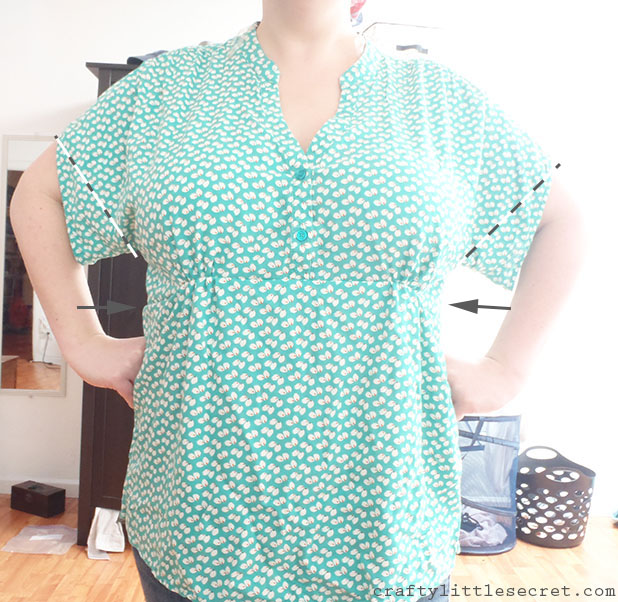
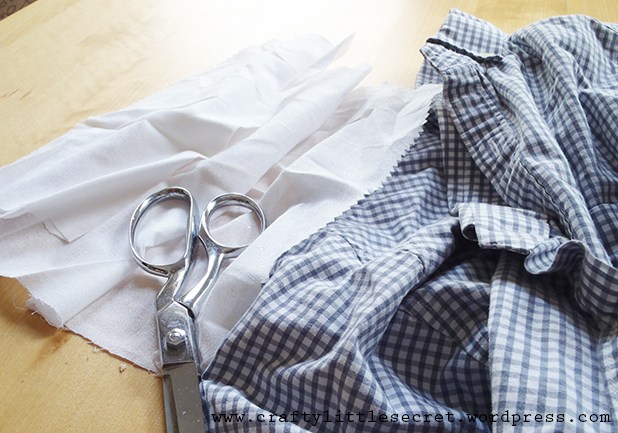
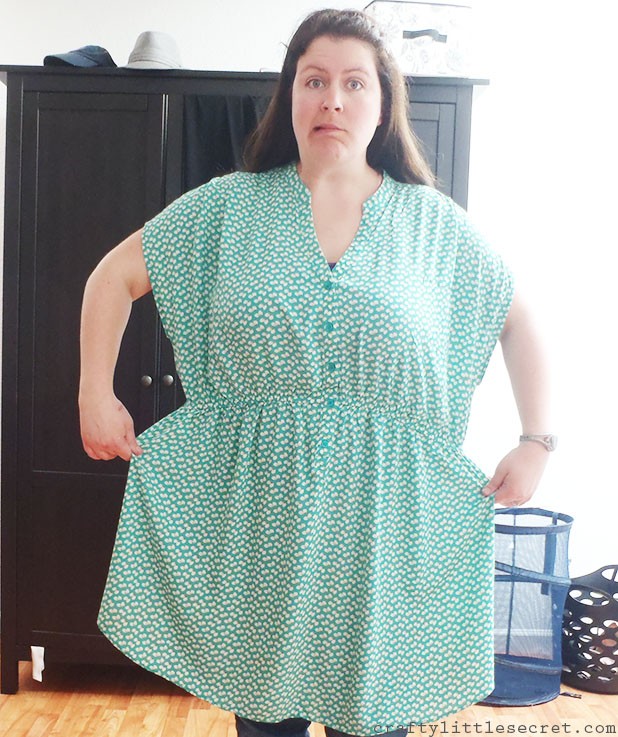 …..the dress needed a wee bit of altering.
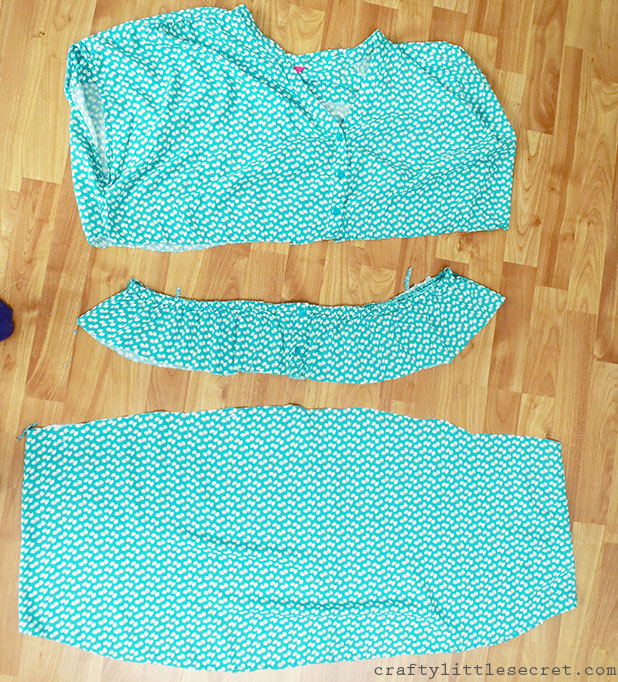


 –
–