
Pete has a sweater that goes everywhere with him. It’s been stuck overnight on the top of Mount Hood with him, it’s been to Yosemite, it’s been to the Alps, it’s been to sea, it’s been to Alaska. It’s been crammed into his backpack on virtually every trip he takes. It’s actually shocking that it’s taken this long to develop a hole!
On a trip to NYC Pete saw a dude wearing a sweater with plaid elbow patches and asked if I could do something similar for him. No problem!
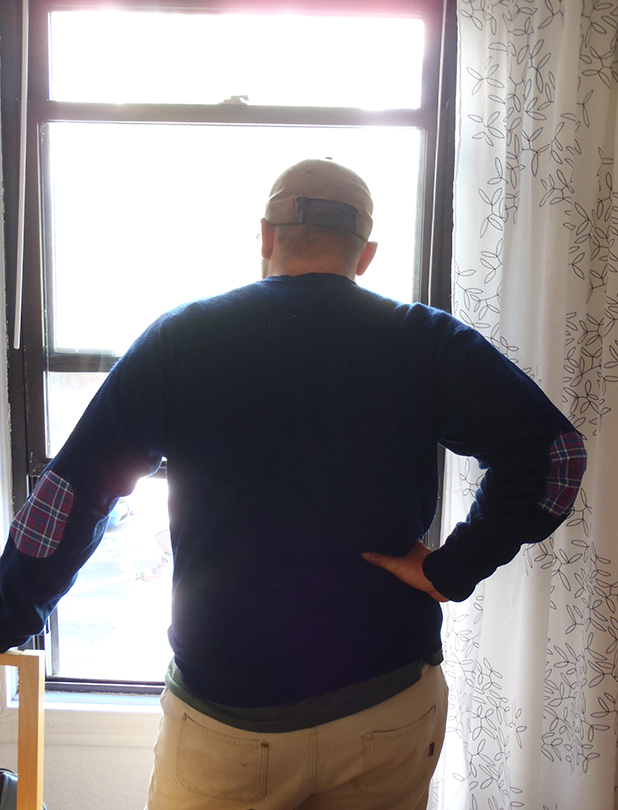
The finished product!!
With the knit sweater I was worried about two things if I simply sewed a patch on top; 1. that the hole would continue to grow under the patch, and 2. that the patch would be difficult to sew on stretchy knit fabric. So I decided to make my own iron-on applique elbow patches using an adhesive web called Pellon. Below are step-by-step directions to make your own applique patches.
Materials list;
– sturdy plaid fabric
– paperbacked adhesive web, such as Pellon
– scissors
– pins
– iron
– damp cloth
– sewing machine
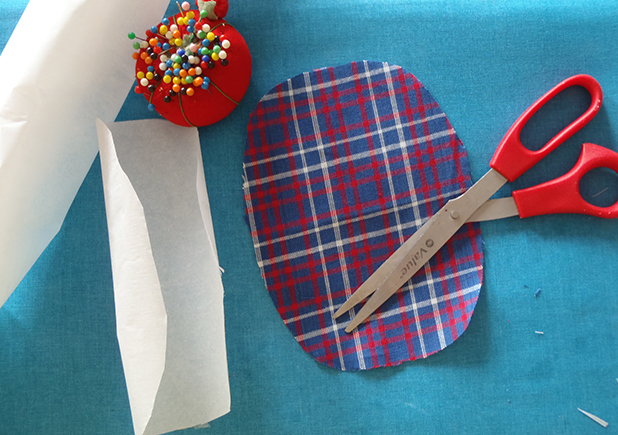
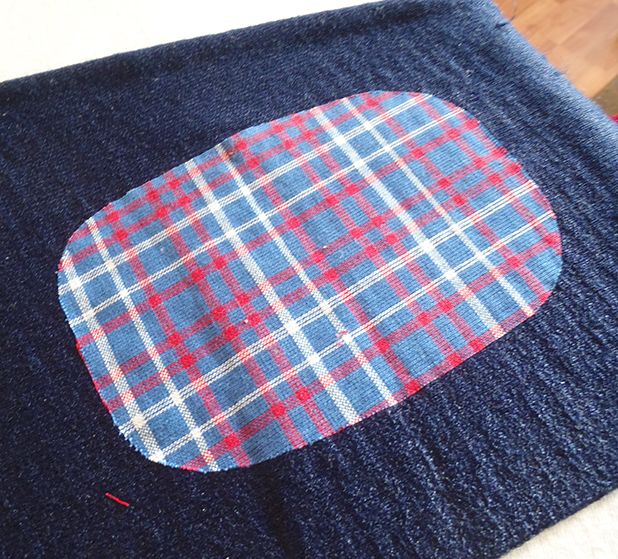
1. Cut out a rough shape in fabric, and the same shape, slightly smaller, from the paperbacked adhesive web.
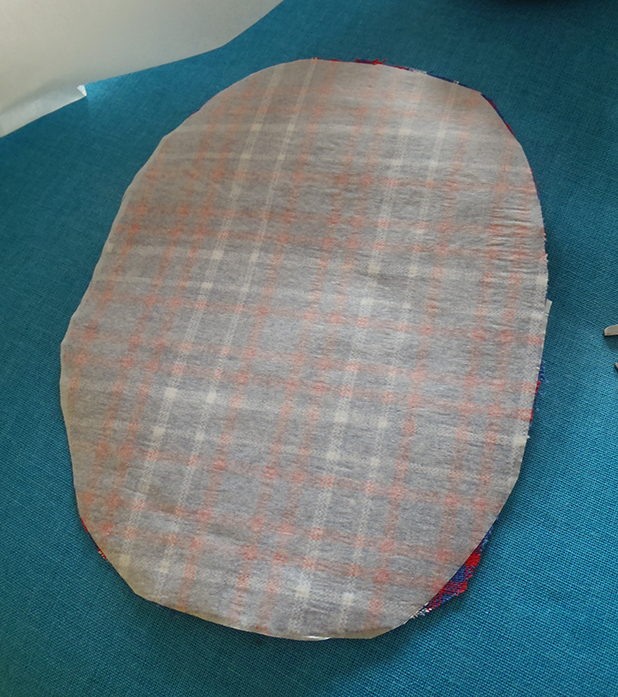
2. Lay the paperbacked adhesive web on the ironing board, bumpy-side-up, and lay the fabric over top, wrong-side-down. Iron on high for about 8 seconds. Now your fabric should adhered to the adhesive web. Be careful to not touch the bumpy (glue) side of the adhesive web to the iron or it might muck up your iron.
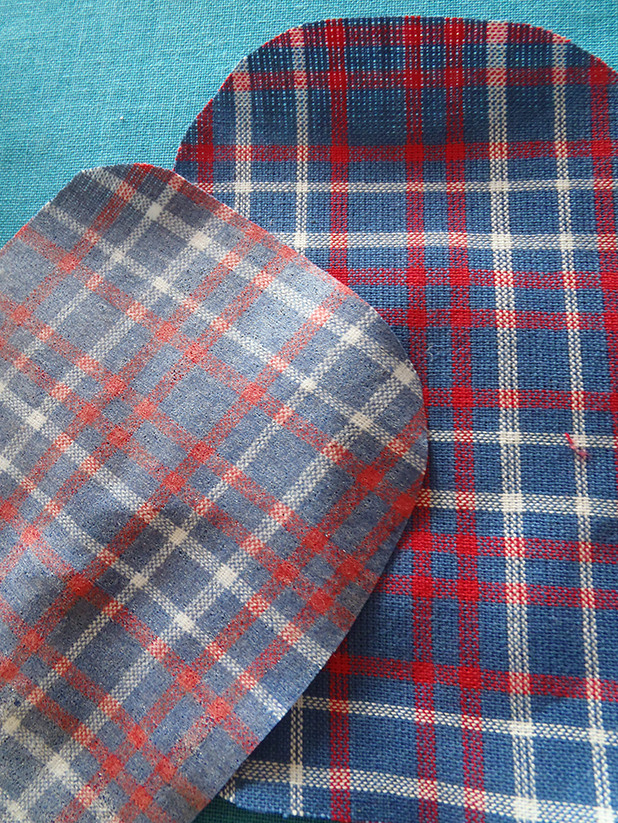
3. Trim the fabric fused with the web to the desired size. I made a patch that was about 6″ x 4″ with rounded edges.
4. Peel the paper backing from the adhesive web. It can help to grab the edge of the fabric and make a little tear to get the backing off. Now you left with an iron-on fabric patch!
5. Make someone model the sweater so you can position the patches properly on the elbows and pin them in place, web-side-down. I did this on the side with the hole, then removed the sweater and positioned the other patch by measuring, to make sure they’d be positioned symmetrically.
6. Lay the sweater with pinned-on patch on the ironing board, patch-side-up. Overlay with a slightly damp towel (needed to keep the fabric from burning while adhering the patch). Carefully remove the pins without changing the position of the patch, then iron for ~15 seconds with firm pressure. The Pellon instructions say to do this on the wool setting, but I was repairing an acrylic sweater so used the synthetic setting and found it still adhered well.
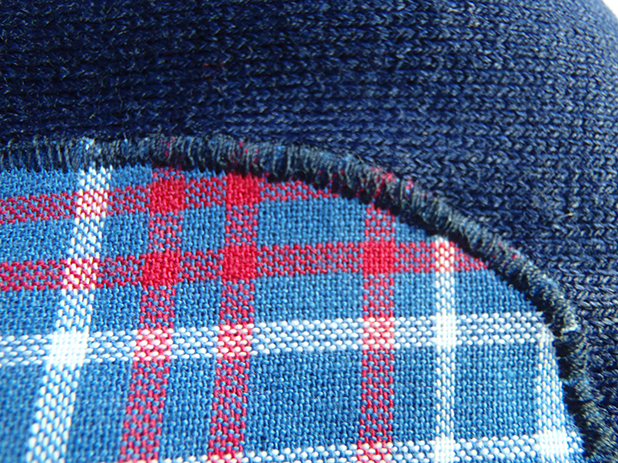
7. I worried the edges of the patch might peel up or fray over time so I finished them with some decorative stitching around the edge on my sewing machine. I set my sewing machine to a zigzag stitch with 4.5 width setting and 0 length setting and carefully sewed around the edge of each patch.
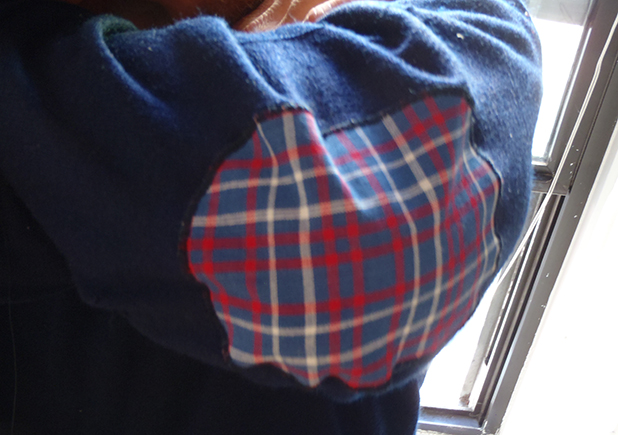
I gotta hand it to Pete, the plaid patches were a great idea and the sweater looks pretty cute now! We had also debated leather/suede or corduroy patches, but I’m glad we went with the plaid.

