
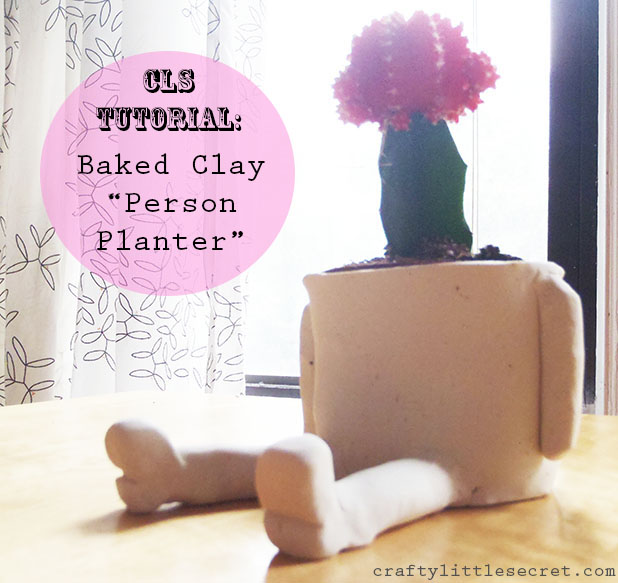
 It’s a much needed rainy day today in San Francisco and it gave me a hankerin’ for a rainy day craft. I’ve propagating some of my succulents and am in need of somewhere to put them so I’ve been imagining all varieties of little clay pots that I could make with the clay leftover from my garden markers. Of course, when I finally decided on a design I also decided it would be absolutely perfect for a little flowering cactus I have that didn’t need a pot!
 Oh well, no worries. I’ll just make some mini pots for my propagated succulents later…
The design for this adorable little person planter is based off one that I saw on Etsy but I didn’t pin it straight away or favorite the shop, and try as I might I can’t find it again! Sorry!
So instead, here is a little tutorial on how I put mine together.
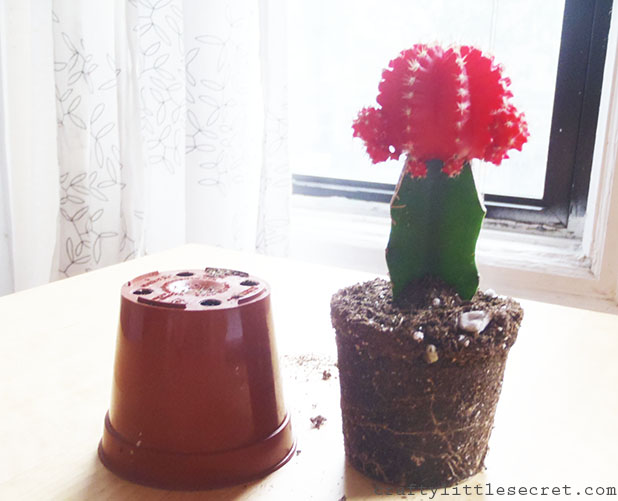
For materials, all you need is an adorable little cactus or succulent in a plastic pot, some Sculpey clay (or other baking clay brand) and a butter knife you don’t mind mucking up a bit.
My cactus was bound in the soil well enough that I was able to gently tug on it and pull the soil out of the pot without making too much mess.
 Then I could use the pot to cut a circle out of some clay that I had rolled to about 1/8″ thickness.
 It takes a little working the clay in your hands to get it soft enough to roll out. I found it easiest to work little 1-2″ balls of clay at a time then amalgamate them when I’d warmed each up.
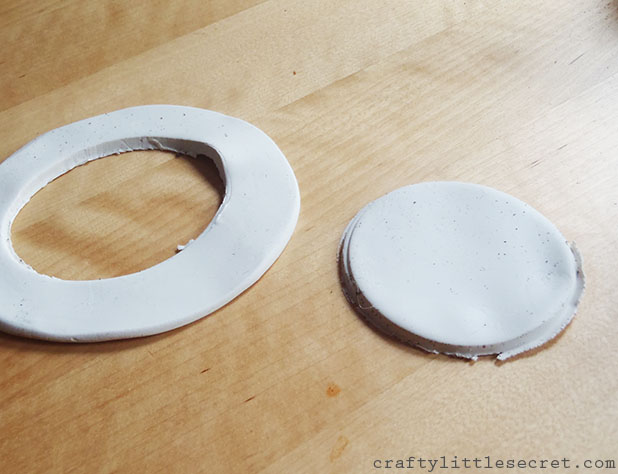 This circle that you’ve cut out will form the base of your pot and the surrounded ring can be combined back with the rest of your clay.
I next rolled out a ball of Sculpy that was….oh….I’d say a little smaller than a tennis ball, to a 1/8-1/4″ thickness. You really can’t go thinner than that or the clay won’t have enough strength to hold it’s shape. Even at the thickness I used, it was pretty delicate and warped a little with the cooking (but the plastic pot still fit in easily at the end).
Roll this piece out to be a long oval shape because it will be trimmed down to a rectangle to form the sides of your pot.
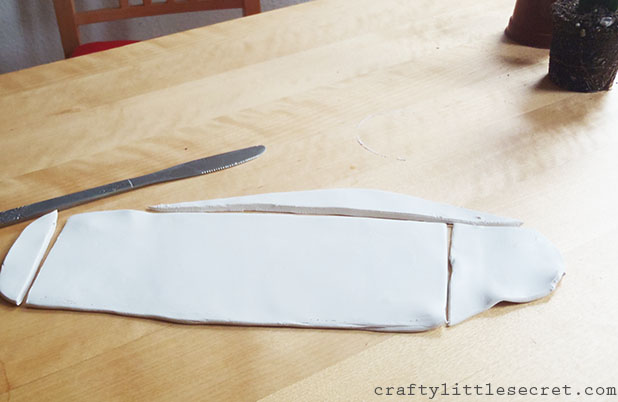 Of course you could easily figure out the circumference of your circle, and thus the length of rectangle needed, with a little math. But who wants to do math??? Instead, you can make a little tick mark on the mouth of your pot. Lay the pot on the clay and gently roll it around until you reach the tick again, marking your start and end points. The distance between the points should be the length of rectangle you need!
I wrapped the rectangle around the base of the pot, gently rubbing the seam where they join together being careful not to distort the shape or thin the clay.
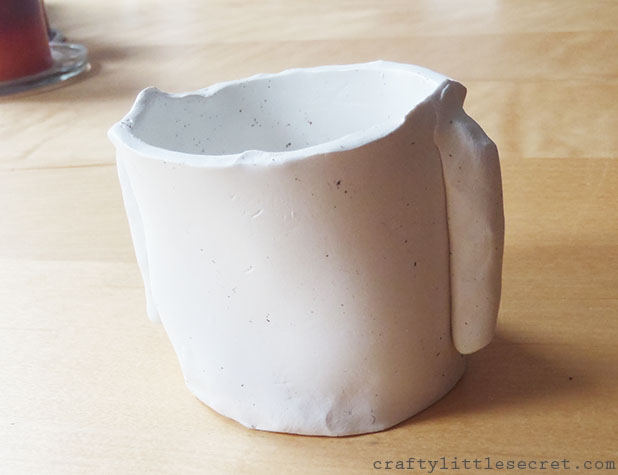
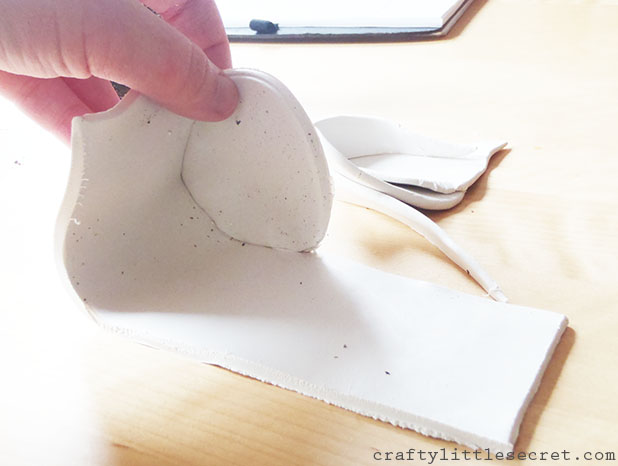 Now you should have a cup shape. I had some ragged looking edges on the upper rim of the pot that I wanted to smooth out.
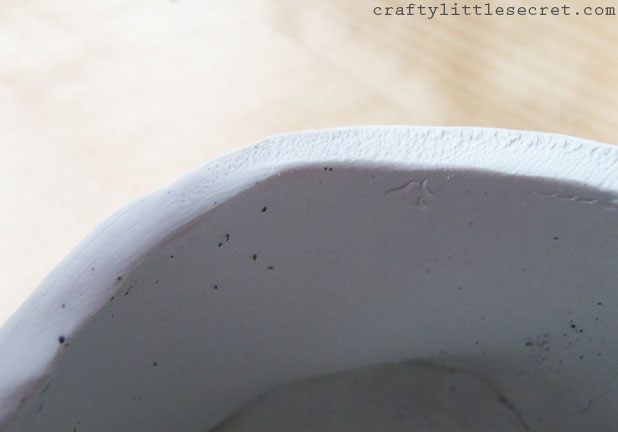
Can you see? The left side has been smoothed and the right side is the original rough edge. Also, you can see the potting soil that I kept rolling into my clay because I didn’t clean my work surface well enough!
To smooth these edges out just gently rub your finger along the rim with very little pressure. Run your finger over the edge a few times and the heat from your finger should smooth out the edge. Use this technique to cover up the seam where the two short edges of the rectangle joined. Again, be careful to not push too hard and distort the shape or thin the clay.
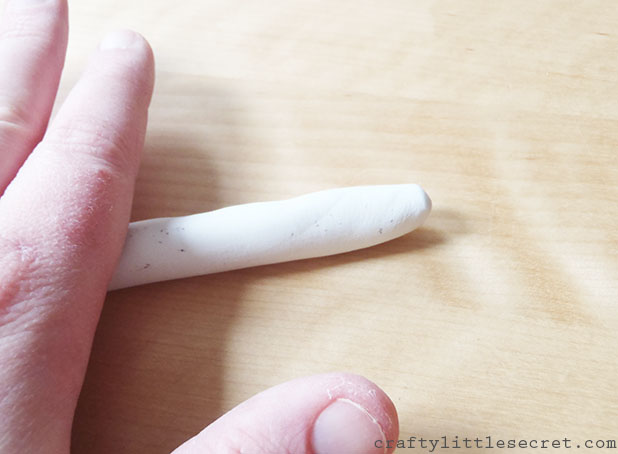
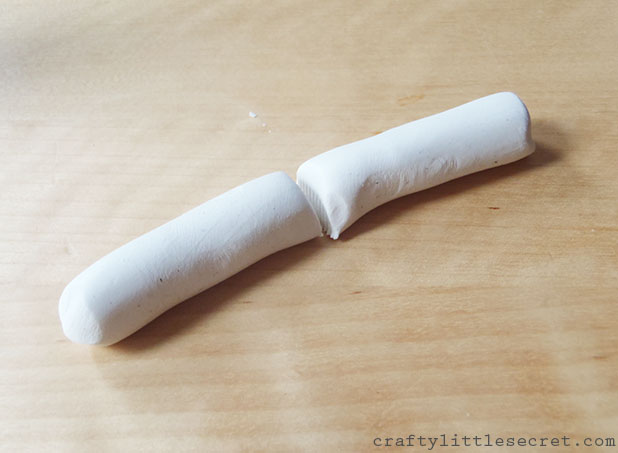
Next, I rolled out a couple little logs of clay and cut them to size to form the arms of the person planter.
 Gently press the arms onto the sides of the pot, supporting the back as you do so. I really rubbed the shoulders and made sure that they were well attached to the pot.
 As you can see in the picture above, that distorted the upper rim of the planter a bit so, again, I just gently rubbed it with my finger to smooth it out.
I used the same technique to make a pair of legs that I attached to the pot and even added some cute little feet at the end. I very carefully transferred the whole thing to a Pyrex baking dish and put it in the oven for 20 minutes. The Sculpey clay packaging suggested 15 minutes in a 275 F oven per 1/4″ thickness, but you should definitely check the directions for your clay before proceeding. The Sculpey packaging also warned not to microwave or over bake the clay. I have no idea what dire consequences you’d experience if you attempted either of these things.
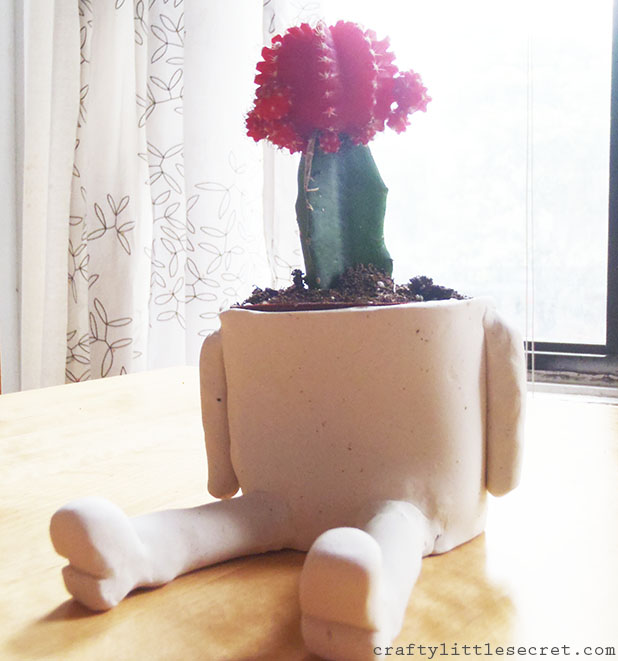 Once the clay cooled, I plopped my cactus in and I think the end result is pretty darn cute! As I mentioned previously, I did get a little warpage as my clay heated but the baked clay products don’t dry rock hard like kiln-fired clay and my cactus was in a thin plastic pot so I was still able to fit the cactus in no problemo!
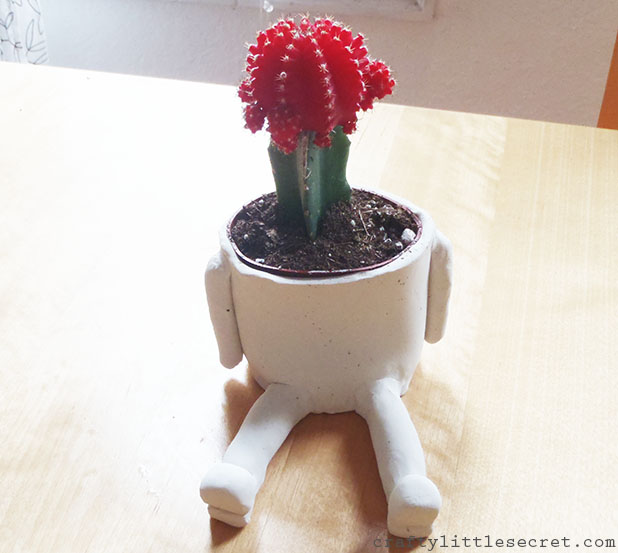 And there you have it, a DIY baked clay “Person Planter”!

