Phew! That’s a mouthful. My friend’s twin girls are turning 2 at the end of this month and are having a Very Hungry Caterpillar themed birthday party. When she asked me if I would make the dresses I didn’t really “get it”. She showed me a couple dresses made out of the fabric she wanted and I thought it was kind of a strange print. I did my own searching and found some other cute caterpillar fabrics, but then I was informed that the Very Hungry Caterpillar is actually a book that kids that age are obsessed with.
And now I totally get it.

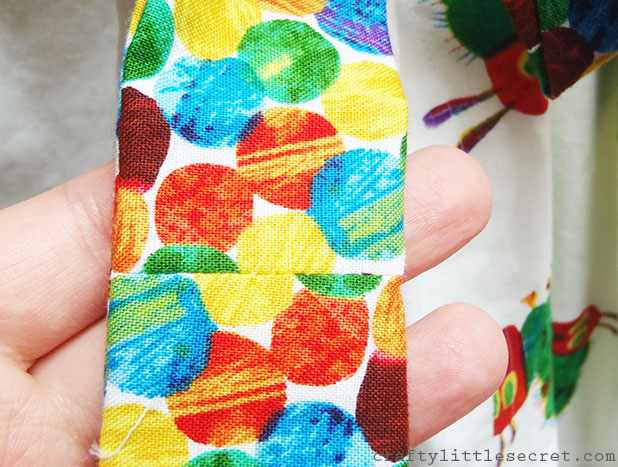
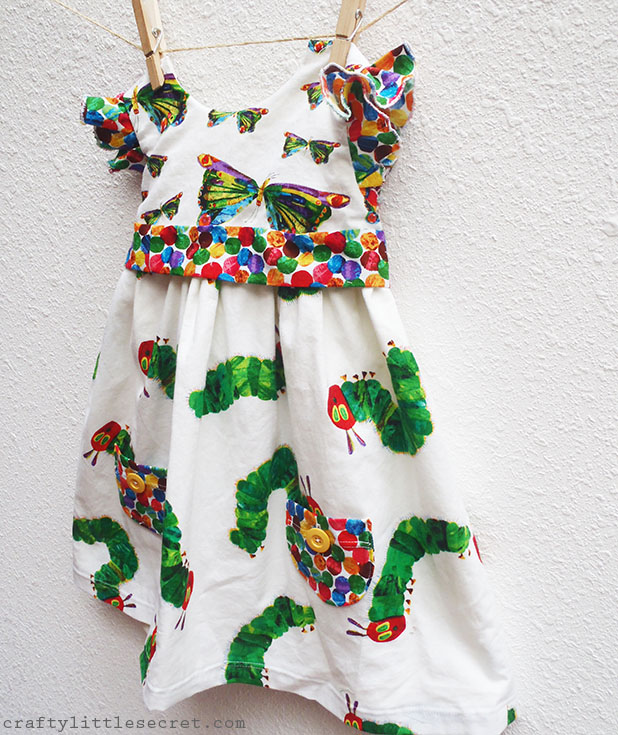
I originally suggested a Geranium dress with the butterfly top and caterpillar bottom, like what I ended up with, but with bright green piping around the armholes and yoke seam. My friend said that she wanted to include the dot fabric because when that pattern shows up in the book her girls yell “All the colours!!!!!!” (with a “u” because they’re Canadian). How cute! So we decided to add the belt around the waist in the contrasting dot fabric, as well as a pair of diaper covers for when the girls inevitably lift their skirts, as children will do!
 The diaper covers were a free pattern from Made! Overall I’d say the pattern was super simple (time will tell if they actually fit). My only complaint came with sewing the elastic casing around the leg holes. The pattern didn’t account for the fact that the fabric would be folded back and so the pattern just kept tapering toward the leg holes. When I folded it back the folded part was now narrower than the back part so I actually had to make some nicks in the fabric to do it. Does that make sense? Basically, it needed a facing or bias tape instead of a turned hem to form the casing.
I opted to go with the ruffled sleeve option in the Geranium dress pattern. It was my first time doing that technique and Rae’s instructions were great! It went like a breeze!! The only small change I made to the technique was altering my stitch length to get a heavier more finished edge, rather than the lighter slightly more rustic edge shown in the pattern instructions.

In fact, the whole pattern sewed up like a breeze! The instructions were very detailed and easy to follow. At this time, I just want to take a minute and thank Rae for the care she put into making that pattern. I ordered my first “Big 4” e-pattern just before Christmas and it was such a nightmare to print! There was no print key whatsoever, but about four different pattern views so I ended up printing out 50 pages of pattern just to get the 30 or so that I actually needed. Rae on the other hand, has a very clear print key so you can just print out the few pages you need. Saves trees and saved me from pulling out my hair!
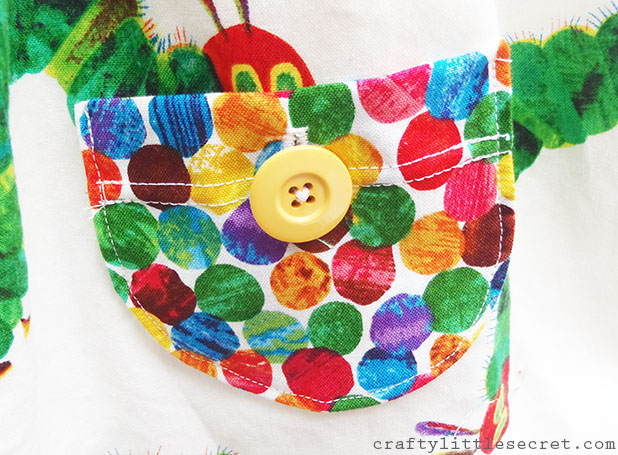
I also used the dot fabric to make the patch pockets on the front of the dress and did some twin needle top-stitching (tutorial here) to add detail. If I recall correctly, I think the pocket buttons were my addition to the pattern.

As you can see, I added a ribbon to this pattern. That turned out to be a bit more of a debacle than it should have been. Once I’d cut out the diaper cover pattern I realized that I wouldn’t have much fabric left for the ribbon detail and that I’d be piecing it together.
 That was just the start of the debacle. For some reason I decided that the “easiest” thing to do would be to just sew the ribbon on like a waist band, theeeeeeen make a detachable bow that would attach over top of it with snaps.
I have no idea why I decided this would be the easiest option.
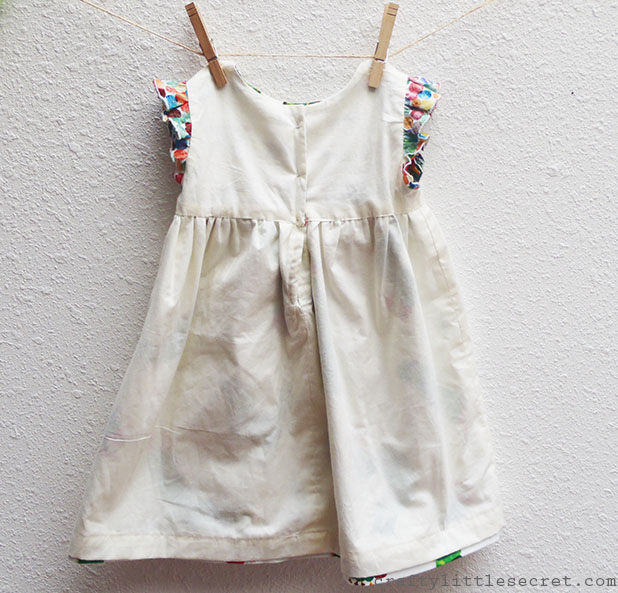
But since I made that decision, I hand stitched the waist band on before sewing the back button holes which meant that when I did sew the button holes I stitched one of them through the waist band. It was about this time that I realized it would make way more sense for a 2 year old’s dress to just have a tie at the back instead of a detachable bow.
I’d used up literally every scrap of the dot fabric so then I had to go back and actually cut the button hole out of the waist band and attach some more length to it so it could be tied in a bow. In the end, the somewhat gruesome button hole/ribbon vivisection is concealed in the bow, thank goodness!

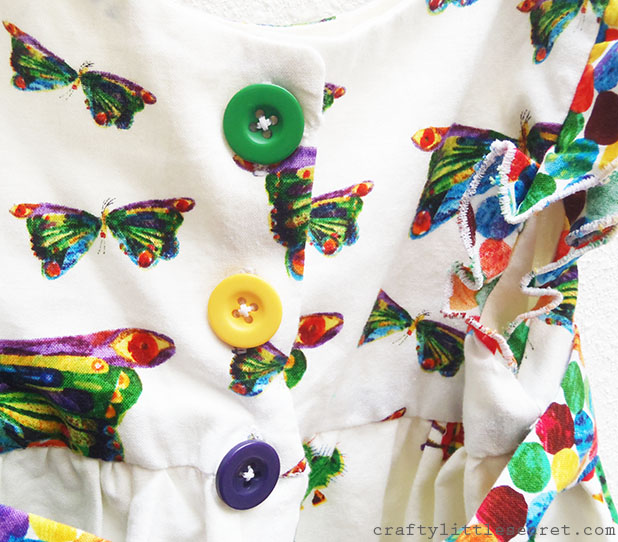
In keeping with the “All the colours!” theme of the dress, I went with multi-colored buttons up the back of the dress and think it looks pretty cute that way!
The one trouble I had with using the Caterpillar quilting cottons on this dress was that they were a bit too thin and I thought it would look weird if the dot diaper covers showed through the skirt. I quickly cut out another skirt piece in a stash cotton and fully lined the whole dress.
Look at that workmanship! How many 2 year old girls do you know with such carefully made dresses?!
 I don’t know what kind of attention span 2 year olds have for this sort of thing so I hope they still love the Very Hungry Caterpillar when their party rolls around at the end of May, and I can’t wait to see how they look in their dresses! I sewed these long distance and just popped them in the mail last week so cross fingers and toes that they fit, you guys!
 I’ve done some kid knitting but this is the first kid sewing I’ve done. I liked it for the same reason I like kid knitting – it uses so much less material and you can add adorable details that would look ridiculous on adult clothing!
Pattern: Geranium Dress (size 0-5T), by Made By Rae
Diaper Cover by Made (FREE!)
Fabrics: The Very Hungry Caterpillar Do collection by Eric Carle
Fabric Sources: Fabric.com and Fabrics and Trimmings
Pattern alterations:
Diaper cover
– slight increase in size because the pattern just looked so small and I never believe that babies/children are as small as they actually are.
Geranium dress
– added buttons and button holes to the front patch pockets
– added waistband/tie
– added skirt lining because the fabric was too thin

 Me-Made: nautical striped dress, unblogged.
 Me-Made: Vogue 1152 blouse, apron (unblogged)
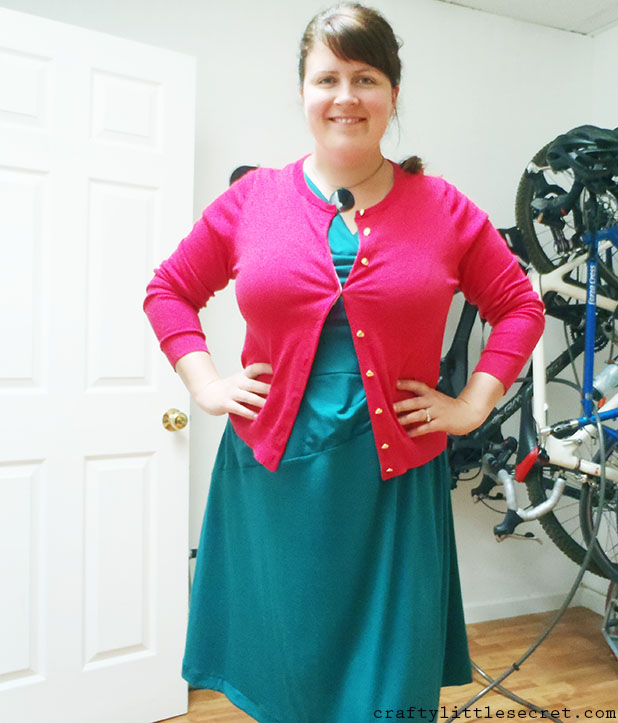
 Me-Made: Aqua Goodwill refashion
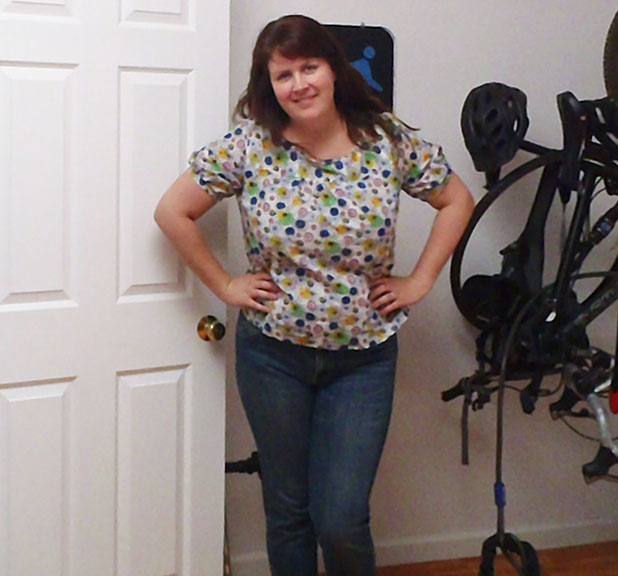 Me-Made: Mathilde Blouse #2
 Me-Made: Mathilde Blouse #1
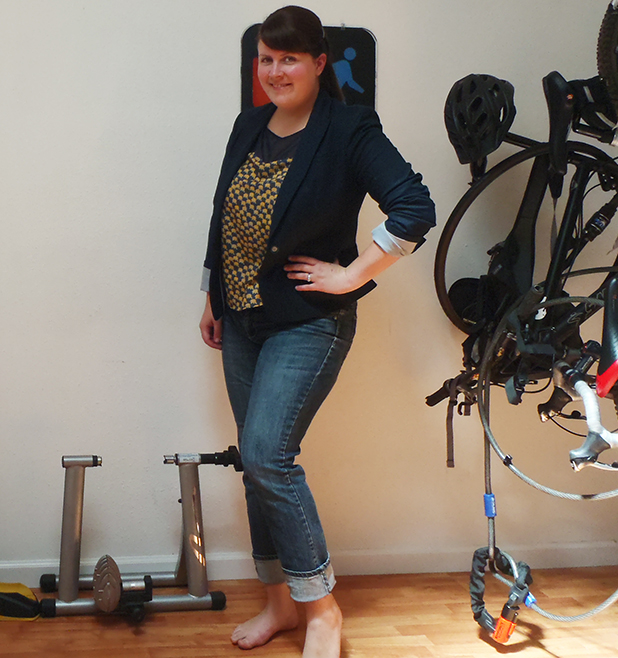 Me-Made: Ele-Fun Refashion
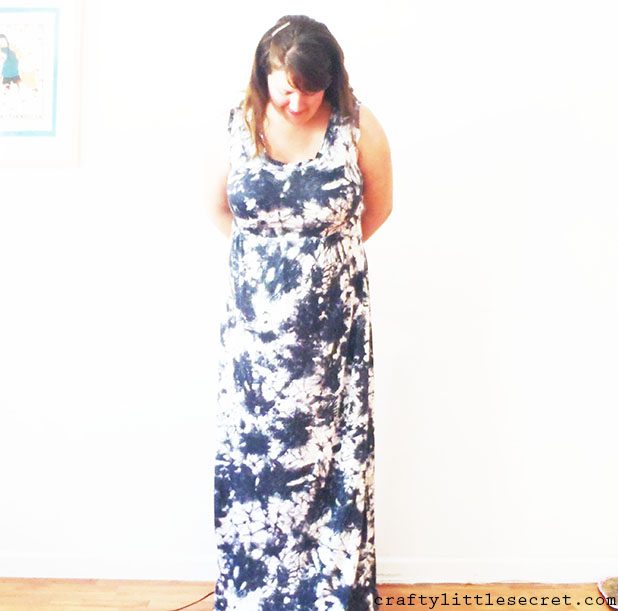
 Me-Made: Vogue 8469 Maxi Dress
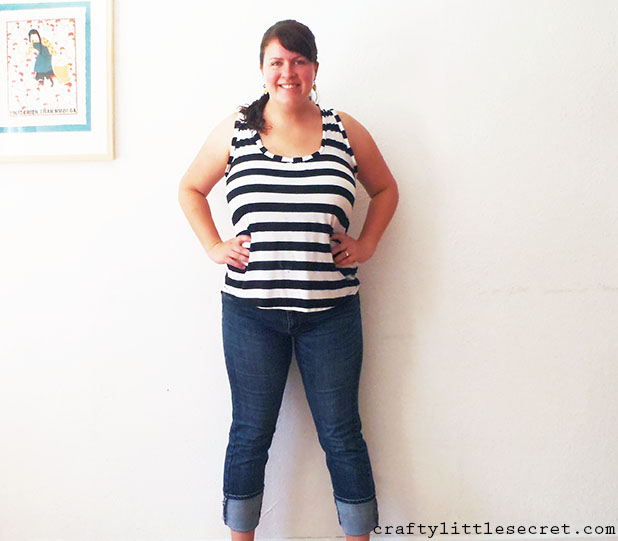
 Me-Made: Striped tanktop, self-drafted