Category Archives: handmade gift

I thought maybe the adorable pink skull onesie I posted a tutorial for here was making all the little baby boys jealous, so I’ve come up with a little blue skull for them!

Boy skull onesieSkull onesie for boy

Skull onesie for boyI love these things!! Too cute!

In other news, I feel like I’ve been struggling to keep up with crafting and posting lately. I’ve had lots of presents to make that I can’t post because I don’t want to ruin the surprise for the recipients!! BUT. I wanted to let you know that I have exciting crafty news on the horizon that has been taking up a bit of my time. I’m hoping to let you in on the news later this week or next! Squee!


Tutorial: DIY Placemats With Pockets!

DIY Table LinensWith Christmas fast approaching and my employment still in the “un” category, I’m looking at trying to do an almost entirely handmade holiday season this year. I think kitchen linens can make a great hand sewn gift, and I know my mom appreciated the double-sided napkins I made her earlier this year! Anyhoo, with this type of gift in mind I decided to try out a pattern for placemats with utensil/napkin pockets on them. Cuuuuuuuute!

DIY Pocket PlacematsMaterials (for a place setting for 6):
1 yd linen/burlap (heavy)
2 yd coordinating lightweight cotton (1 yd for placemats and 1 yd for napkins)
coordinating thread

As I’ve mentioned before, I absolutely love the fabrics available from Fabricworm.com. I came across this fabulous print from Tegan White for Birch Organics and thought it would work well with the current color scheme happening in our apartment.

Fort Firefly, Jars Gold

Awwww, I want a string of firefly jars to light up my apartment!

I liked the idea of making a place setting for 6. Even if we don’t always have that many people for dinner it’s nice to have extra around in case something gets an irreparable stain or to put serving dishes on. So. Using my roller blade, I cut out 6 15″x15″ squares from the Firefly cotton for the napkins, and 6 19″x15″ squares each of Firefly cotton and my linen for the placemats (the Firefly cotton goes on the back to make them reversible!).

Placemats with PocketsI also cut 6 8″x5″ linen pieces and 6 5″x2″ cotton pieces (or 5″ lengths of coordinating bias tape) to make a cute little pocket for your silverware and napkins!

As was the case with the double sided napkins, ironing with this project is key. Siiiiiiiigh. To make the napkins iron a quarter inch hem on all sides, then fold it over and press again with about a half inch hem. Top stitch using a coordinating thread and you’re done!

Handmade Cloth Napkins

Table Linen Tutorial

BAM! Cute napkins. Done.

To make the placemats, you’re going to want to sew the pocket to the linen before assembling the front and back pieces. This keeps the back neat, without any visible stitch lines making the placemat reversible. So pull out that iron again, we’re not done with it yet!

You’ll want to fold and press the 5″x2″ strips of cotton into bias tape (I’ve talked about how to do that before here), then sew them to one short edge of each 8″x5″ square of linen. This will be a decorative edging on the top of the pocket.

How To  Make PlacematsNext, press a half inch hem into the remaining three naked sides of the pocket piece, folding toward the wrong side.

Placemat Sewing Pattern

More ironing? Don’t say I didn’t warn you! Siiiiiiiiiiiiiiiiiiiiiiiiiiiigh!

Next, attach the pocket to your linen placemat front. I put the pocket on the left side of the placemat (though a quick interwebs search told me that people do either side) 2.5″ from the left edge and 2″ from the bottom edge.

How to Make Placemats

Once you’ve got your pocket pinned in place, neatly top stitch the three unadorned sides down as close to the edge of the pocket as possible.

DIY Placemats

Placemats with PocketNow we’re ready to sew the backing to the placemats. With right sides facing, sew the linen to the cotton backing with a half inch seam allowances on three sides. Leave one of the short sides open. We’re going to turn this inside out so cut the corners to help the fabric lay flat when we do this. You should end up with something that looks like this:

DIY Placemats

Flip the placemat right-side-out. You might have to use a pencil to really get in the sewn corners and get them nice and crisp. Fold a half inch hem inward on the open edge of the placemat and press (siiiiiiiiiiiiiiiiiiiiiiiiiiiiiiiiiiiiiiiiiiiiiiiiiiiiiiiiiiiiiiiiiiiiiiiiiiiiiiiiiiiigh). Top stitch around all sides of the placemat with coordinating thread about a quarter inch from the edge.

Pocket Placemat Sewing PatternAnd blammo! You’re done!!!!!!!

Handmade Placemats

Placemat Sewing PatternHandmade Place Settings

Sewing Placemat Tutorial

DIY Placemats


Hand-Sewn Felt Embroidered Baby Onesies: Tutorial

Since all my friends simultaneously decided to hop on the baby train about a year ago, I’ve been making adorable (if I do say so myself!) hand-sewn onesies for the little booger machines. I’ve given a sneak peak before in my previous post showing what I made my nephew for Christmas and now it’s time for a tutorial!

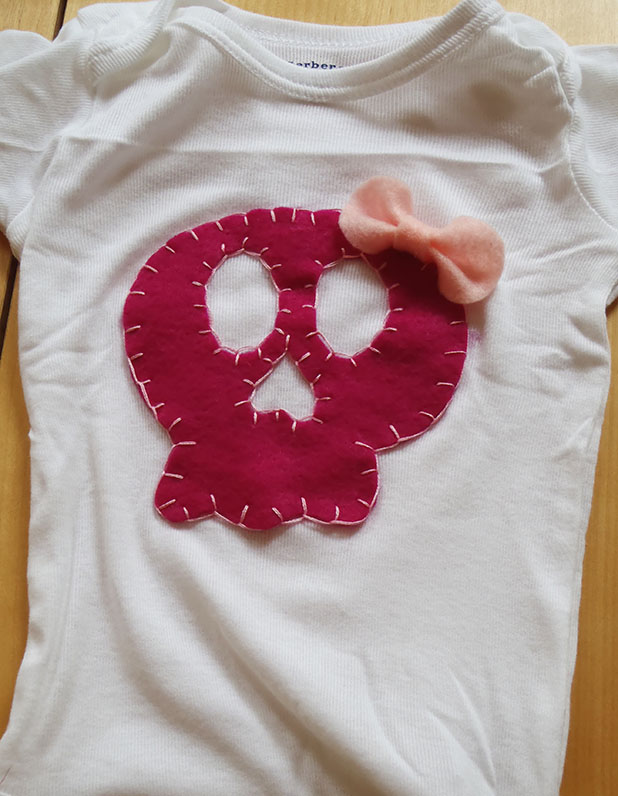
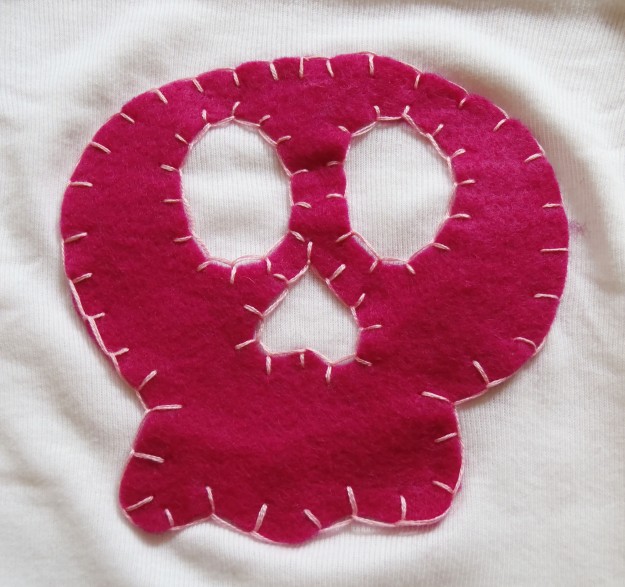
This week I made a couple onesies for some cute little baby girls and took pictures along the way. Check out this cute skull with a bow onesie!

OLYMPUS DIGITAL CAMERAHere’s what you’ll need for this project;
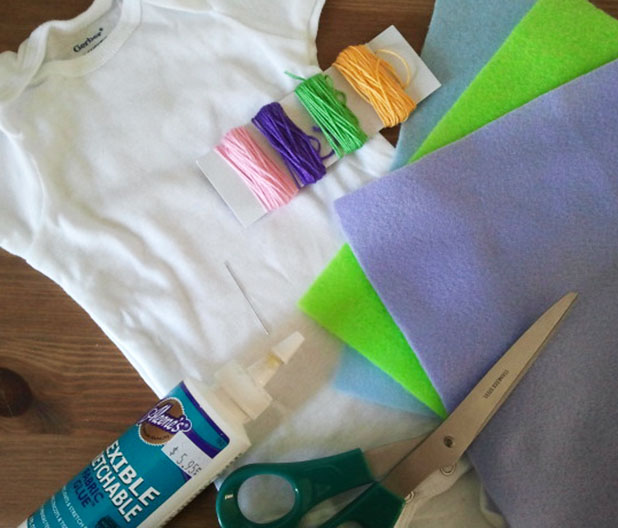
SAMSUNG

Materials List:
– onesie
– felt
– embroidery floss
– scissors
– fabric glue

Seems like for a new born baby you’d buy the newborn size (0-3 mos.) onesie, right? Not always. Some of my friends have birthed behemoths….er….I mean, healthy-weight…..babies that actually never fit the 0-3 mos. clothing size. You might want to consider purchasing a 3-6 mos. onesie, the baby can always grow into it!

When getting started I take the time to first sketch my pattern out on a piece of paper. This gives the nice advantage of reproducibility if I save the paper template for future projects.

OLYMPUS DIGITAL CAMERA
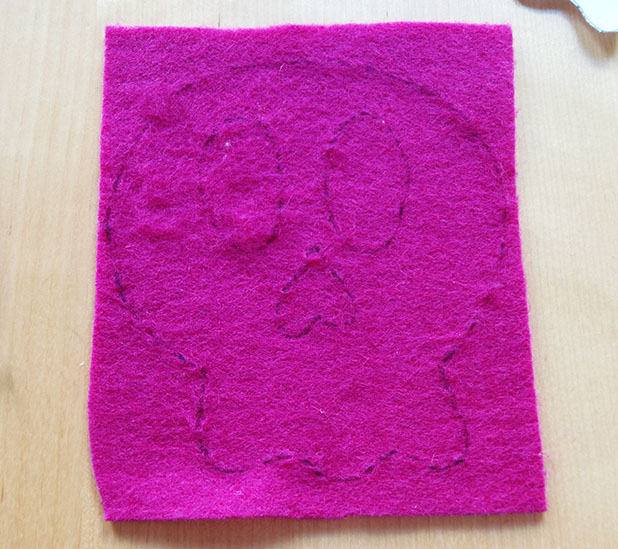
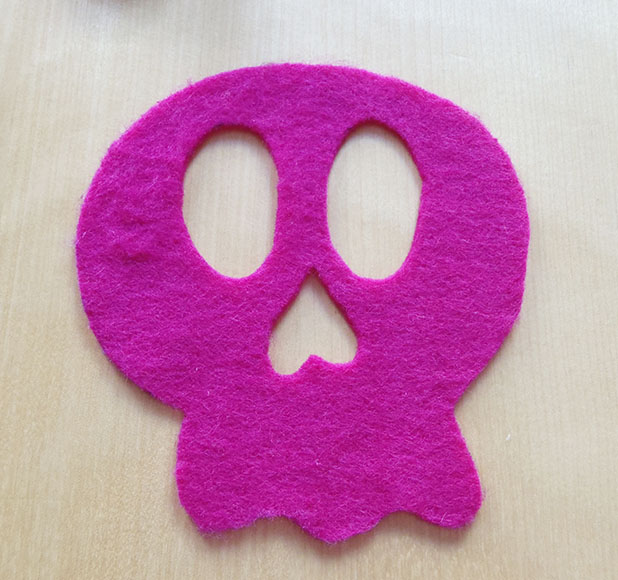
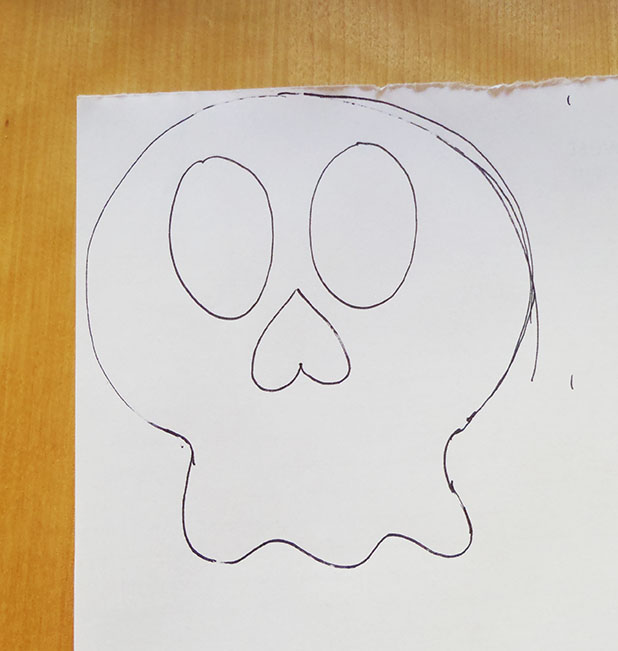
Use this template to trace out your pattern onto a square of felt and cut the pattern.

OLYMPUS DIGITAL CAMERAOLYMPUS DIGITAL CAMERAAlthough I reinforce the felt with embroidery, I always like to first adhere the felt to the onesie with fabric glue. This helps to hold the applique in place while I’m sewing and adds a little extra strength to the final product.

OLYMPUS DIGITAL CAMERA
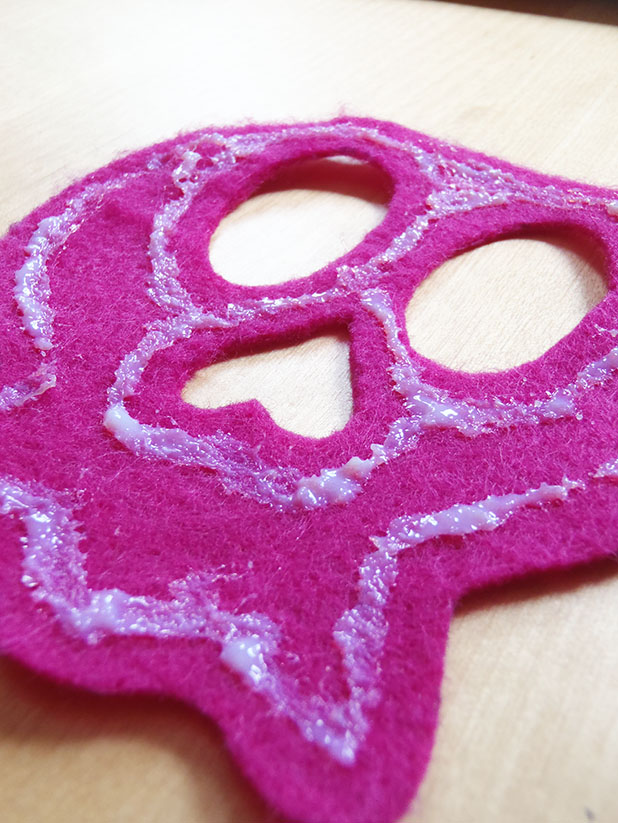
I use bottled glue instead of spray glue because I find that when working with small pieces of fabric like this, the spray glue can get a little messy. I try to keep the glue away from the edges where I’ll be sewing because putting the needle and thread through the glue repeatedly really gums it up and leads to tangling while trying to embroider.

Center your felt cutout on the onesie. I usually try to position it so that it will center on the child’s chest, but it can be pretty cute to sew something to the bum of the onesie.

OLYMPUS DIGITAL CAMERA
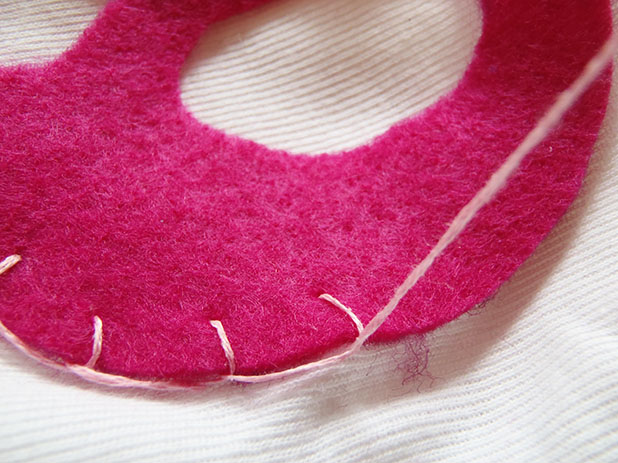
For both a decorative detail and additional strength, I embroider around the edge of the felt with a complimentary color of embroidery floss.

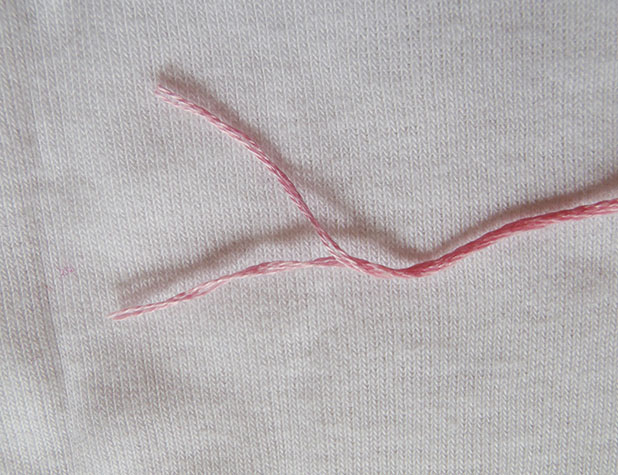
Standard embroidery floss is actually composed of 6 thin threads. I find it is too difficult to work with the floss at full thickness so I separate out 3 strands to embroider with. Just hold on to the 3 you want to use, gently pull on the 3 you’re setting aside and it should separate pretty easily (the longer your thread, the more likely it is to tangle).

OLYMPUS DIGITAL CAMERAOLYMPUS DIGITAL CAMERA
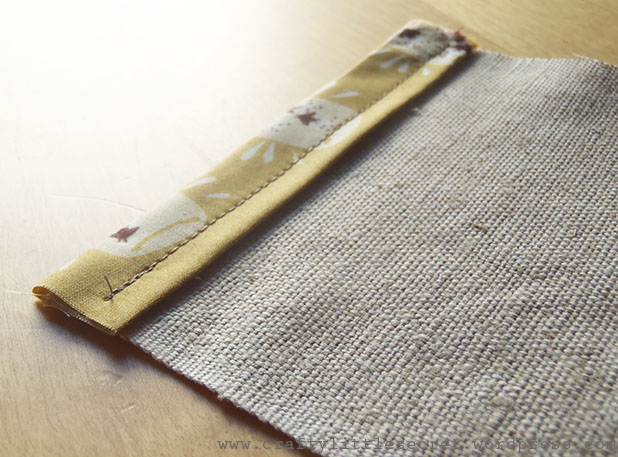
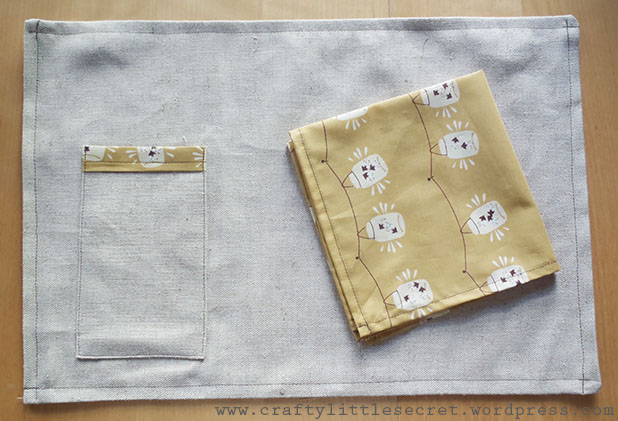
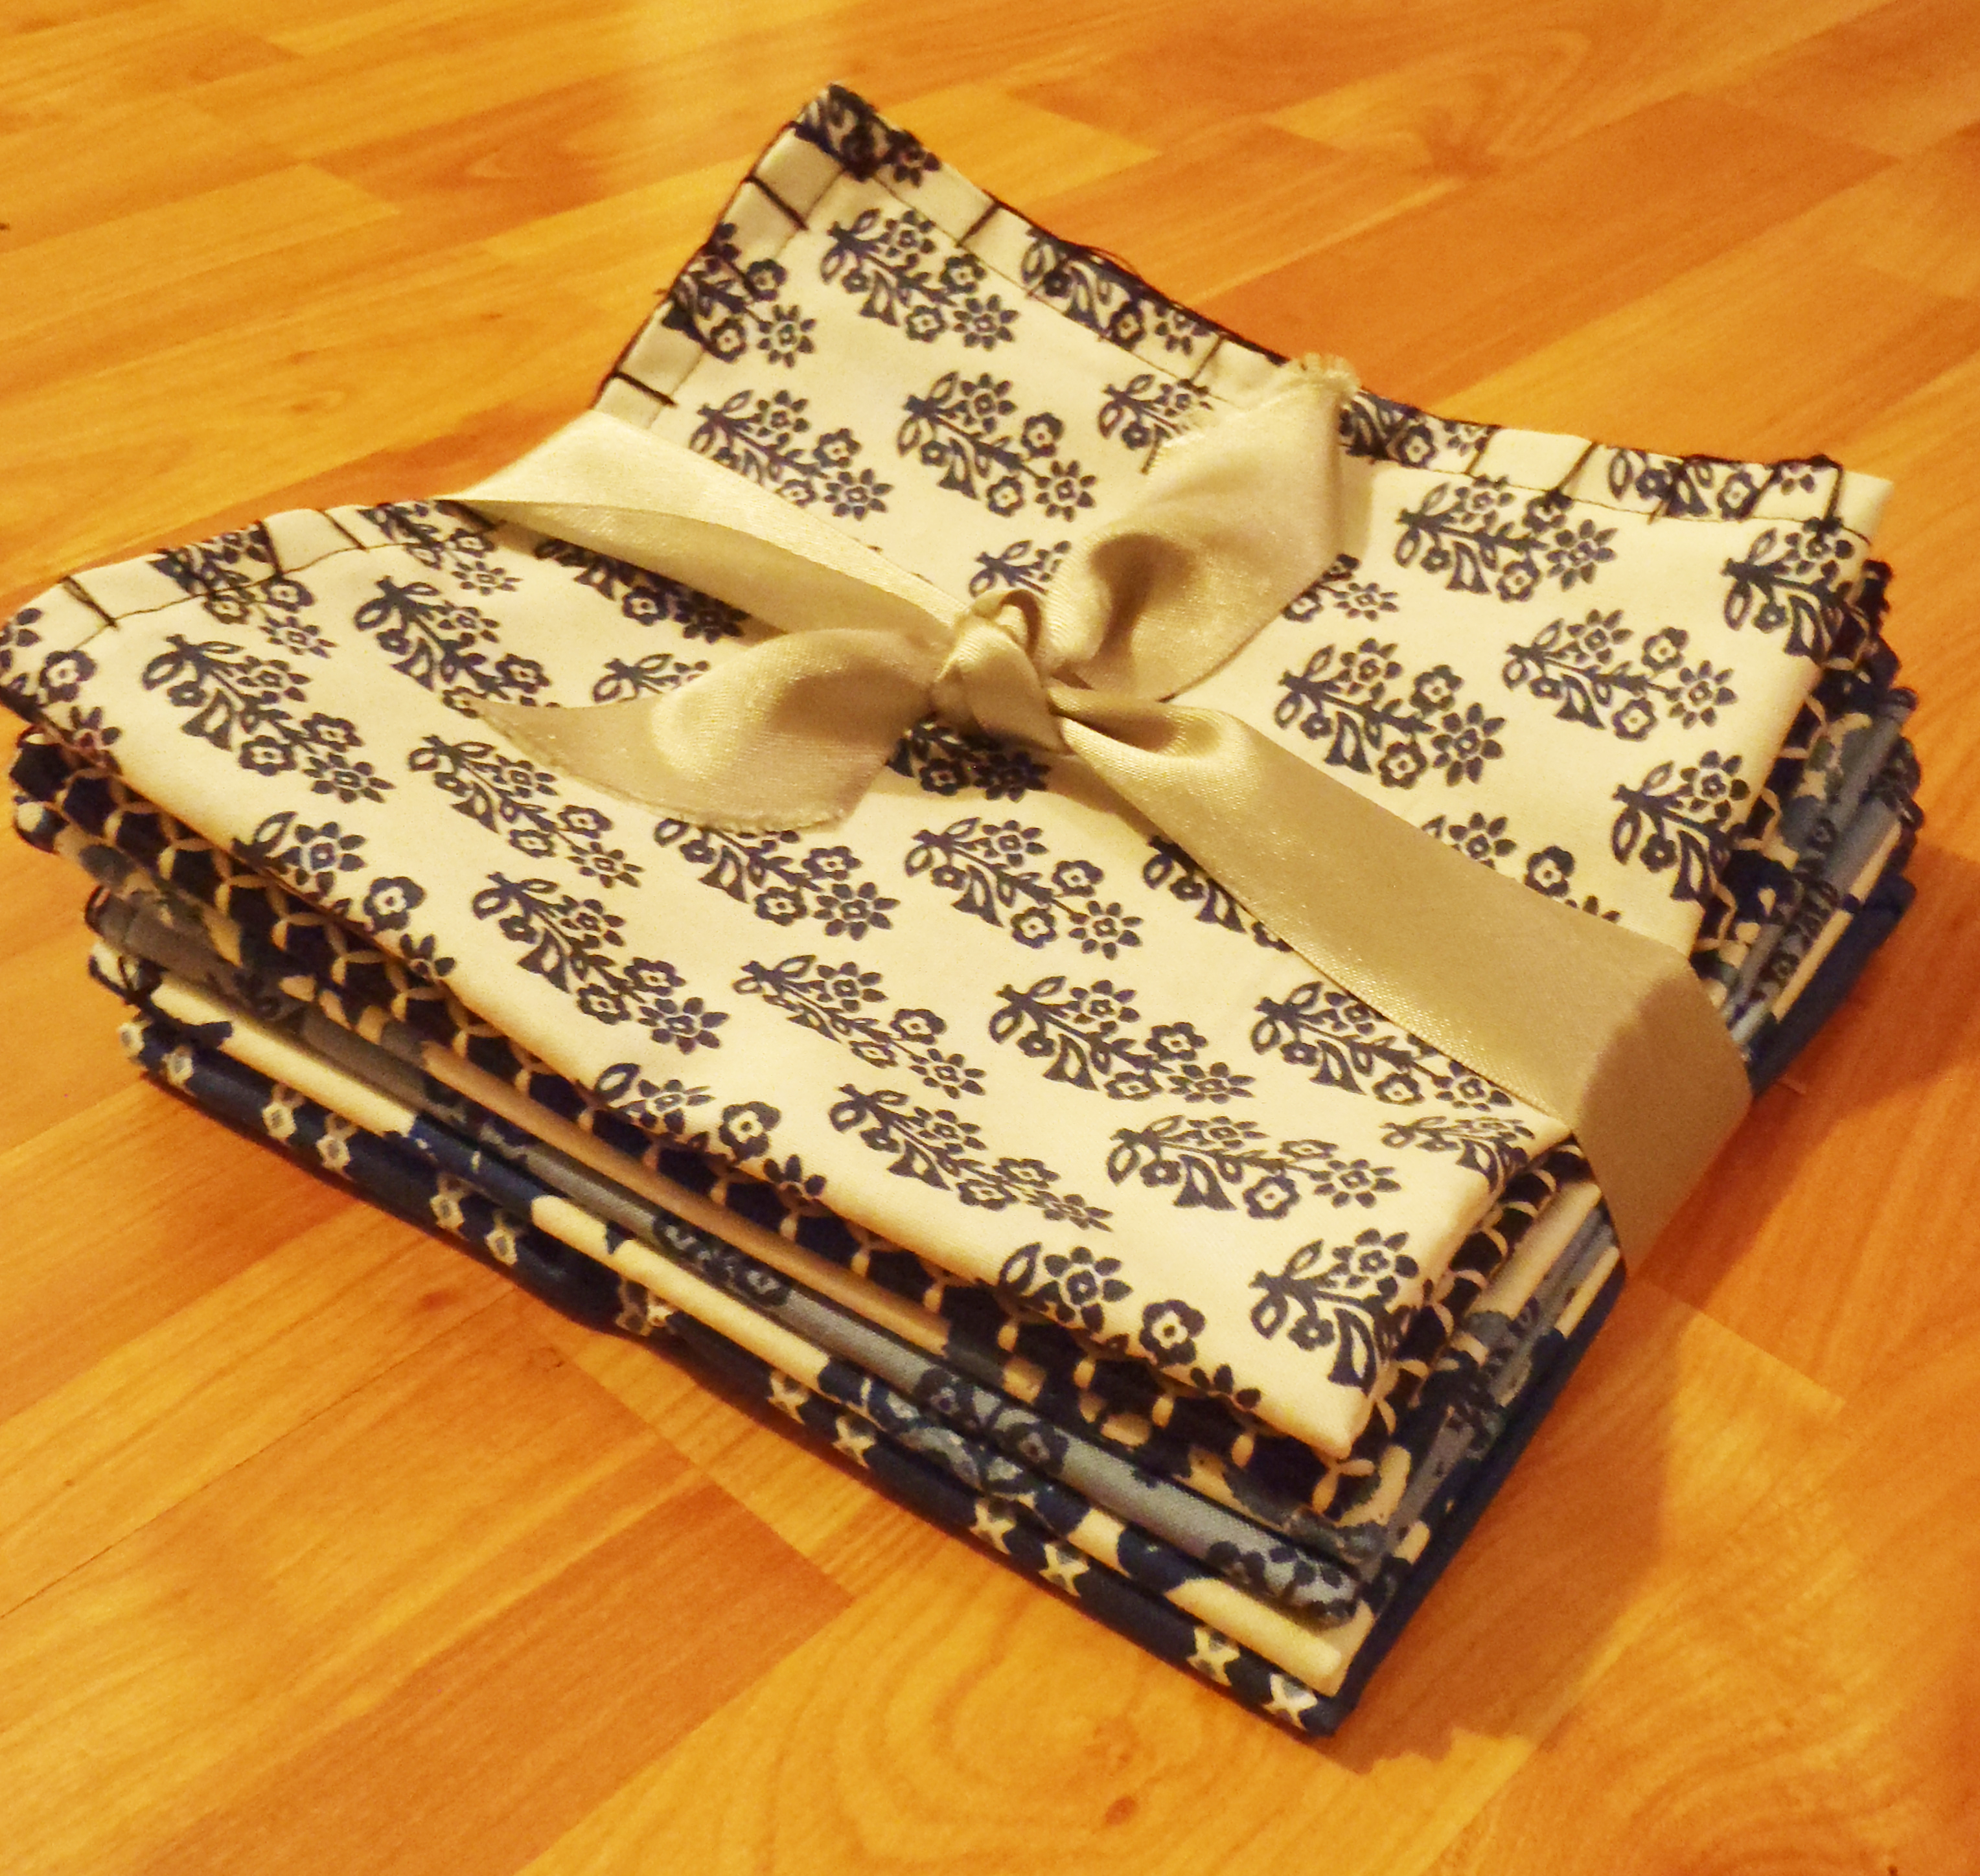
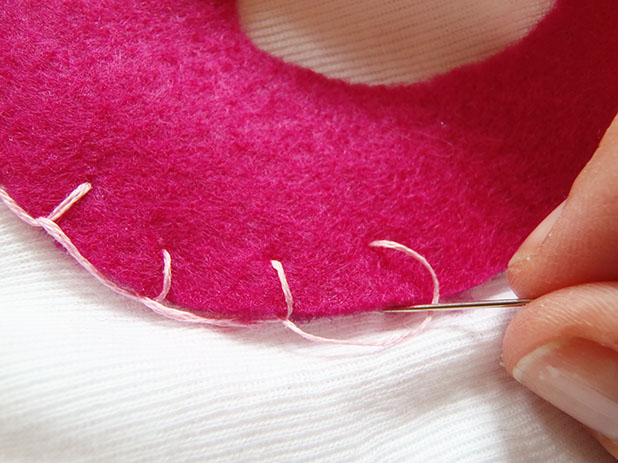
I used blanket stitch to embroider around the edges of the felt applique. Blanket stitch is a really easy way to add a cute embellishment that I’ve shown before in my double-sided napkin post.

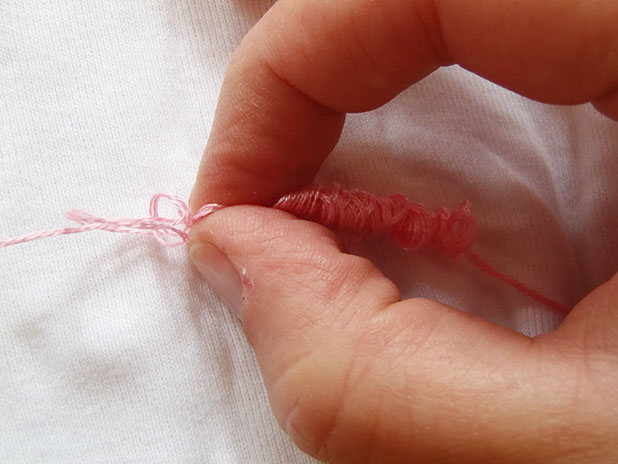
To do blanket stitch, first come up through the fabric from the bottom, then put the needle back down through the fabric about 1 cm over and 1 cm down (or whatever spacing you’d like), and pull the floss through. Leave a little slack in the floss, don’t pull it all the way through.

OLYMPUS DIGITAL CAMERAWhen bringing the needle back up, bring it up on the edge of the felt across from where you brought the needle down. Make sure to bring the needle up inside the loop of floss left on the top. Pull taught.

OLYMPUS DIGITAL CAMERA

OLYMPUS DIGITAL CAMERAHere’s a nice YouTube video describing the process if you found that a bit confusing.

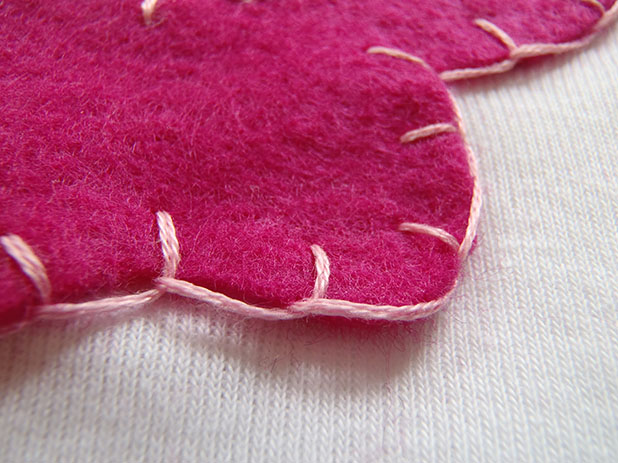
Embroider around all edges of the felt to give it a cute hand-made look.

OLYMPUS DIGITAL CAMERA

OLYMPUS DIGITAL CAMERA
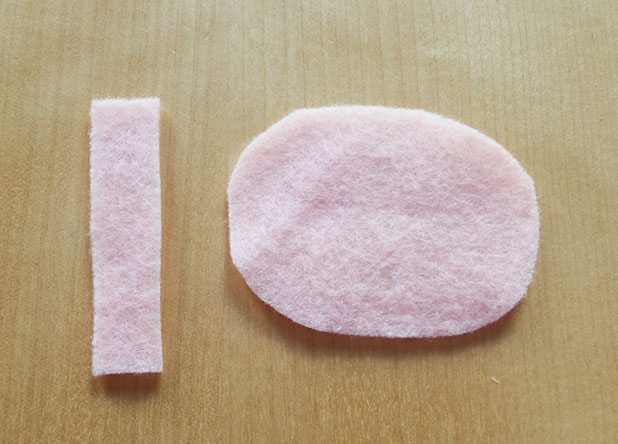
I wanted to add just a touch more sweetness to this little skull so I also cut out a bow in pale pink felt. Just cut two pieces, one larger oval and one thin rectangle.

OLYMPUS DIGITAL CAMERA
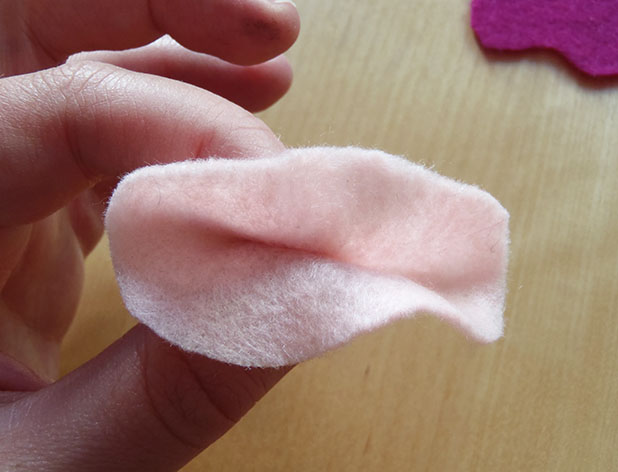
To form the bow, pinch the oval in half along the long edge, then fold the edges back onto themselves.

OLYMPUS DIGITAL CAMERA

OLYMPUS DIGITAL CAMERA
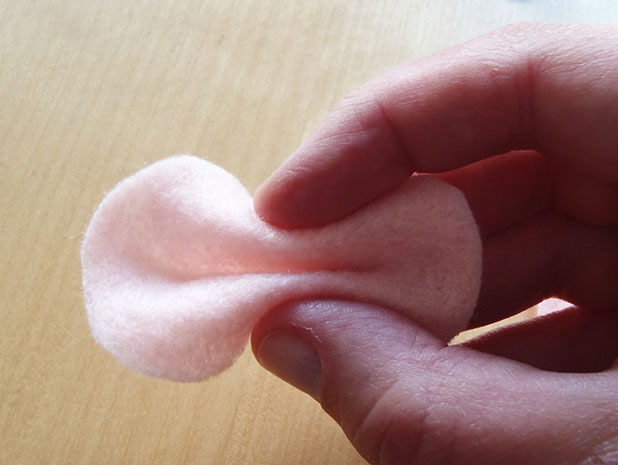
I added a little stitch at this point to hold it together while I used the thin rectangle segment to wrap around the center of the bow and stitched it all together.

OLYMPUS DIGITAL CAMERA
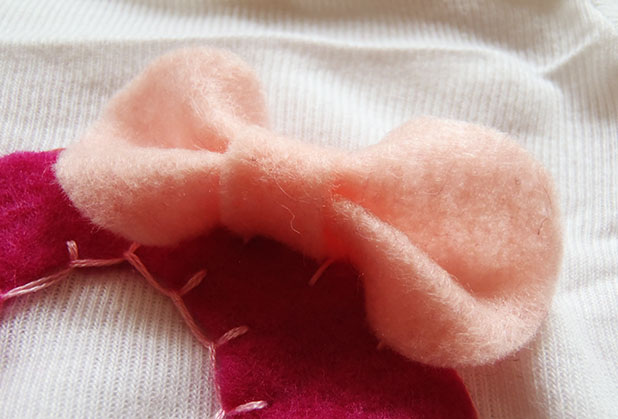
Hand-stitch the bow to the skull and you’ve got one adorable onesie!!

OLYMPUS DIGITAL CAMERAI’ve probably made about 20 of these over the past year or so. Once you get the hang of it, it usually only takes about 1.5-2 hours to pull a onesie together!

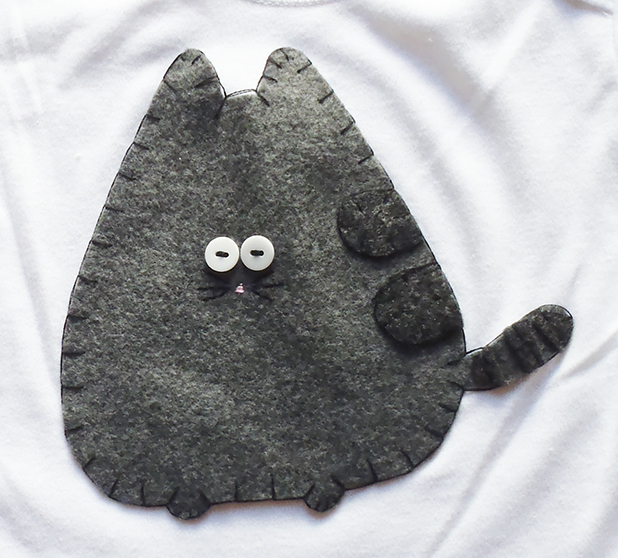
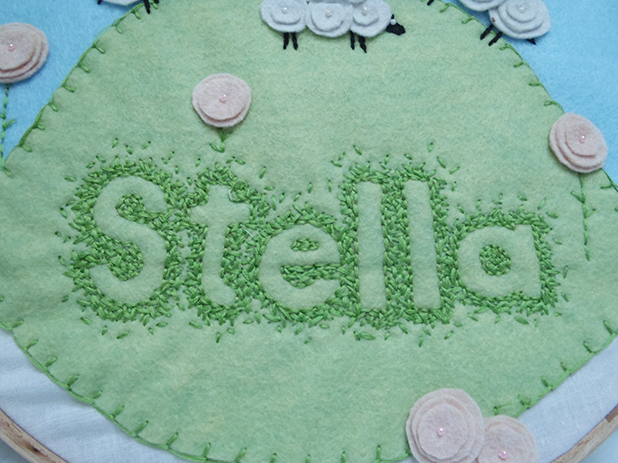
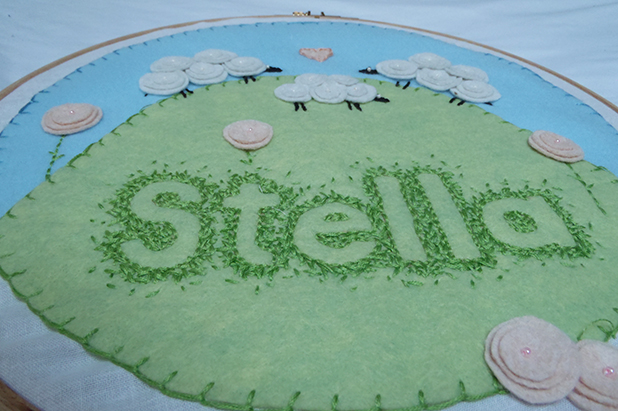
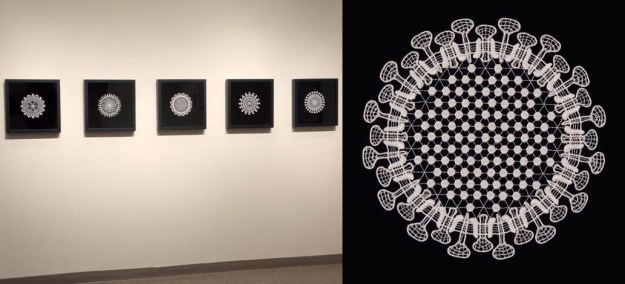
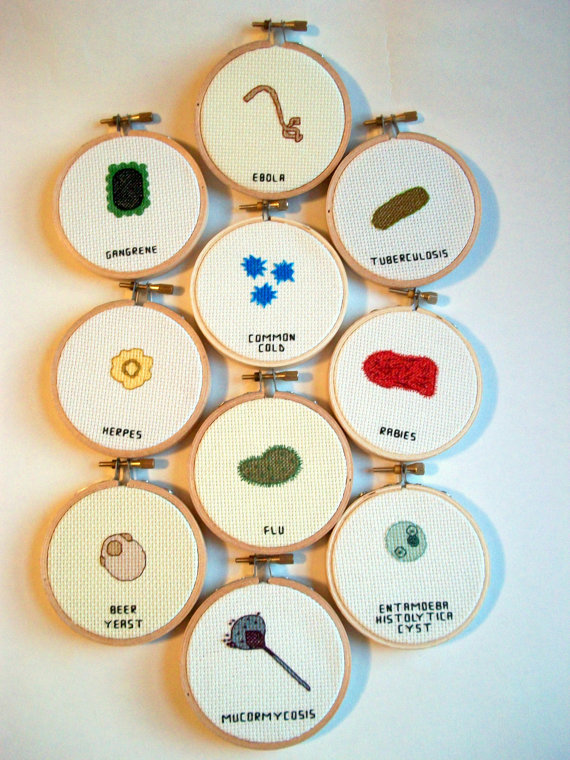
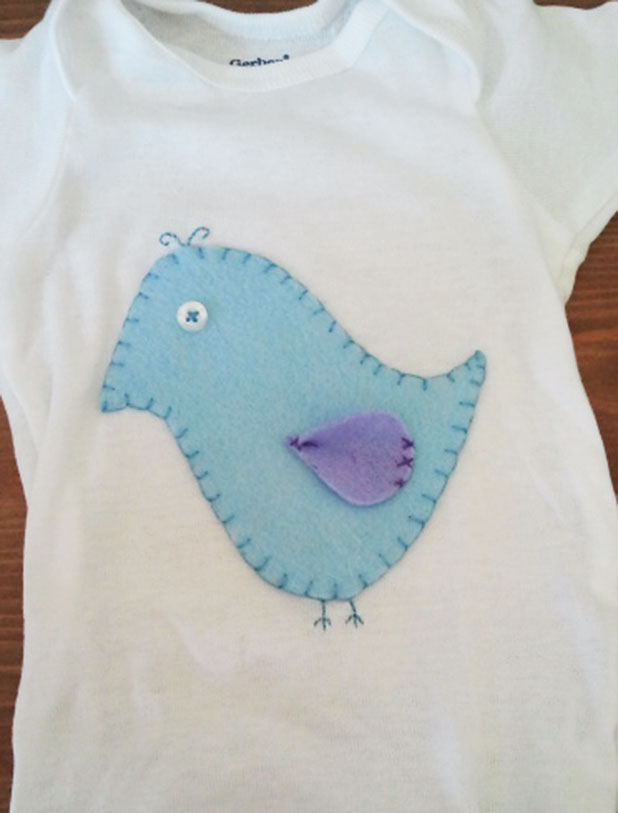
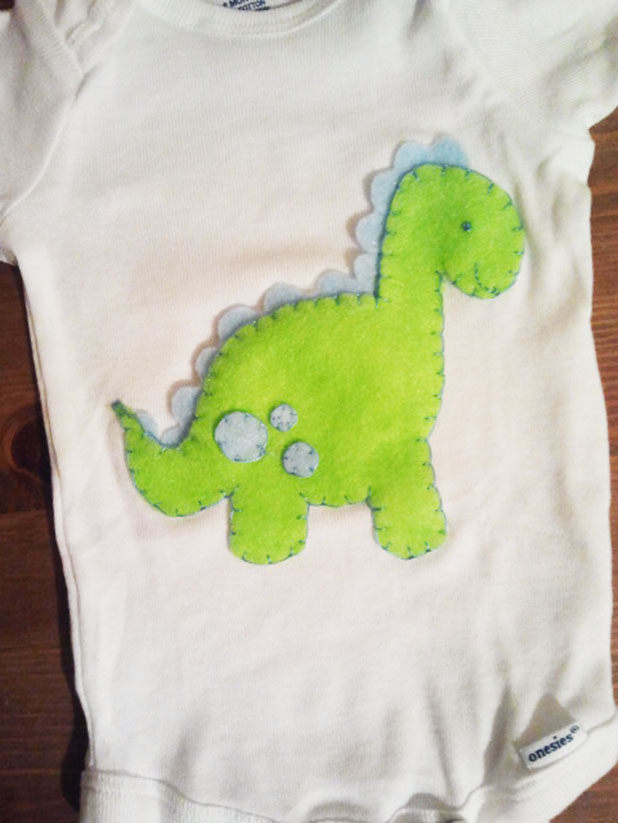
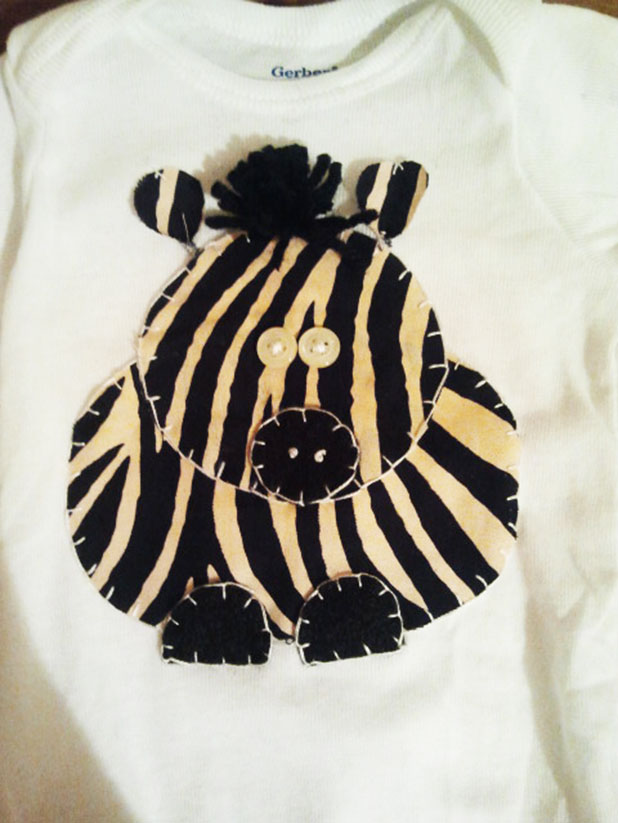
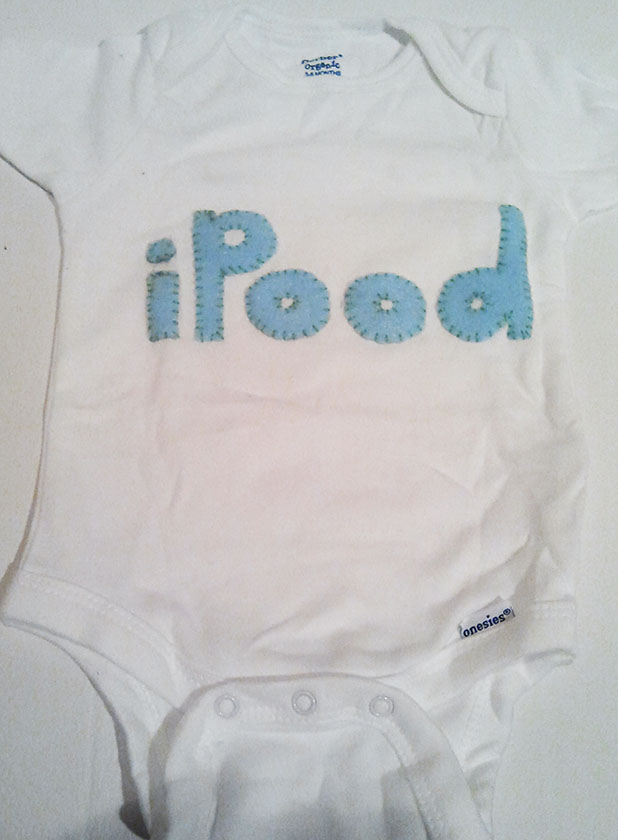
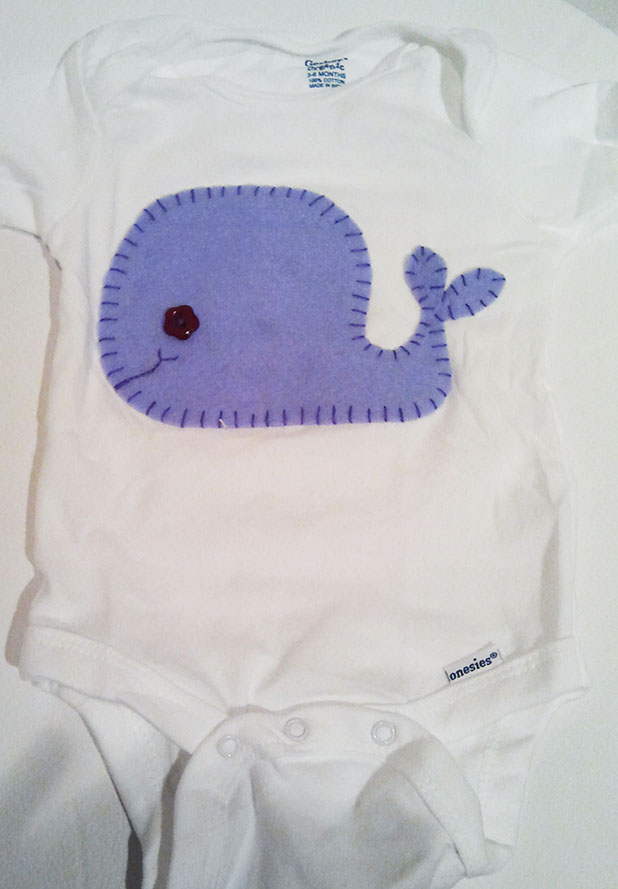
Here are a few other ones that I’ve made over the past year…

SAMSUNG

SAMSUNG

SAMSUNG

SAMSUNG

SAMSUNG

SAMSUNGI’ve linked this onto parties over at Thirty Handmade Days, So You Think You’re Crafty and Nap Time Crafters. Head on over and see what other crafters have linked to the parties!


Baby Name Art: Felt Embroidery DIY

A friend of mine just had a gorgeous baby girl: Stella Joy! My go-to baby gift is normally a set of felt applique onesies (tutorial, one day!), but I really dropped the ball with baby Stella and before I knew it….she was here!

I decided to branch out a bit and, inspired by some things I found on Pinterest here, here and here, I made Stella some baby name art. I’m so happy with how it turned out and I hope her parents love it too!

OLYMPUS DIGITAL CAMERAThis project wasn’t too difficult, but all the stitching around the name took a lot longer than I expected!

To make this, all you’ll need is;

– an embroidery hoop (mine was 16″)
– one sheet each of green, white, pink, and blue felt
– white and pink seed beads
– one skein each of white, black, blue and pink embroidery floss
– two skeins of green embroidery floss
– lightweight cotton/muslin (18-20″ square)

OLYMPUS DIGITAL CAMERAI first cut a large circle from the blue felt, about 1″ diameter smaller than the embroidery hoop and, with muslin secured in the hoop, sewed the blue felt to the white cotton backing using the blanket stitch with blue embroidery floss. I then sewed the green felt on just as I had the blue.

To make the name, I cut paper stencils and held them in place with straight pins while I gently traced around them with a felt pen. (I’m not sure why the color is off in these couple photos, the green is really more of a soft mint rather than the harsh lime it appears here).

OLYMPUS DIGITAL CAMERAOnce I had the name traced onto the fabric I sewed around it using a simple backstitch.

OLYMPUS DIGITAL CAMERAThe grassy embroidery effect around the name was created by sewing small straight stitches in a random pattern about a centimeter around each letter. I diluted the stitches toward the edge of the letters to try to give the impression of grass.

OLYMPUS DIGITAL CAMERAOLYMPUS DIGITAL CAMERAOLYMPUS DIGITAL CAMERAInspired by something I’d seen on Pinterest I used concentric circles cut out of felt to make some sheep and flowers, adding a seed bead to the center of each for a nice girly touch.

OLYMPUS DIGITAL CAMERAOLYMPUS DIGITAL CAMERA

OLYMPUS DIGITAL CAMERA

OLYMPUS DIGITAL CAMERAThe little sheep legs were made using backstitch and the heads were a simple satin stitch. The expanse of blue sky seemed a little vacant when I was done and I was worried clouds would compete with the sheep, so I added a little heart embroidered on using blanket stitch.

OLYMPUS DIGITAL CAMERAWith the front finished, I wanted to make sure the back looked just as polished, so I tried to finish it as nicely as I could (without wasting too much time on it). Unfortunately, I didn’t take pictures of the process because I was going to just link to another tutorial on a blog I frequent. When I went back to look at it though, I realized that I didn’t actually follow it at all and made up my own method instead after I’d already finished without taking any pictures….whoops!

OLYMPUS DIGITAL CAMERA

I cut the excess backing fabric away leaving about a 2″ border. The I ran my needle through it very loosely gathering it toward the center of the backing. I cut a circle from felt about and inch smaller in diameter than the embroidery hoop and attached it to the gathered backing using blanket stitch.OLYMPUS DIGITAL CAMERAAnd that’s about it! Hope Stella likes it! 🙂

OLYMPUS DIGITAL CAMERA


Tutorial: Simple Double-Sided Cloth Napkins

My mom’s kitchen is blue and white, so when I saw the Ravena fabric line by Dear Stella on Fabricworm I immediately thought of her. I decided to make her some simple double-sided cloth napkins for a birthday/Mother’s day gift and I’m pretty pleased with how they turned out.

OLYMPUS DIGITAL CAMERAI started with a half yard of each fabric (the smallest size I could order) and cut two 17″ squares of each using my rotary cutter.

OLYMPUS DIGITAL CAMERAReflecting on the New Year’s resolution I made this year to be more patient with sewing projects and take the time to use proper techniques, I did something that I’ve never done before…..I ironed my hems! I folded the fabric 1/2″ on all sides and ironed them flat to make them easier to pin and sew.

OLYMPUS DIGITAL CAMERAWhen I got to the corners, I tucked the fabric in to make much neater mitered corners.

OLYMPUS DIGITAL CAMERAOLYMPUS DIGITAL CAMERAI then pinned the fabrics with wrong-sides together in pairs of light and dark fabric, making sure that the folded edges stayed tucked inside and taking special care to make sure the corners stayed neat. (Note: when buying fabrics online, if you purchase fabrics from the same line/designer you can be assured the colors will match).

OLYMPUS DIGITAL CAMERAOLYMPUS DIGITAL CAMERAIt was only after I top-stitched around the edge of each napkin, with about 1/4″ seam allowance, that I realized making the napkins with one dark side and one light side might not have been the best idea – if the light side gets stained, the dark side makes it so it can’t be bleached! Ooops!

OLYMPUS DIGITAL CAMERAThe napkins were probably good as-is at this point, but since they were for a gift I wanted to add a little extra handmade touch and decided to embroider a decorative border around the edges using navy embroidery floss.

I used three different very simple stitches. The small ‘x’ pattern was made by sewing the first lines of all the ‘x’s all the way around the napkin, then going back and crossing over with the line in the other direction to complete the ‘x’ (like cross-stitching).

OLYMPUS DIGITAL CAMERAThe larger ‘x’ pattern was made in the same way except the embroidery floss was brought up and over the edge of the fabric so that the ‘x’ pattern actually wrapped the edge of the napkins.

OLYMPUS DIGITAL CAMERAI also made a couple napkins using a basic blanket-stitch (I was actually a little disappointed with how these ones turned out, I was hoping the edging would be more visible).

OLYMPUS DIGITAL CAMERAI gave them all a final iron before folding them neatly and wrapping them up with a bow for the gift!

OLYMPUS DIGITAL CAMERAOLYMPUS DIGITAL CAMERAI think my mom really appreciated the gift, especially since it turns out her old navy napkins had been getting faded and she’d been searching for some new ones to replace them!


Holiday Project Roundup!

It was touch-and-go for a while there, but I actually managed to finish all my holiday projects in time for Christmas! The main focus of my attention this year was my niece/nephew, scheduled for arrival in early February. The lucky little guy or gal will the be recipient of the first sweater I’ve ever completed! Turns out they’re much easier to finish when they’re miniature…

SAMSUNG

I’m so proud of how it turned out! I used the Debbie Bliss Baby Reefer Jacket pattern with a couple changes. I thought it would be easier for both me and the parents to forgo actually button closures on the front in favor of decorative buttons sewn to the front with hidden snap closures on the underside.

Also, I’m not big on counting rows when I knit. I kinda just knit until it looks “long enough”. This cause a problem for me when it came time to add the ribbing that forms the double breasted front of the sweater. The pattern called for me to cast on “x” number of stitches to start the ribbing, but I hadn’t followed the instructions for the length of the stockinette portion. Instead, I just picked up the stitches and knit the ribbing right onto the sweater. This resulted in a slightly different neckline on the sweater, but I think it’s still pretty cute!

Expert knitters may also want to avert their eyes from the mess that is the underarm seam. The seams up the side of the sweater turned out really well but it got awkward once I had to start stitching the arms. It looked like I should do Kitchener stitch, but I only know how to do that off needles (a nice video tutorial, here). So I just sewed it.

I also sewed up a few of my signature hand sewn felt aplique onesies, keep your eyes out for a tutorial soon (sorry for the poor quality of the images, I took them on my phone)!

SAMSUNGFinally, I wanted to make a little something for my boyfriend’s family for Christmas this year so I made some spiced candied nuts and knit up a couple Christmas birdie ornaments.

I’m not sure where the nut recipe is from originally, but it’s similar to this one from Martha Stewart. I just left out the egg, allspice and chili powder. Instead of baking them, I tossed them around in a pan with the sugar stirring constantly until they browned (about 15 min), then tossed them with the salt, spices and an extra tablespoon of sugar. Warning, these are like crack.

chicken

The birdie ornament is a free pattern download from Ravelry that I posted about earlier. I made two versions of this ornament, one following the pattern and one chicken instead of robin. I actually think the chicken turned out much cuter (and easier, as it didn’t involve any color change)! For the comb I just crocheted a single chain about an inch and a half long then stitched it on scrunched up like an inch worm. Easy peasy!

Holiday gift ideas for the crafty nerd in your life…

I love trying to make as many gifts as possible for the holidays. It’s easy on the budget and I think people really do appreciate a handmade gift. In my endless search for inspiration I’m always coming across things that I would love to have made for me, but that not many people on my gift list would appreciate.

So. If you’ve got a crafty nerd in your life, here are some handmade ideas that might light up their holidays!

Laura Splan is an artist who “explores perceptions of beauty and horror, comfort and discomfort”. Many of her pieces include representations of parts of the human body, microbes and illness, including these viral doilies that I love – perfect for that special virologist in your life!

Laura Splan

The doilies are pretty intense and are computerized machine embroidered. Maybe you’d like something you could make yourself for your favorite virologist? Try this bacteriophage crochet pattern available on Ravelry for $5!

bacteriophage

Since I’m a virologist myself, you’ll sense a strong microbiology theme to these handmade gift ideas….but it’s the prettiest science, anyway! Just look at these stained glass microbes for proof (available from the trilobiteglassworks etsy shop)!

glass microbe copy

It’s always nice to try to give the gift that keeps on giving, and nothing does that more than microbes! Especially this set of 12 cross-stitched microbes of the month, available in aliciawatkin‘s Etsy shop.

microbe month

This pillow would be perfect to help your favorite molecular biologist to spend this holiday season asleep in their bed while visions of mitochondria dance in their heads.

cell pillow

Better get these gifts while they’re still available though, microbiology and nerd crafting is taking off! Etsy seller CleanerScience seems to be all out of their petri dish soaps!

petri dish soap

Or maybe the lab rat in your life would love this knitted dissection! Amazing!!

mouse dissection

All this gift making can make a nerd hungry! Don’t forget to nourish your cells with these science-themed cookies. I love the electrophoresis squares, find out how to make your own with a great tutorial on Not So Humble Pie (these chocolate atoms are pretty cute too)!! In fact, just go here and check out all her amazing science-themed baked goods! You can get your own Labcutter cookie cutter set over at ThinkGeek.com

cookies

Special thanks to Birdie for helping me compile this list! NERD!!!!