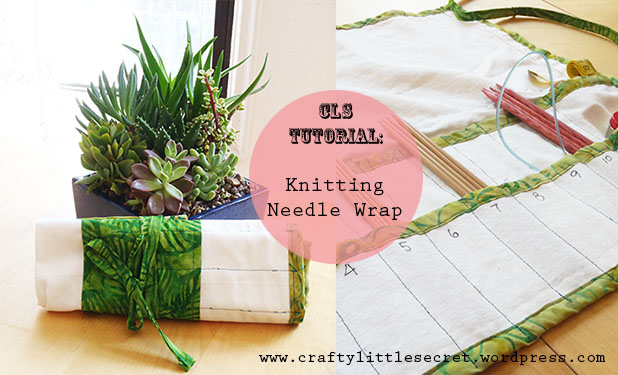
After wrestling with a messy bag of loose yarn, needles and other knitting bits, I finally decided that it was time to make a proper wrap to keep my knitting needles organized. It’s a simple project that takes just a couple hours from start to finish (or less with a few shortcuts!).
Materials:
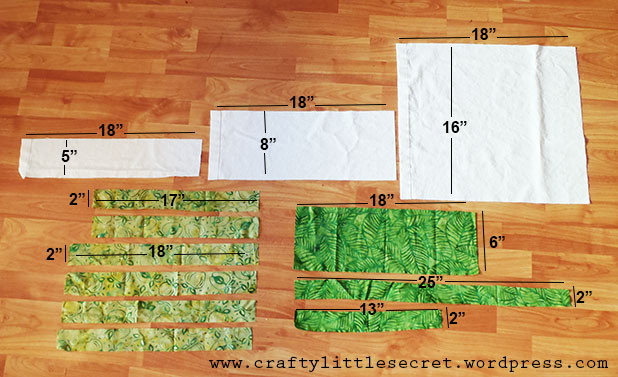
– Three pieces of your main fabric** cut into the following sizes;
– 18″ x 5″
– 18″ x 8 ”
– 18″ x 16″
– Three 2″ wide strips of edging fabric (or bias tape) cut to 18″ lengths
– Two 2″ wide strips of edging fabric (or bias tape) cut to 17″ lengths
– 2″ x 25″ piece of tie fabric (or ribbon)
– 2″ x 13″ piece of tie fabric (or ribbon)
(Optional: 18″ x 6″ piece of decorative fabric)
– thread
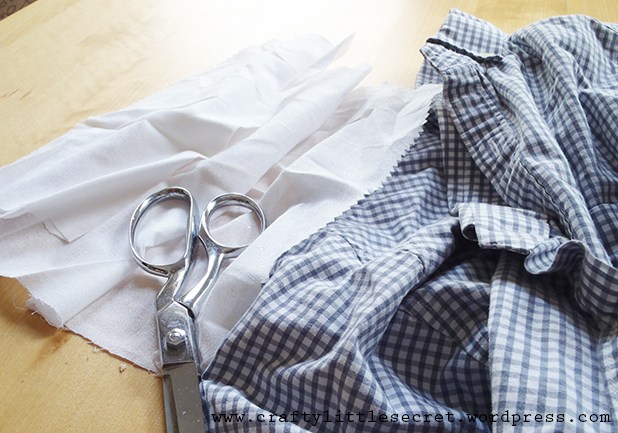
– scissors
**To make your life easier and your project neater, try to choose a fabric without obvious right and wrong sides. A heavy cotton will hold up well. I used the leftover scraps from some curtain panels.
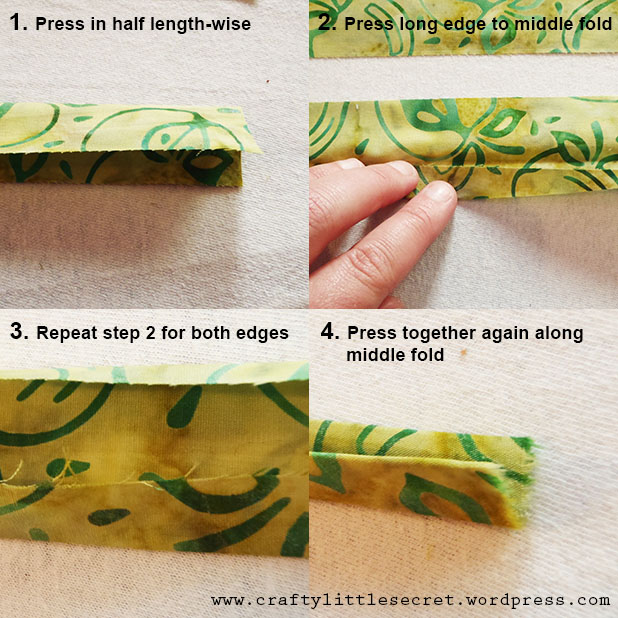
Step 1: Preparing your edging
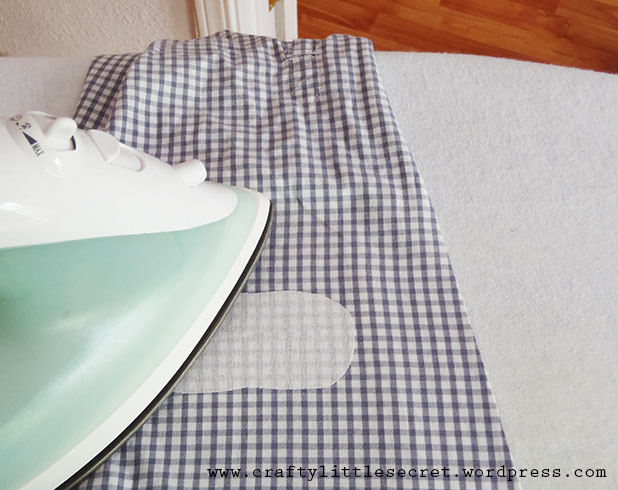
This step is essentially creating your own bias tape, so it can be a real time saver to just use bias tape for this step instead of contrasting fabric as I have here. To create your edging you’re going to want to make sure your iron is heated up!
First, press each strip of fabric in half length-wise, creating a center crease (wrong sides together). Open up the folded fabric, then bring each long edge to the center crease and press again. You should now have a long strip of fabric about 1″ wide with two long edges folded to meet in the middle. Finally, recreate that strong center crease by folding the fabric in half length-wise again, hiding the fabric edges on the inside.
Press the fabric for the ties (skip this if you’re using ribbon for the ties instead) in the same manner.
While you’re at it, with wrong sides together, go ahead and iron a half inch seam allowance along the long edge of your contrasting fabric for the decorative strip around the outside of the wrap.
Step 2: Sew decorative strip
Take the 18″ x 6″ contrasting fabric you just pressed and top-stitch it to what will be the outside of your wrap on the largest piece of main fabric. Placement doesn’t need to be precise but the top of the strip should be around the middle of the main fabric.

Something to take into consideration if you’re using contrasting fabrics is that the stitching will be visible from the other side. So if you care about that (which I don’t on a project like this) you may want to match your needle thread to the decorative panel and your bobbin thread to your main fabric.
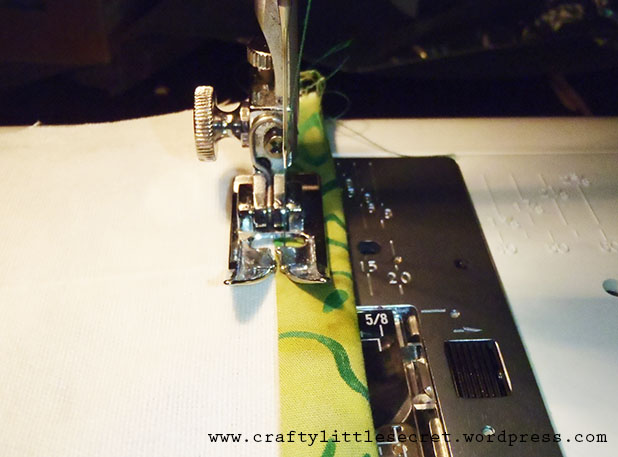
Step 3: Sew edging/bias tape to top edges
Using 3 of the 4 pieces of 18″ long edging, pin one piece of edging to each piece of main fabric along the 18″ side. You’ll want to insert the piece of main fabric into the edging fold so each side of the main fabric has decorative edging on it.
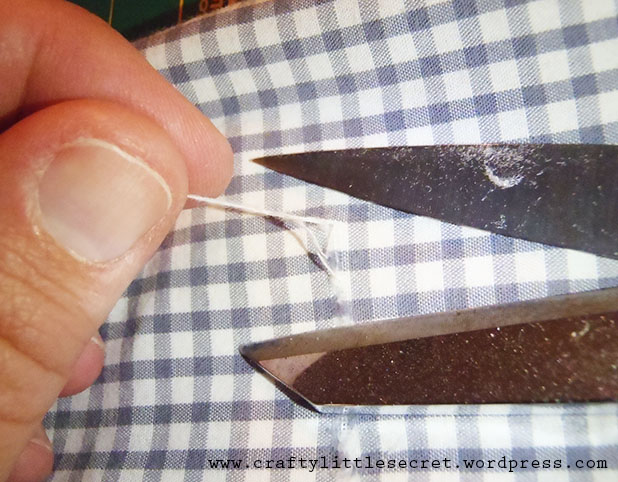
 Now carefully sew along the edging as close to the open side as possible. Remember that these stitches are meant to catch both sides of the edging fabric, so check periodically to ensure you are doing so.
 You should now have three pieces of your main fabric, each with a strip of edging sewn to one of the long edges.
Step 4: Sew the bottom edge
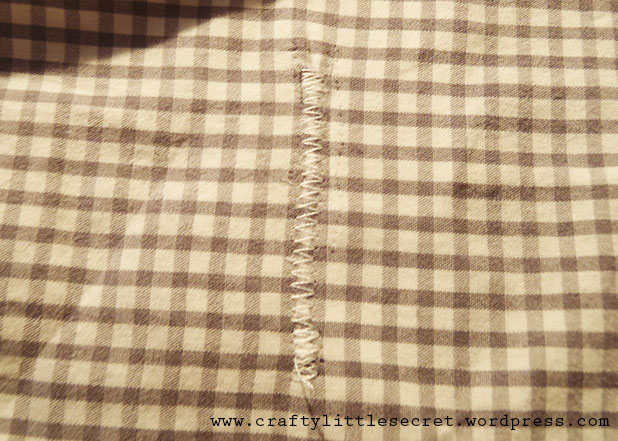
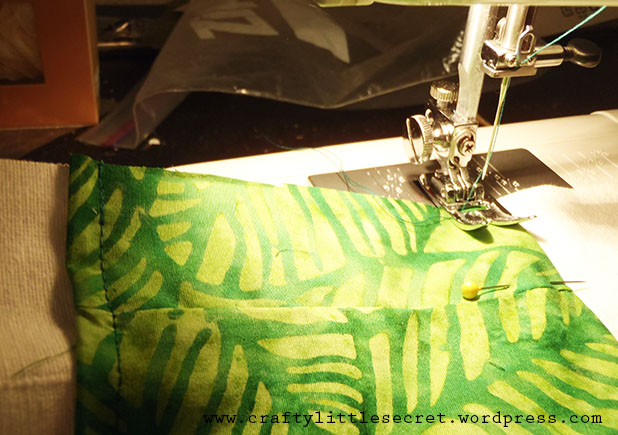
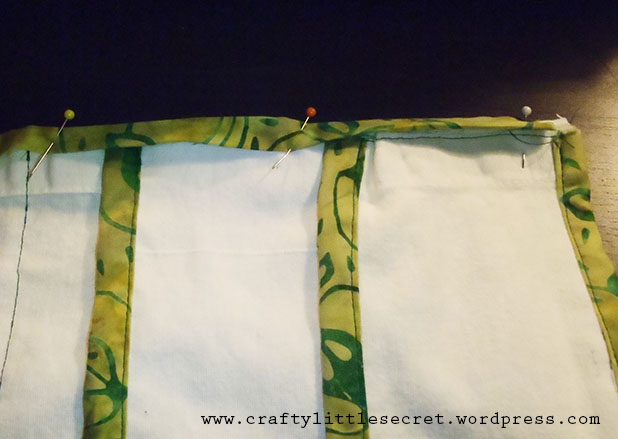
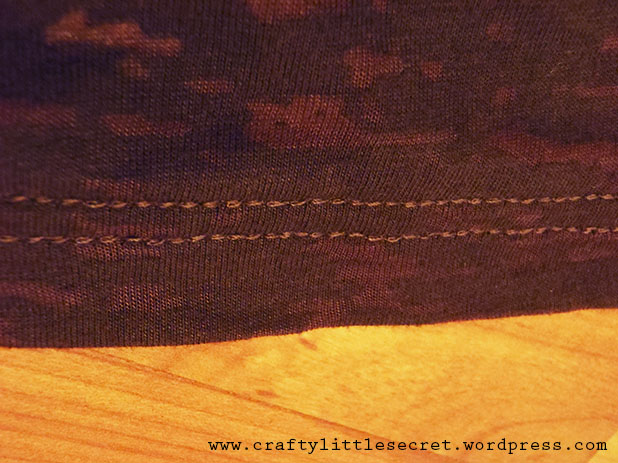
Line up your three pieces of main fabric along their bare bottom 18″ edge and baste all three together. This basting step makes it way easier to sew the edging on. Now sew your final piece of 18″ length edging around this bottom edge. This stack will be a little thicker than the first edges so make sure your catching both sides of the edging/bias tape when you sew.
(Notice on this picture the stripe of green stitches – this is showing through from the decorative strip on the outside of the wrap and can be avoided as I described above).
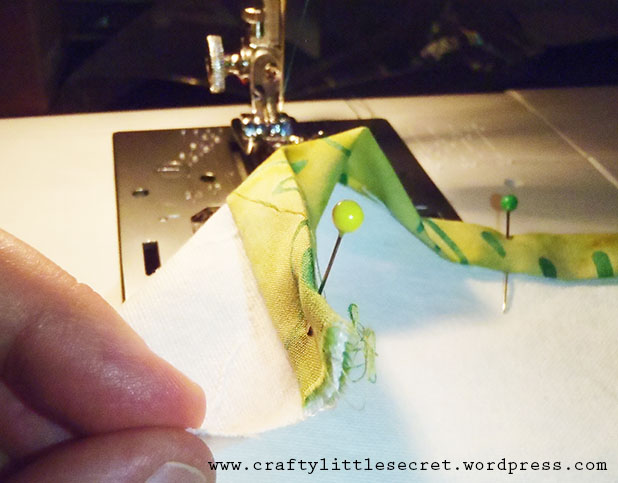
Step 5: Sew the sides
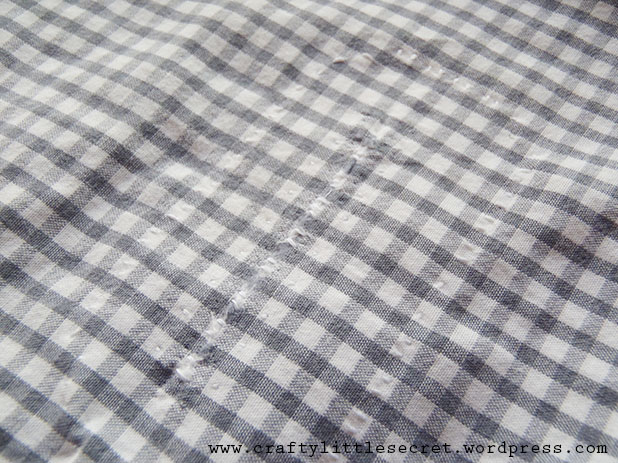
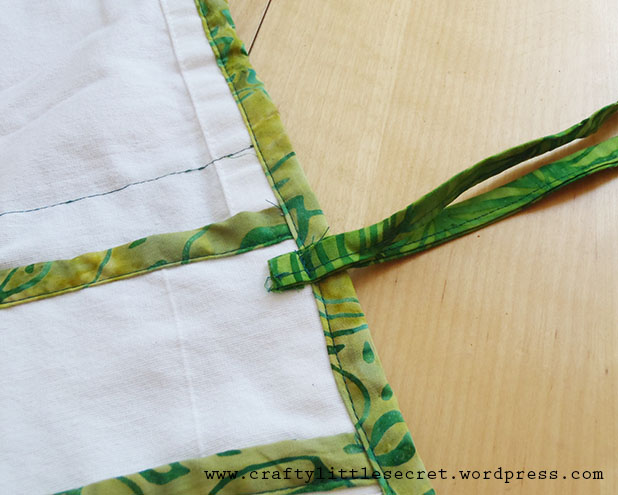
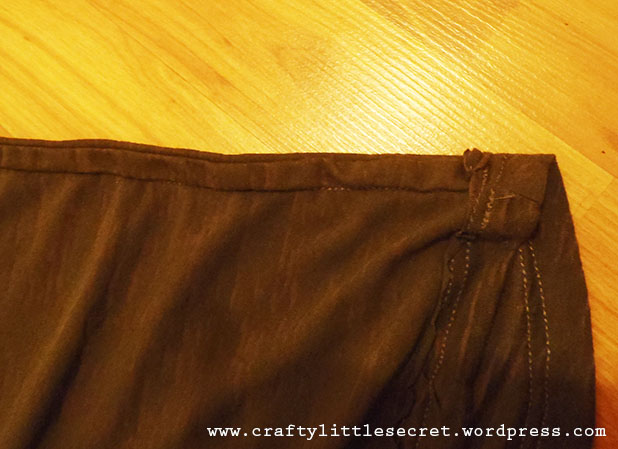
Next, baste the overlapping sides of the fabric as you did along the bottom edge (this is visible in the picture above), then cover these with the 17″ long edging strips. The sides of the main panels are 16″ long so you should have about an inch of overhang with the edging. Center the edging so you’ve got a half inch of overhang on either end, then fold under and pin before sewing.

Step 6: Sewing the ties.
This is another easy shortcut for this pattern. Instead of making your own ties, you can simply buy lengths of coordinating ribbon. If you’re making your own ties you should have them pressed as you did for the edging. Top-stitch the ties as close as possible to the open edge.
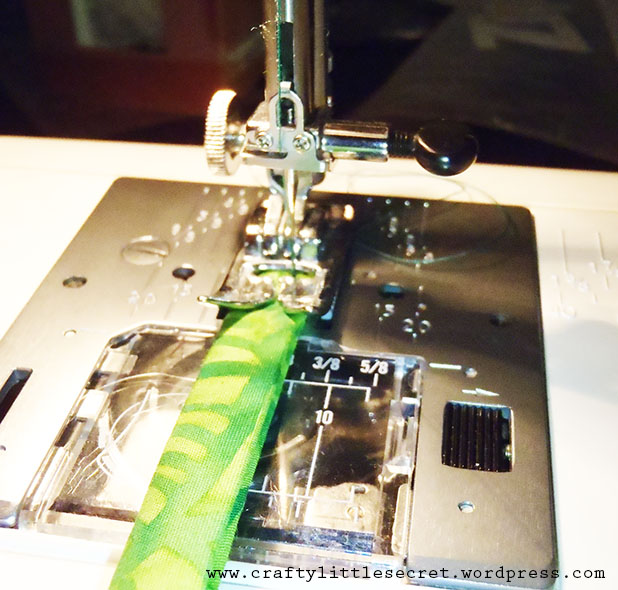 Once you’re ties are made you can sew them the right side of your wrap on the inside. Try to line them up with the center of the outside decorative strip.

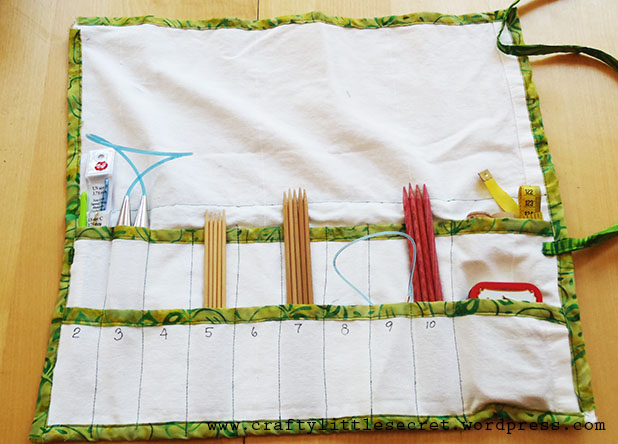
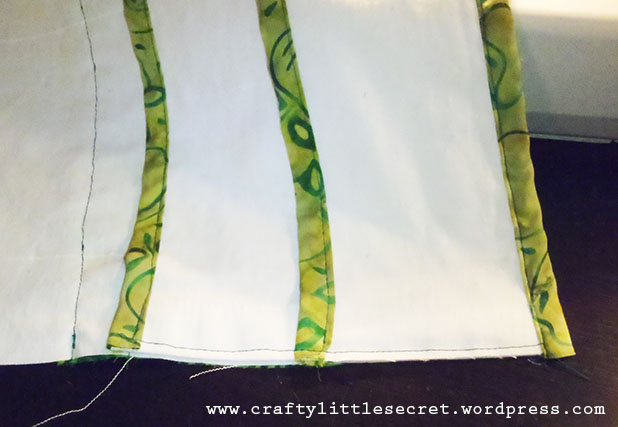
Step 7: Pockets
The final step is just to sew some pockets to hold your needles and notions. Top-stitch straight lines from the bottom edge of the wrap to the top of the second pocket (8″ height). I sewed one of these lines every 2 inches because I rarely use really chunky needles. My size US19 needles barely fit in a 2″ pocket, so if you have a lot of chunky needles you may want to consider different spacing. I also left a larger pocket on one side to hold odd shaped bits and pieces.
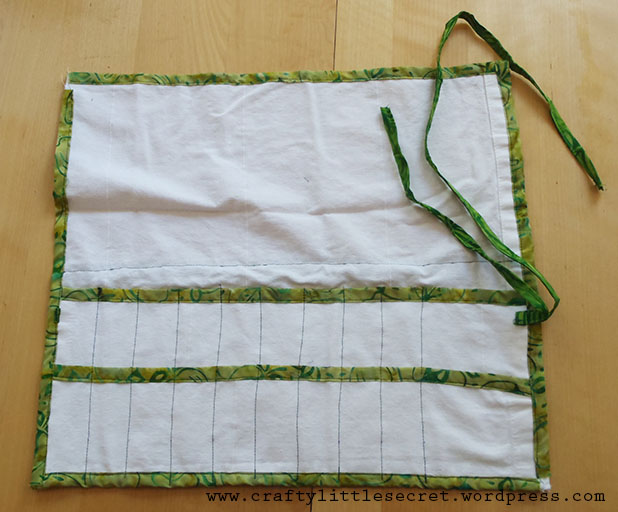
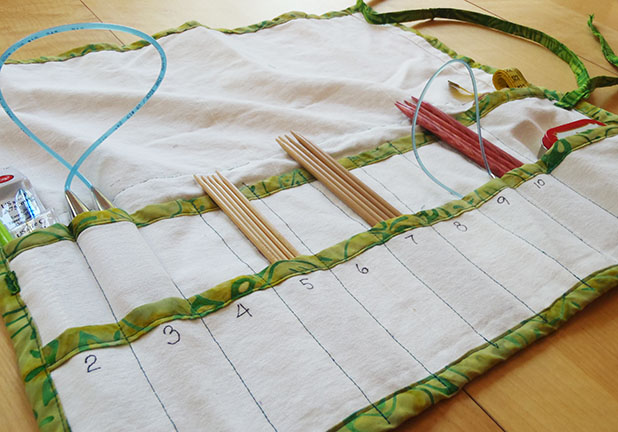
 And that’s it! You’re done! Go ahead and fill your new knitting needle wrap! As you can see in the pictures below, I also chose to label some of the pocket with needle sizes I commonly use, but keep in mind that this prevents reorganization of the roll in the future.
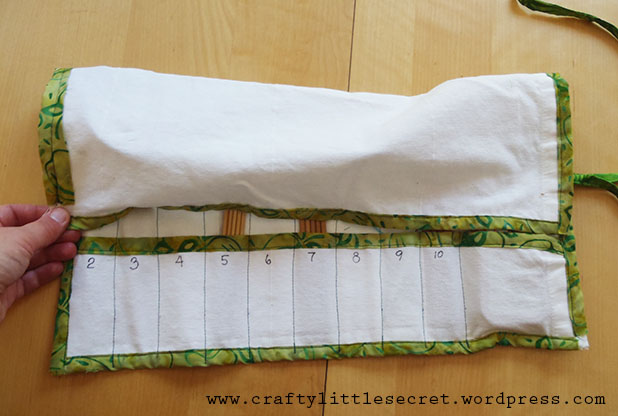
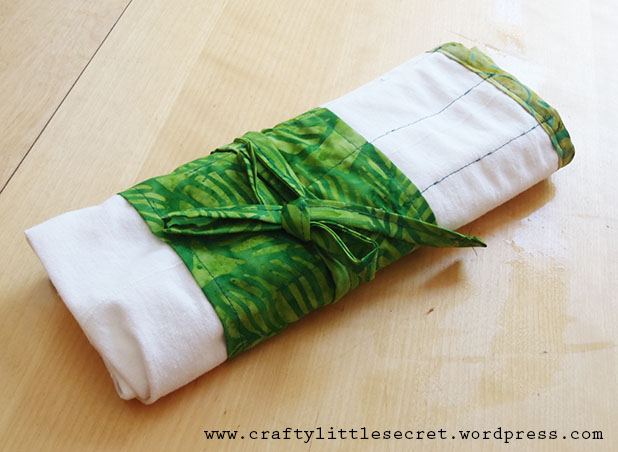
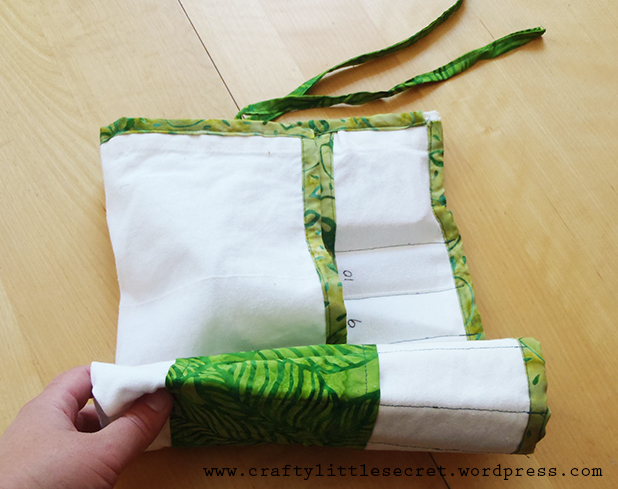
Stuff, fold, roll, and wrap! And away you go with your very own handmade knitting needle wrap!


 I waited about an hour for the paint to dry then peeled off the masking tape. They worked great! Thanks so much to Knack and Whimsy for the fantastic tutorial!!!


 –
–