With Christmas fast approaching and my employment still in the “un” category, I’m looking at trying to do an almost entirely handmade holiday season this year. I think kitchen linens can make a great hand sewn gift, and I know my mom appreciated the double-sided napkins I made her earlier this year! Anyhoo, with this type of gift in mind I decided to try out a pattern for placemats with utensil/napkin pockets on them. Cuuuuuuuute!
 Materials (for a place setting for 6):
1 yd linen/burlap (heavy)
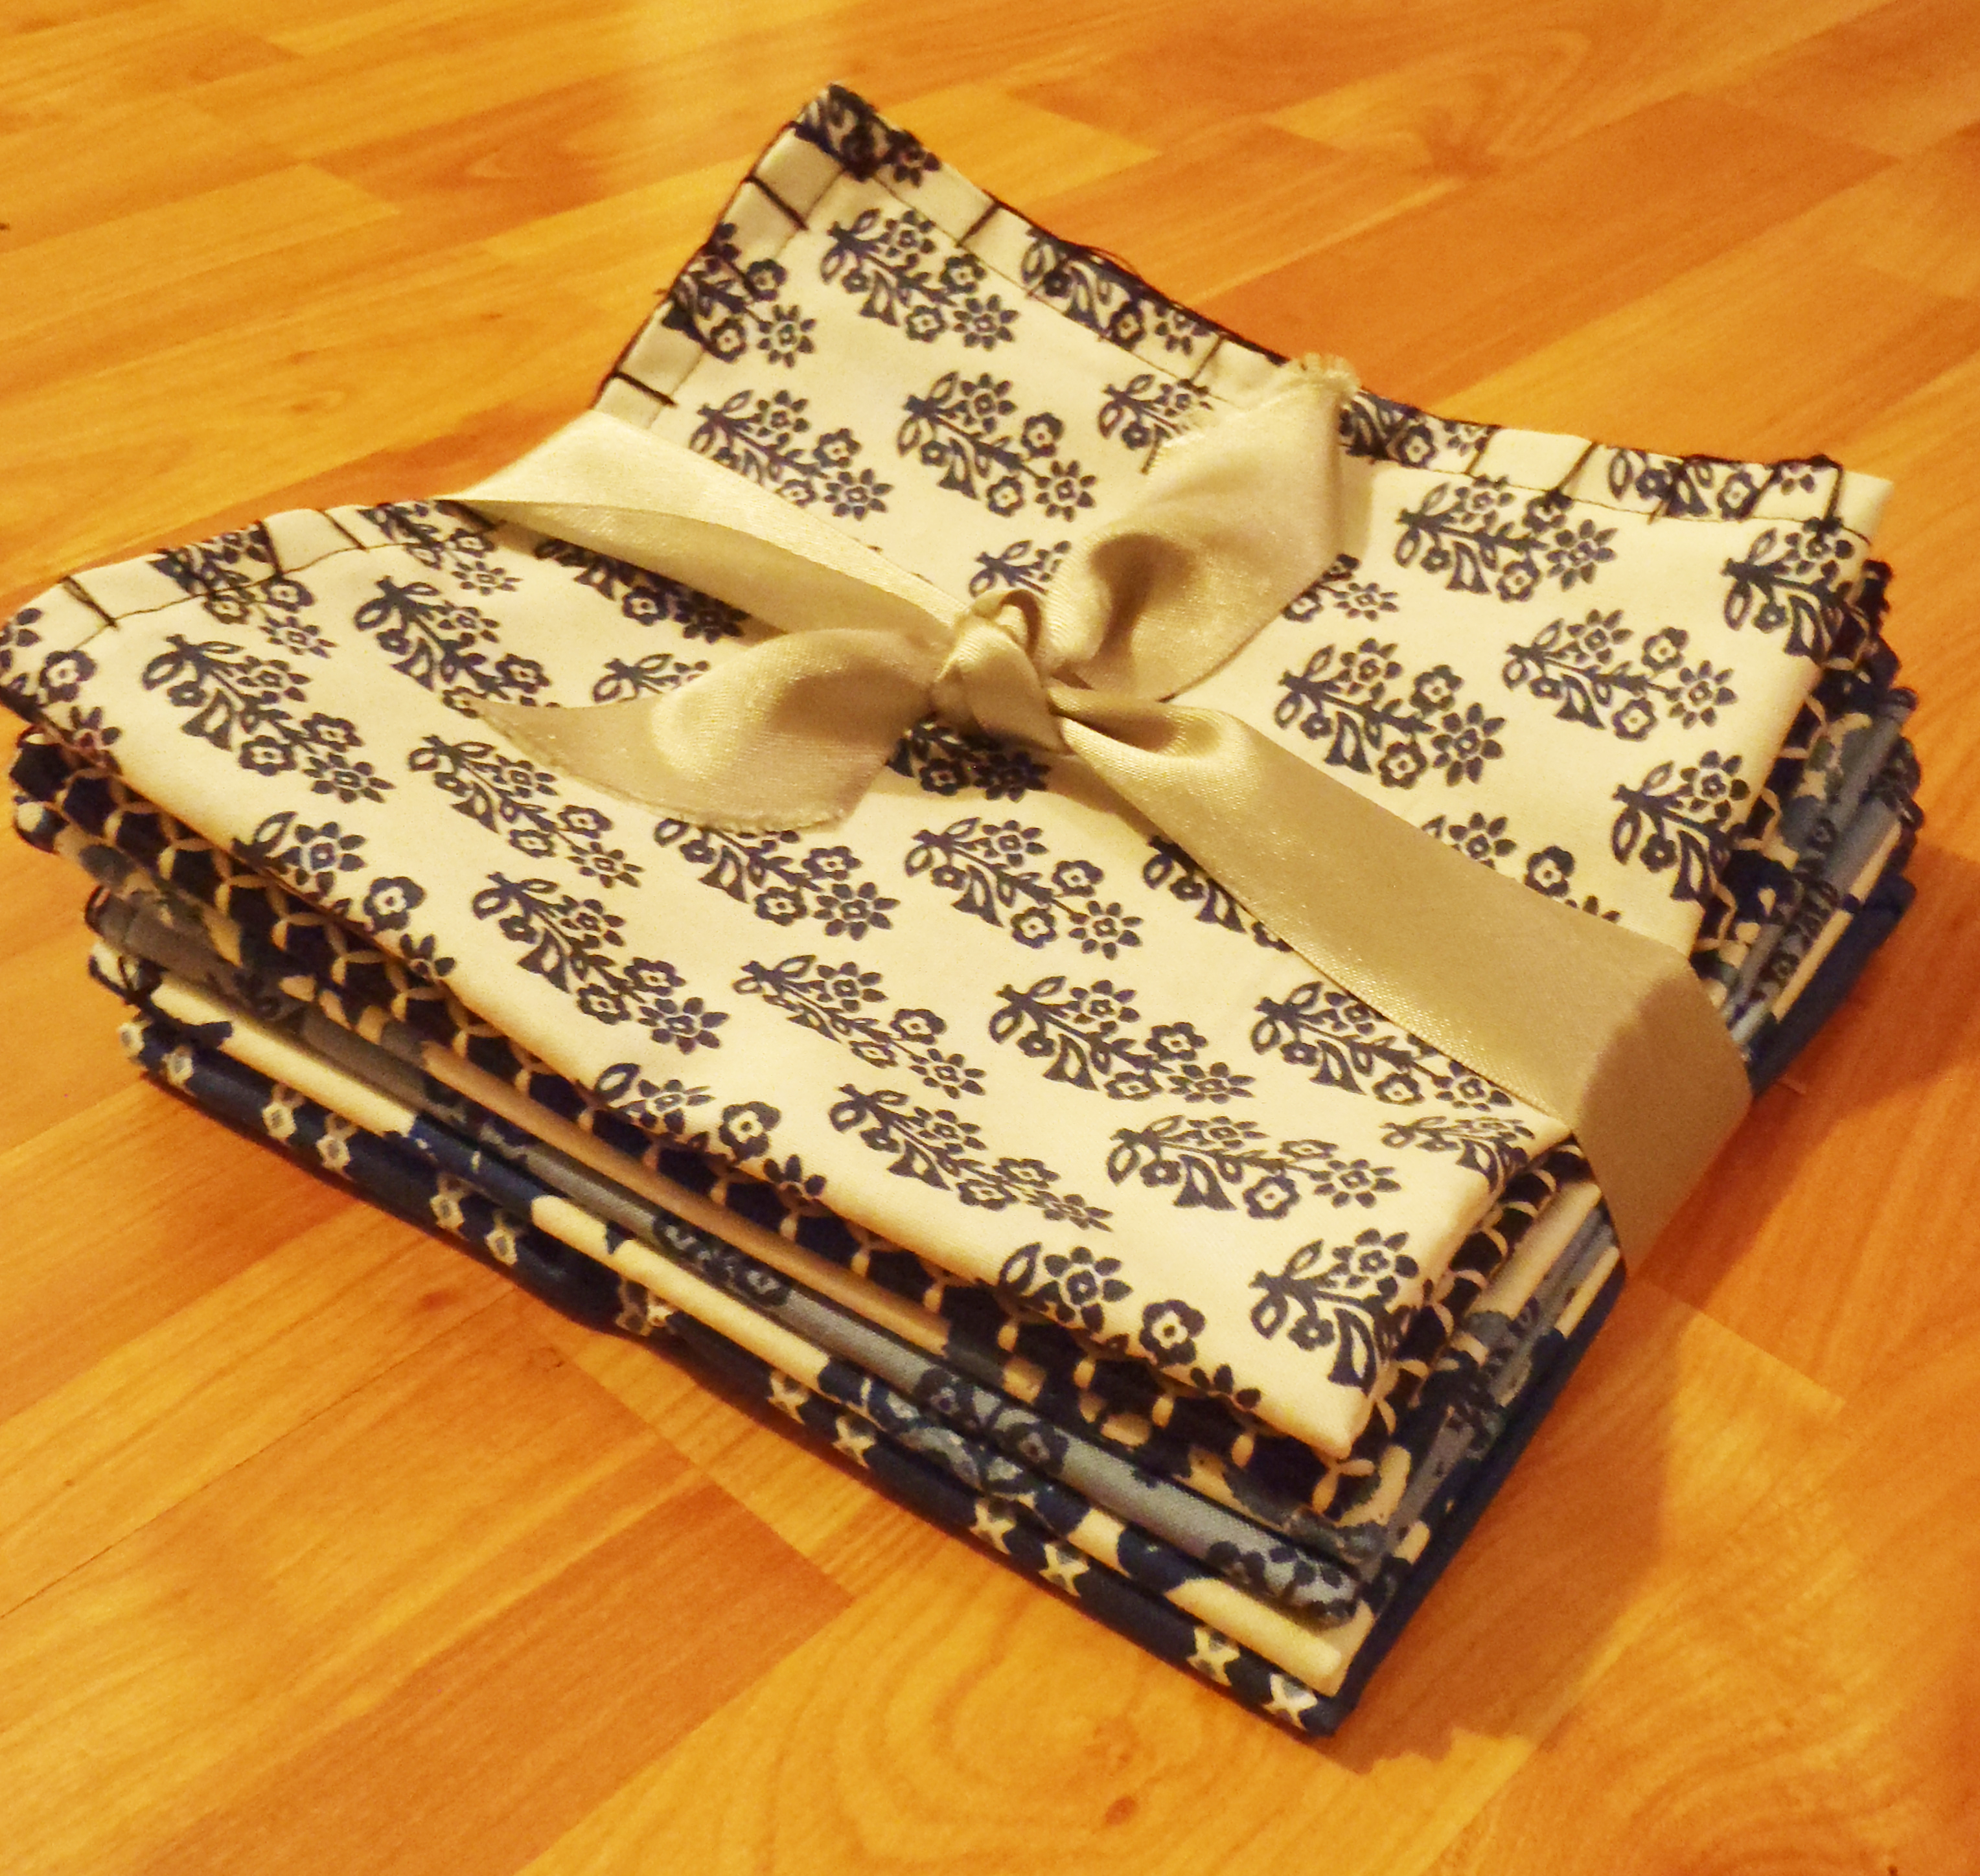
2 yd coordinating lightweight cotton (1 yd for placemats and 1 yd for napkins)
coordinating thread
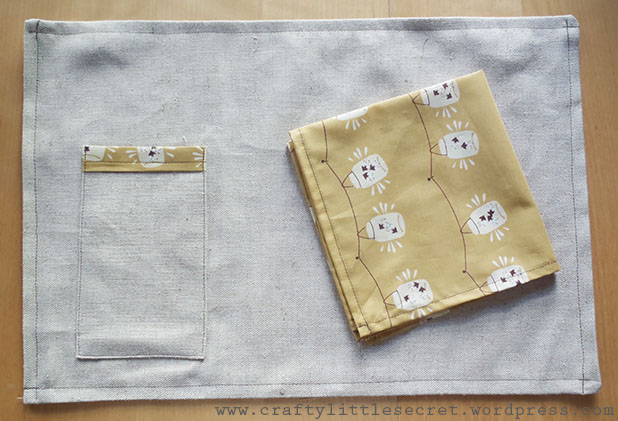
As I’ve mentioned before, I absolutely love the fabrics available from Fabricworm.com. I came across this fabulous print from Tegan White for Birch Organics and thought it would work well with the current color scheme happening in our apartment.

Awwww, I want a string of firefly jars to light up my apartment!
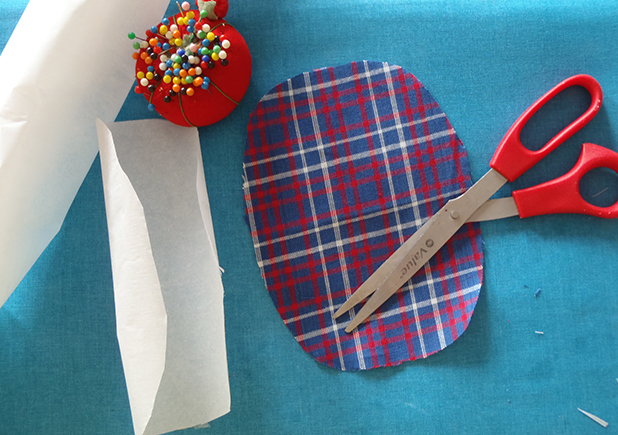
I liked the idea of making a place setting for 6. Even if we don’t always have that many people for dinner it’s nice to have extra around in case something gets an irreparable stain or to put serving dishes on. So. Using my roller blade, I cut out 6 15″x15″ squares from the Firefly cotton for the napkins, and 6 19″x15″ squares each of Firefly cotton and my linen for the placemats (the Firefly cotton goes on the back to make them reversible!).
 I also cut 6 8″x5″ linen pieces and 6 5″x2″ cotton pieces (or 5″ lengths of coordinating bias tape) to make a cute little pocket for your silverware and napkins!
As was the case with the double sided napkins, ironing with this project is key. Siiiiiiiigh. To make the napkins iron a quarter inch hem on all sides, then fold it over and press again with about a half inch hem. Top stitch using a coordinating thread and you’re done!


BAM! Cute napkins. Done.
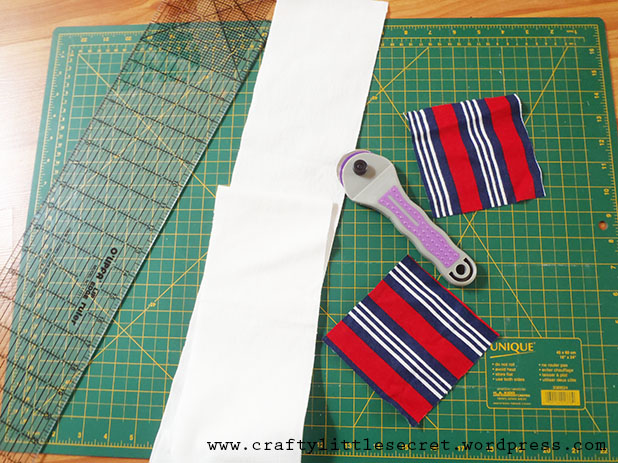
To make the placemats, you’re going to want to sew the pocket to the linen before assembling the front and back pieces. This keeps the back neat, without any visible stitch lines making the placemat reversible. So pull out that iron again, we’re not done with it yet!
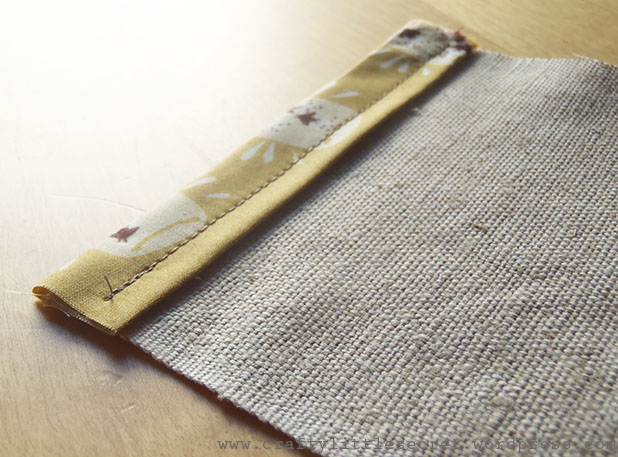
You’ll want to fold and press the 5″x2″ strips of cotton into bias tape (I’ve talked about how to do that before here), then sew them to one short edge of each 8″x5″ square of linen. This will be a decorative edging on the top of the pocket.
 Next, press a half inch hem into the remaining three naked sides of the pocket piece, folding toward the wrong side.

More ironing? Don’t say I didn’t warn you! Siiiiiiiiiiiiiiiiiiiiiiiiiiiigh!
Next, attach the pocket to your linen placemat front. I put the pocket on the left side of the placemat (though a quick interwebs search told me that people do either side) 2.5″ from the left edge and 2″ from the bottom edge.

Once you’ve got your pocket pinned in place, neatly top stitch the three unadorned sides down as close to the edge of the pocket as possible.

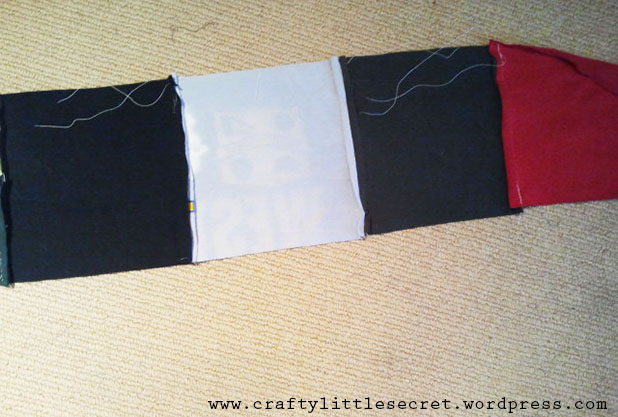
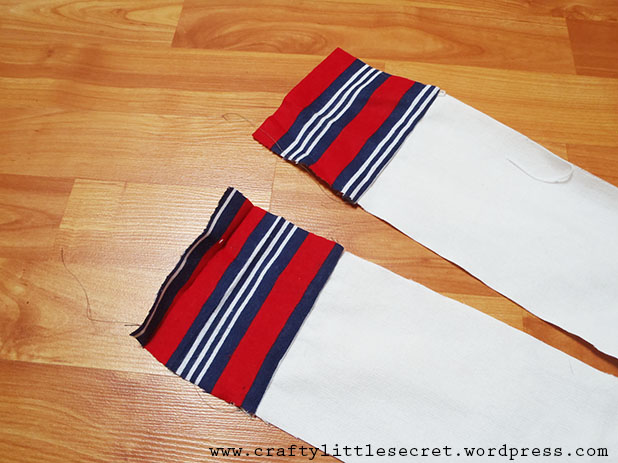
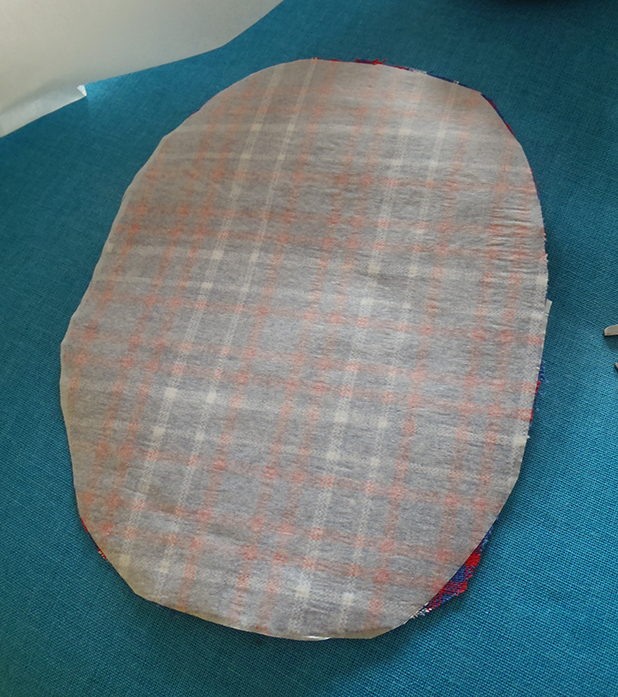
 Now we’re ready to sew the backing to the placemats. With right sides facing, sew the linen to the cotton backing with a half inch seam allowances on three sides. Leave one of the short sides open. We’re going to turn this inside out so cut the corners to help the fabric lay flat when we do this. You should end up with something that looks like this:

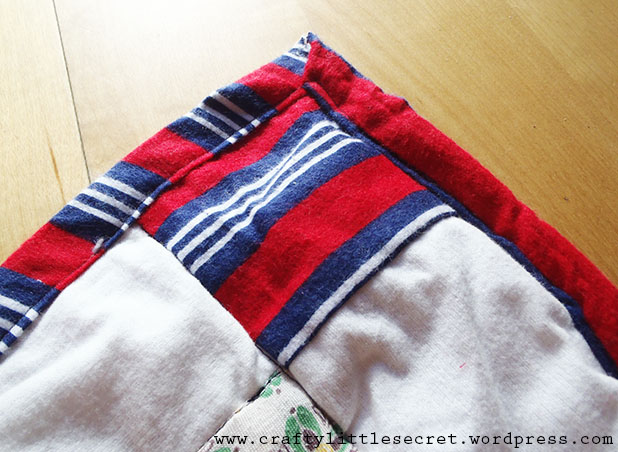
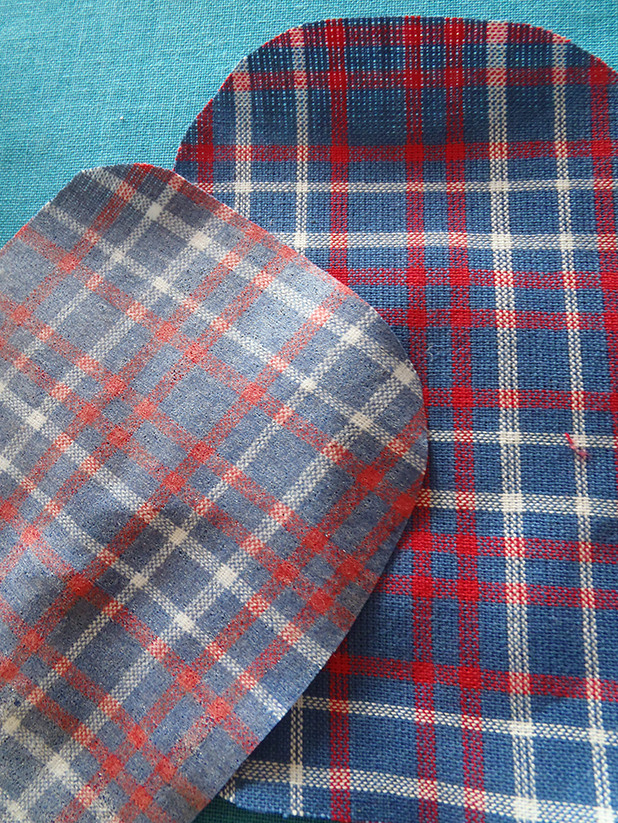
Flip the placemat right-side-out. You might have to use a pencil to really get in the sewn corners and get them nice and crisp. Fold a half inch hem inward on the open edge of the placemat and press (siiiiiiiiiiiiiiiiiiiiiiiiiiiiiiiiiiiiiiiiiiiiiiiiiiiiiiiiiiiiiiiiiiiiiiiiiiiiiiiiiiiigh). Top stitch around all sides of the placemat with coordinating thread about a quarter inch from the edge.
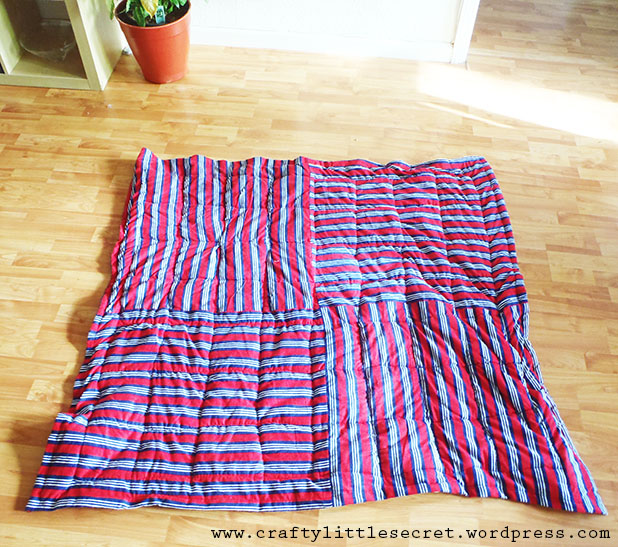
 And blammo! You’re done!!!!!!!